How to Reseal a Shower Tray Successfully
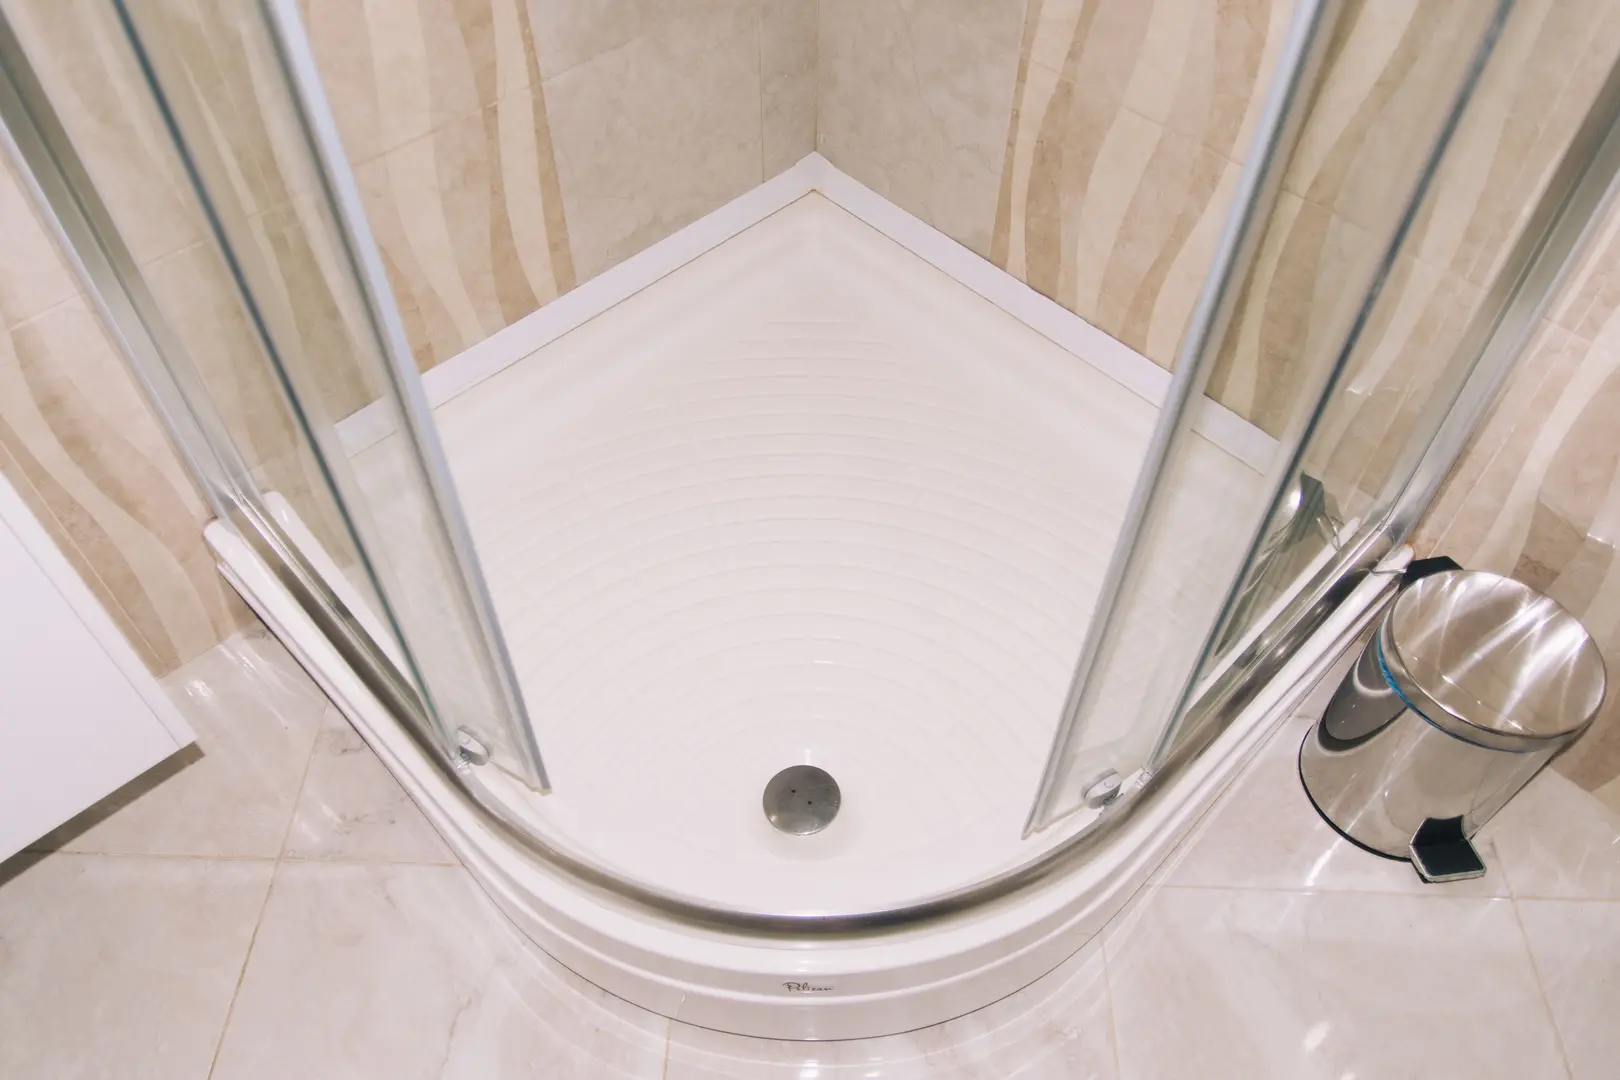
Resealing a shower tray restores a tidy finish and helps stop water from reaching the surfaces beneath and around it. Although the job is suitable for many confident DIYers, success depends on careful preparation. The old silicone must be removed completely, the joints must be dry, and any movement in the tray must be addressed before new sealant is applied.
This guide explains how to reseal a shower tray step by step, including how to create neat lines, avoid trapping moisture and decide whether to hire a professional.
Why Proper Shower Tray Resealing Matters
Silicone around a shower tray creates a flexible, water-resistant joint between the tray and the adjoining walls or enclosure. Over time, that sealant can discolour, separate from the surface or begin to deteriorate. Once gaps appear, water may pass through the joint whenever the shower is used.
A leaking joint can affect more than the immediate shower area. Moisture may reach flooring, walls and concealed surfaces, with damage potentially extending into adjoining rooms. Because the early signs can be difficult to spot, a small opening in the silicone should not be ignored.
A properly sealed joint also reduces the opportunity for moisture to sit in crevices where mould may develop. Resealing therefore improves both the appearance and durability of the shower area.
Common signs that resealing may be needed include:
- Silicone lifting away from the tray or wall
- Visible cracks, gaps or missing sections
- Persistent discolouration that cleaning does not remove
- Water appearing outside the shower area
- A seal that feels loose or has lost its smooth finish
New silicone should not be used simply to cover an existing problem. If the tray moves, the grout remains damp or the leak comes from the drain rather than the perimeter, those issues need attention first. Proper preparation provides much more lasting protection than applying another layer over deteriorated sealant.
Tools and Materials for the Job
Gathering everything before starting makes it easier to complete the resealing process without interruptions. You will need:
- Silicone sealant suitable for the shower area
- Silicone or sealant remover
- A caulking gun
- A utility knife or sealant scraper
- Masking tape
- Cleaning cloths or disposable paper towels
- A suitable bathroom surface cleaner
- Solvent suitable for cleaning uncured sealant from tools
- Protective gloves
- A waste bag or container for removed silicone
A dedicated sealant-removal tool can make it easier to reach corners, although a utility knife or scraper can also be used carefully. Avoid using a damaged or blunt tool that may slip or drag across the tray.
Check that cleaners and solvents are appropriate for the shower tray, wall covering and tools involved. Some surfaces may be sensitive to harsh products, so follow the relevant product instructions and test cleaners discreetly when necessary.
You may also need a dehumidifier if the grout or joints are slow to dry. This is not essential in every bathroom, but it can help where ventilation is limited or moisture has remained around the tray.
Strip Away the Existing Sealant
The existing sealant must be removed rather than covered with a fresh bead. New silicone may not bond reliably to old, deteriorated silicone, and applying it on top can conceal moisture or damaged joints.
Work only when the shower area is dry. A dry tray provides a safer working surface and makes residue easier to identify.
Apply silicone remover. Use the remover according to its instructions. Allow it to soften the old sealant so that less force is needed during removal.
Cut along the edges. Carefully run a utility knife or scraper along the points where the silicone meets the tray and wall. Keep the blade controlled to avoid scratching either surface.
Lift away the main strip. Once both edges are released, pull the silicone away gradually. Long sections may come away in one piece, while brittle material may need to be removed in smaller fragments.
Remove remaining residue. Inspect the entire joint, including corners and areas around the shower enclosure. Use the scraper and remover to lift any thin films or stubborn pieces.
Clean the exposed surfaces. Use a suitable cleaner to remove dirt and remnants of the removal product. The tray edge and adjoining wall must be clean so the new sealant can make direct contact with both surfaces.
Do not rush the scraping stage. Gouging the grout, scratching the tray or damaging surrounding finishes will create additional repair work. If a section is difficult to remove, apply more remover and give it time to soften rather than forcing the blade.
The final surface should be clean and free from old silicone, loose material and cleaner residue.
Dry the Grout and Joints Before Resealing
Drying is one of the most important parts of learning how to reseal a shower tray successfully. Even if the surface feels dry, moisture may remain in the grout or within the exposed joint. Applying silicone too early can trap that moisture beneath the new seal.
After cleaning, stop using the shower and allow the area to dry thoroughly. Keep the room ventilated where possible, and check corners and grout lines rather than looking only at the tray surface.
A dehumidifier can help remove moisture from the room and encourage damp grout and joints to dry. This approach requires extra equipment and may extend the overall job, but the additional drying time is preferable to sealing over a damp joint.
Do not use the appearance of the old silicone as the only guide. If water has been passing behind the seal, the underlying area may need longer to dry than expected. Reseal only when the complete joint is clean and thoroughly dry.
Inspect and Secure the Shower Tray
Before applying new silicone, inspect the shower tray itself. New sealant cannot compensate for a damaged or unstable installation.
Look for:
- Cracks or visible damage in the tray
- Movement when normal pressure is applied
- Gaps that change as the tray moves
- Loose enclosure components near the joint
- Signs that water may be coming from the drain rather than the tray edge
If the tray moves, address the security problem before resealing. Movement repeatedly stretches and compresses the silicone, which can cause the new joint to separate and allow further water damage. A loose tray may require professional inspection, particularly if its supports or surrounding finishes are not readily accessible.
Where access permits, check the drain assembly as well. A leak at the drain cannot be repaired by resealing the tray perimeter. In some situations, loosening and correctly retightening the drain assembly may help establish a proper seal at that point. However, access to drain nuts can be difficult, and they should not be forced from an unsuitable position.
If the drain components are concealed or you are unsure where the water originates, call a suitable tradesperson rather than dismantling inaccessible fittings. Complete any tray, drain or support repairs before moving on to surface preparation.
Prepare the Shower Tray for New Sealant
Once the tray is secure and every surface is clean and dry, prepare the joint for a controlled application.
Apply masking tape along both sides of the joint: one strip on the tray and another on the wall or enclosure. The space between the strips defines the finished silicone line. Follow the joint consistently and press the tape down so sealant does not work underneath its edges.
Pay particular attention to corners. The tape should create a continuous, neat path without hiding sections that need to be sealed.
Next, prepare the silicone:
- Cut the tip of the sealant tube to create the bead size required for the joint.
- Start with a controlled opening rather than making the cut unnecessarily large.
- Fit the nozzle if it is supplied separately.
- Place the tube securely in the caulking gun.
- Test the flow on disposable material before working on the tray.
The sealant should emerge smoothly and predictably. A tube that is not seated correctly in the gun can make it harder to maintain even pressure.
Plan how you will move around the tray before starting. Clear away bottles, shower screens or other obstacles where possible, and keep finishing tools and waste cloths within easy reach.
How to Find Reliable Tradespeople for Resealing Jobs
Resealing can be a DIY task, but hiring a professional may be more appropriate when the tray moves, the drain is inaccessible, water damage is suspected or the previous seal repeatedly failed.
Begin by asking friends, neighbours or local contacts for recommendations based on completed bathroom work. A personal recommendation is useful, but it should still be supported by basic checks.
When comparing tradespeople:
- Ask whether they regularly reseal shower trays.
- Explain whether there is movement, damp grout or a suspected drain leak.
- Request a clear description of the work included.
- Check whether old silicone removal, drying and surface preparation are covered.
- Confirm whether the quote includes materials and waste disposal.
- Compare more than one option where practical.
- Look for consistent, credible feedback from previous customers.
- Avoid choosing solely on the lowest price.
A reliable professional should recognise that applying fresh silicone over the old bead is not a complete resealing job. They should also be prepared to distinguish a failed perimeter seal from a loose tray or leaking drain.
Clear quotes make comparisons easier and reduce the likelihood of paying for unnecessary work. If additional repairs may be required, ask how those costs will be agreed before the work proceeds.
Apply and Finish the New Sealant Step by Step
When you are ready to apply the silicone, work steadily. Stopping repeatedly can create visible joins and uneven sections.
Position the nozzle. Place it at the edge of the masking tape and angle it so the silicone fills the joint rather than sitting only on the surface.
Start the bead. Squeeze the caulking gun gently until sealant begins to flow. Avoid depositing a large amount at the starting point.
Move continuously along the joint. Maintain even pressure on the trigger and travel at a consistent pace. The bead should make contact with both sides of the joint.
Complete manageable sections. Corners may require a change in angle, but try to keep the application continuous. Where sections meet, ensure there is no unfilled gap.
Smooth the silicone. Before it begins to cure, smooth the bead with an appropriate sealant-finishing tool. Use a steady movement to produce a sleek surface and press the silicone into the joint.
Remove excess material. Wipe excess uncured sealant from the finishing tool as you work. Do not spread it onto surrounding bathroom surfaces.
Remove the masking tape. Peel the tape away before the silicone cures. Pull it back carefully so it does not drag across the fresh bead.
Inspect the entire seal. Look for gaps, air pockets, thin sections or areas disturbed by tape removal. Correct imperfections while the silicone is still workable.
Allow the sealant to cure. Follow the sealant manufacturer’s instructions and keep the shower dry throughout the stated curing period.
Avoid repeatedly working the bead once a smooth finish has been achieved. Excessive adjustment can make the surface uneven. The aim is a continuous seal that bridges the tray and adjoining surface without breaks.
After curing, inspect the line once more before using the shower. Check corners carefully because they are easy places to miss during application.
Clean Around the Resealed Shower Tray
Complete the job by cleaning the work area without disturbing the fresh seal.
Use the appropriate solvent to remove uncured silicone from reusable tools, following the solvent and tool instructions. Clean the tray and nearby bathroom surfaces with a suitable surface cleaner, taking care to stay away from the new bead until it has cured.
Collect removed silicone, used masking tape, disposable cloths and other waste. Dispose of sealant, solvent-related waste and empty containers according to the applicable local guidance and product directions. Do not wash quantities of silicone residue into the drain.
Store reusable tools only after they are clean and dry. Seal or dispose of the silicone tube as directed, depending on whether usable material remains.
Once curing is complete, keep the joint clean and inspect it periodically for lifting, cracking or gaps. Prompt attention to small defects can prevent water from passing behind the tray and help the new seal provide lasting protection.