How to Seal a Shower Screen: A Practical Guide
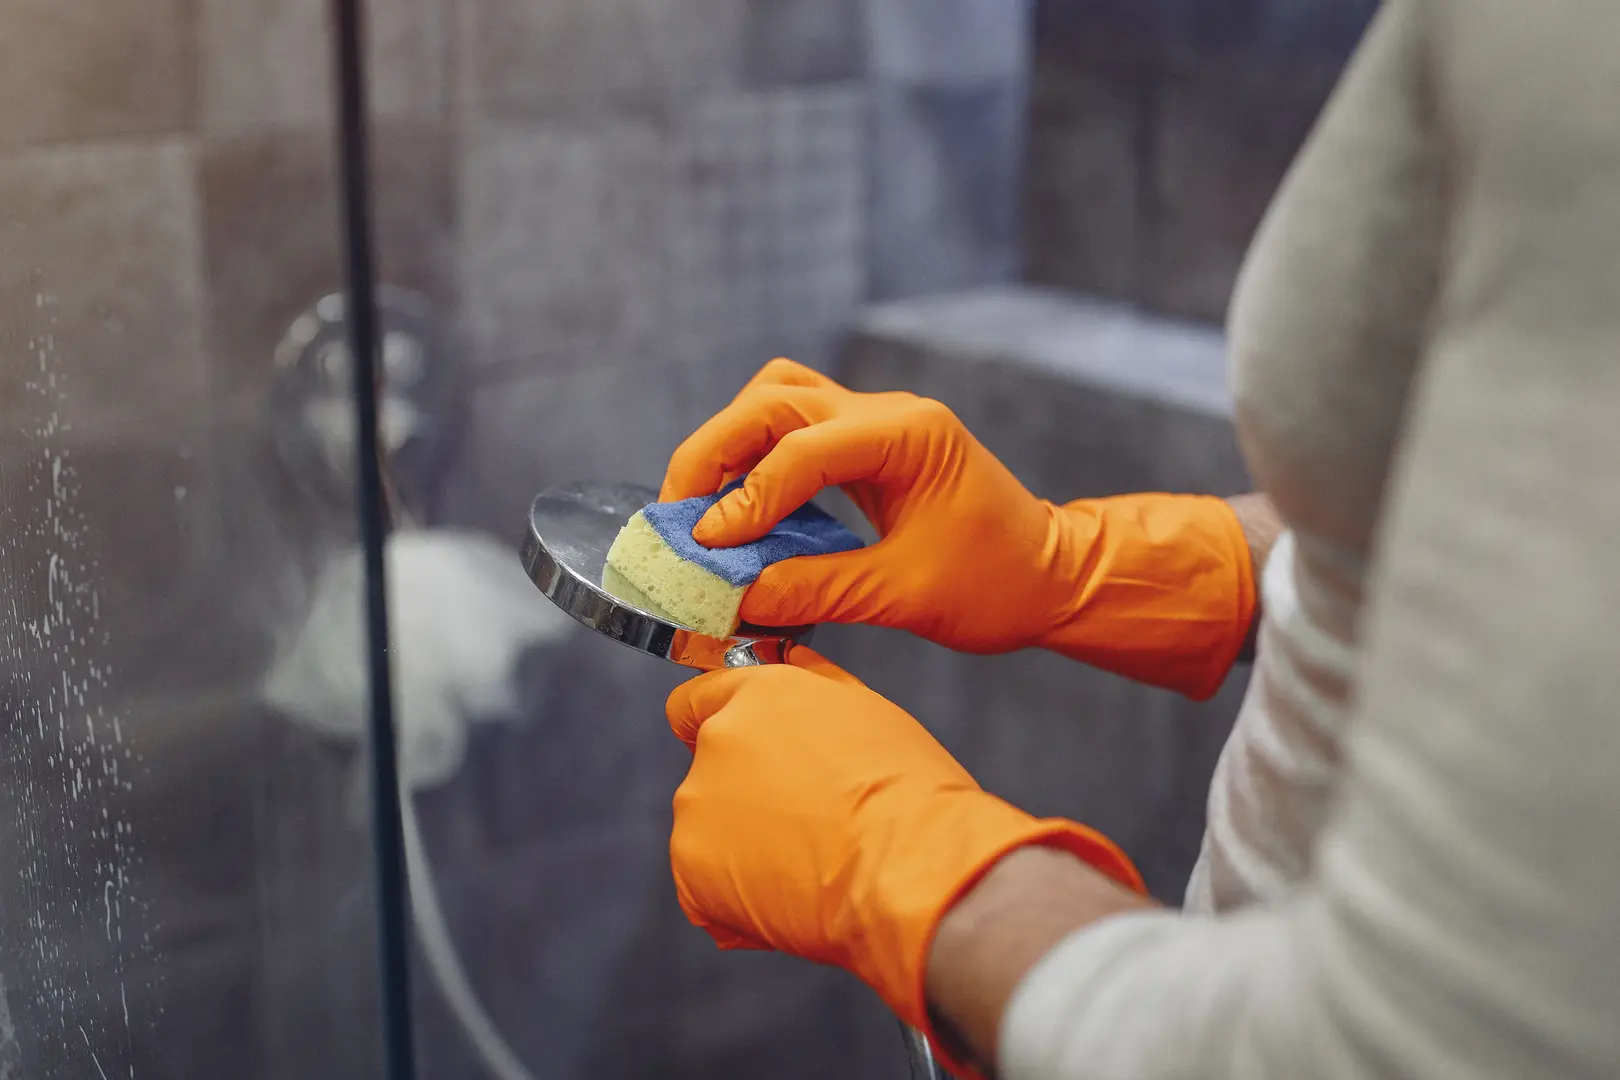
A worn or poorly fitted shower screen seal can let water escape onto the bathroom floor, especially around the wall channel and the bottom of the door. Fortunately, learning how to seal a shower screen is straightforward when you use compatible materials, prepare the surfaces carefully, and allow the new sealant to dry fully.
This guide explains the difference between silicone and plastic seals, how to repair an existing screen, and how to seal a newly installed one.
Understanding Shower Screen Seals
Shower screens generally rely on two different forms of sealing:
- Silicone sealant closes fixed joints where the screen frame or wall profile meets the shower tray, bath edge, tiles, or another fixed surface.
- Plastic screen seals fit onto the edges of moving or fixed glass panels. They are commonly used along the bottom of a shower door or between adjoining panels.
These components have different jobs. Silicone is intended to seal stationary gaps, while a plastic seal helps direct water back into the shower while still allowing the door to open and close.
Over time, either type can become damaged. Silicone may lift, separate, or develop gaps. A plastic seal may become loose, distorted, split, or worn. Once the seal is no longer continuous, water can work through the opening and appear outside the enclosure.
Before starting a repair, identify the source of the leak. Dry the area, then inspect:
- The joint between the screen frame and wall
- The joint between the frame and shower tray or bath
- The bottom edge of the shower door
- The meeting point between two glass panels
- Corners and ends where separate seals join
Water found near the bottom of a door does not automatically mean the silicone has failed. The problem may instead be a missing or unsuitable door seal strip.
Choosing the Right Seal for Your Shower Type
The correct solution depends on the screen configuration and the location of the leak.
| Leak location | Likely sealing option | What to check |
|---|---|---|
| Fixed frame against tiles | Sanitary silicone sealant | Compatibility with the frame, tiles, and existing installation |
| Fixed frame against a tray or bath | Sanitary silicone sealant | Manufacturer’s recommended sealing position |
| Bottom of a hinged or sliding door | Shower door seal strip | Glass thickness, required length, and seal profile |
| Between glass panels | Suitable plastic screen seal | Door movement and panel arrangement |
| Around a newly installed screen | Specified silicone or supplied seals | Installation instructions for that screen |
For fixed joints, choose a silicone sealant intended for bathroom or shower use. Confirm that it is compatible with the shower tray, wall finish, and frame material. Using the wrong sealing material can lead to poor adhesion, compatibility problems, and continuing leaks.
For a bottom-edge leak, a shower door seal strip may be more appropriate than additional silicone. These strips fit along the glass edge and create a flexible barrier that helps keep water inside the enclosure.
Accurate measurement is important. Check:
- The thickness of the glass
- The length of the edge being sealed
- The direction in which the door opens
- The shape or profile of the existing strip
- Whether the replacement is a push-fit or adhesive-backed design
Do not assume that every strip will fit every screen. Some slide or press directly onto the glass, while others may require adhesive. Use adhesive only where the seal manufacturer specifies it, and choose a compatible product.
If the old seal fitted well before becoming damaged, matching its profile is often the simplest approach. If the previous strip never controlled the leak effectively, check the screen manufacturer’s instructions or seek advice before replacing it with an identical design.
Tools and Supplies for Sealing
Gather everything before removing the old seal. You will typically need:
- A Stanley knife or similar sharp utility knife for cutting away old silicone
- A sealant gun that fits the silicone cartridge
- A silicone smoothing tool
- Compatible bathroom or shower silicone
- A replacement plastic screen seal, if needed
- Cleaning materials suitable for the surrounding surfaces
- Clean cloths or paper towels
- A tape measure
- Manufacturer-approved adhesive, if required by the replacement seal
- Protective gloves
A smoothing tool is preferable to using a finger. It creates a more consistent finish and avoids transferring dirt or oils to the fresh silicone.
Take care when using a Stanley knife near the shower tray, glass, tiles, and frame. The aim is to cut the old bead away without damaging the surrounding surfaces.
Keep the shower out of use while working. This normally does not require shutting off the household water supply because no pipework is being opened. However, if the repair extends to taps, valves, or other plumbing components, isolate the relevant water supply before dismantling anything.
Compatibility matters throughout the repair. Do not combine materials simply because they are described as waterproof. The sealant, adhesive, screen frame, glass seal, tray, and wall surface should all be suitable for use together.
Step-by-Step Instructions for Sealing a Shower Screen
Sealing a shower screen is a manageable DIY task when the leak is caused by accessible silicone or a replaceable plastic strip. The essential stages are identifying the failed seal, preparing the area, applying the correct replacement, and waiting until it has dried before testing.
Read the shower screen and sealant instructions before starting. Manufacturer guidance should take priority where it differs from general advice, particularly for the position of silicone around the frame.
Resealing an Existing Shower Screen
1. Stop using the shower
The work area must remain dry. Do not run the shower immediately before starting, and make sure nobody uses it during the repair or drying period.
If water is already pooled around the screen, wipe it away and allow the area to dry before assessing the seal.
2. Locate the failed section
Examine both the silicone and any plastic door seals. Look for obvious breaks, lifted edges, loose strips, or sections that no longer sit against the tray or adjacent glass.
It is often better to replace a failed run of silicone cleanly rather than covering a small gap with another layer. Fresh sealant applied over dirty, loose, or damaged material may not form a reliable bond.
3. Cut away the old silicone
Use a Stanley knife to cut carefully along the edges of the existing bead. Work gradually and avoid pressing the blade into the tray, frame, wall covering, or glass.
Remove the loosened silicone. Continue until the joint is free of material that could prevent the new sealant from adhering.
Do not use the knife to remove a plastic door strip unless that is part of its specified removal method. Many strips can be pulled or slid from the glass once the door is open and accessible.
4. Clean the joint thoroughly
Remove remaining sealant residue, dirt, and soap deposits using products that are compatible with the surrounding materials. A clean joint gives the new silicone the best chance to make continuous contact with both sides.
Pay particular attention to corners and frame edges, where small fragments of old silicone can remain hidden.
5. Let the area dry completely
Silicone should not be applied over a wet joint. After cleaning, wipe the area with a clean cloth and allow it to dry thoroughly.
Check recesses and corners rather than judging only by the visible surface. Water trapped beside the frame can interfere with the repair.
6. Prepare the silicone cartridge
Fit the compatible silicone cartridge into the sealant gun and prepare the nozzle according to its instructions. The opening should allow you to create a bead appropriate for the joint without applying an excessive amount.
Before working on the screen, make sure the sealant flows steadily from the nozzle.
7. Apply a continuous bead
Run the nozzle along the joint with steady pressure on the sealant gun. Aim for one continuous bead without breaks or thin sections.
As a general rule, shower screens should be sealed on the outside rather than the inside. However, screen designs vary, so follow the manufacturer’s installation instructions for the exact sealing points. Avoid adding silicone to unspecified internal gaps, channels, or openings.
8. Smooth the silicone with a tool
Use a silicone smoothing tool while the sealant is still workable. Move the tool continuously along the bead to press the silicone into the joint and create a neat surface.
Do not smooth the sealant with a finger. A dedicated tool provides more consistent contact and a cleaner finish.
Remove displaced excess carefully without disturbing the completed bead.
9. Replace the plastic seal if necessary
If the shower door leaks from its lower edge, inspect the plastic strip. Remove it if it is cracked, loose, distorted, or no longer reaches the correct surface.
Clean and dry the glass edge before installing the replacement. Measure the required length carefully and follow the strip manufacturer’s fitting directions. Depending on the design, the strip may:
- Push directly onto the glass
- Slide into position from one end
- Use a specified adhesive or adhesive backing
Make sure the seal does not prevent the door from moving normally. A poorly matched strip can bind against the tray, leave a gap, or move out of position.
Sealing the bottom of a shower door usually means fitting the correct door seal strip—not applying silicone to a moving joint. Silicone should not be used to fix the door permanently to the tray or prevent its intended movement.
10. Allow the sealant to dry
Leave the shower unused for the full period stated by the sealant manufacturer. Do not assume the surface is ready merely because it feels dry.
Avoid touching the bead or testing it with water before the stated drying or curing period has passed.
11. Test for leaks
Once the silicone has dried fully, test the screen carefully. Run the shower while observing the repaired area from outside the enclosure.
Check the wall joint, tray joint, corners, and bottom edge of the door. If water still escapes, dry the area and investigate the path of the leak rather than immediately applying more silicone. The remaining problem may be a misaligned door, an unsuitable plastic strip, or an incorrectly sealed frame.
Sealing a Newly Installed Shower Screen
A new shower screen follows a similar preparation and application process, but there is no old sealant to remove.
Start by reviewing the manufacturer’s instructions. Shower screens differ in frame design, fixing method, drainage arrangement, and recommended silicone position. Apply sealant only to the specified areas.
The basic process is:
- Confirm the screen is installed correctly. Check that the frame, glass, and door are positioned as directed before applying silicone.
- Clean the installation area. Remove dust, packaging residue, and marks from the frame, tray, bath edge, and wall.
- Dry all sealing surfaces. Moisture should not remain in the joints.
- Fit any supplied plastic seals. Install bottom, vertical, or meeting-edge strips in the positions shown in the screen instructions.
- Load the compatible silicone into a sealant gun.
- Apply the silicone to the specified external joints. Keep the bead continuous.
- Finish it with a silicone smoothing tool.
- Leave it undisturbed for the manufacturer’s stated drying period.
- Test the enclosure for leaks before normal use.
Do not add internal silicone as an extra precaution unless the manufacturer specifically requires it. More sealant is not necessarily more effective, and placing it in the wrong area can conflict with the screen’s intended design.
Practical Advice for Long-Lasting Shower Screen Seals
A careful installation is only part of preventing leaks. Regular inspection and maintenance can reveal small problems before they become persistent.
Use the following practices:
- Seal externally unless instructed otherwise. For many shower screens, silicone belongs on the outside edge of the frame. Always confirm this against the screen instructions.
- Inspect the full seal, not only the wet spot. Water can travel along a frame before appearing on the floor.
- Check plastic strips regularly. Look for splitting, looseness, distortion, and gaps along the glass.
- Keep seals clean. Deposits around the edges can make damage harder to see and may prevent a strip from sitting correctly.
- Do not cover failed silicone with repeated layers. Remove loose material and prepare the joint properly before resealing.
- Use compatible products. Check the suitability of silicone, adhesives, replacement strips, and cleaning materials.
- Test after every repair. Wait until the sealant has dried fully, then observe all joints while the shower is running.
- Recheck the screen periodically. Early attention to a lifting bead or damaged strip can help prevent water from escaping.
A common question is whether a shower needs a raised curb to seal properly. There are differing views because shower designs are not all the same. A raised curb can help contain and direct water in some enclosures, but other systems are designed to work with carefully positioned glass, suitable door seals, and the correct floor or tray arrangement.
A curb should not be treated as a substitute for damaged silicone or a missing bottom seal. Equally, adding a plastic strip may not correct a leak caused by the wider shower layout. The appropriate solution depends on the complete enclosure design and the screen manufacturer’s requirements.
Seek professional advice if:
- The leak continues after the silicone and plastic seals have been replaced
- The glass or frame appears loose or incorrectly aligned
- The required sealing points are unclear
- Water seems to be coming from behind the wall or beneath the tray
- The screen must be dismantled to reach the problem
- You are not confident working around glass or using a sharp knife
A sound repair depends less on applying a large amount of silicone and more on locating the actual gap, removing failed material, preparing the joint properly, and using the right seal for that part of the screen.