How to Tile a Shower
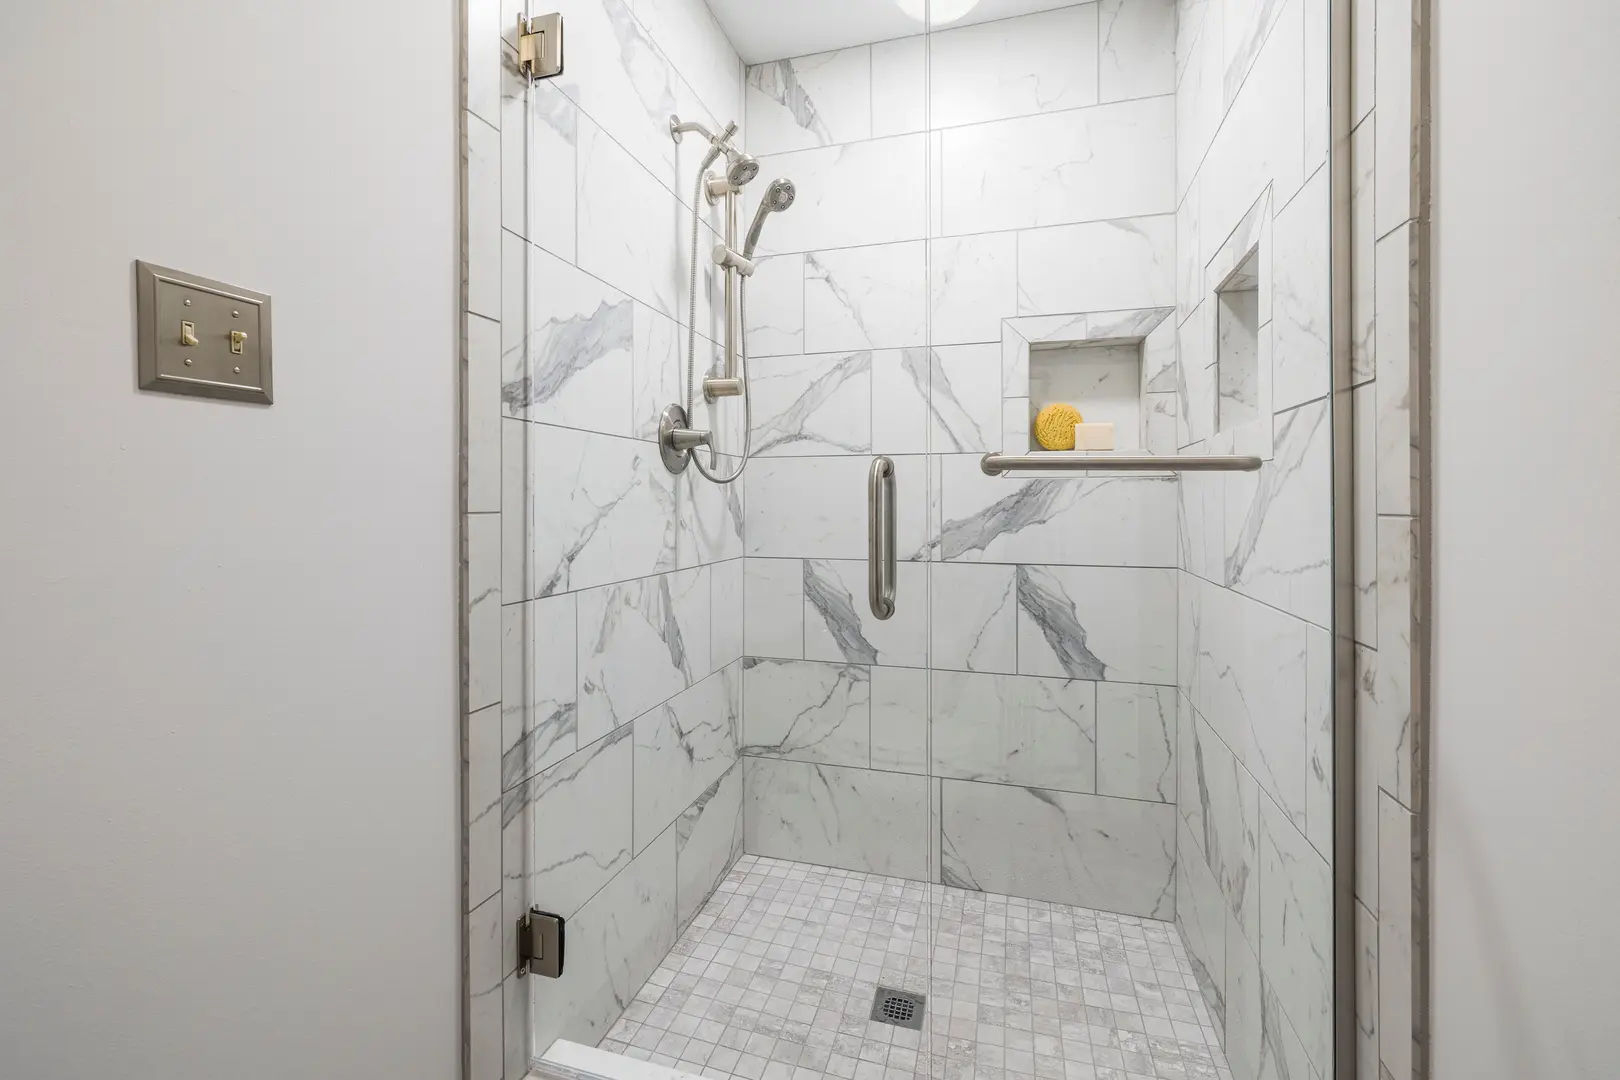
Tiling a shower is one of the most rewarding upgrades you can take on in a bathroom. A fresh tile surround changes the look of the room completely, and the process is within reach for a careful DIYer. You just have to work in the right order.
Each step in this guide builds on the one before it, from clearing out the old walls to sealing the freshly grouted joints. Skipping ahead or cutting corners on prep can lead to loose tile, leaks, and early grout failure. Set aside enough time, gather your tools, and follow the stages in sequence.
The tile and color you select matter, but the quality of the installation matters more. A well-prepared wall, an even layer of mortar, and patient curing are what keep the tile firmly in place for years. If you move through each phase deliberately, the finished shower will look clean and remain durable.
Step 1: Clear Out the Old Shower Surround
Begin by removing the fixtures so they are out of the way. Take off the faucet trim, tub spout, and showerhead before you start demolition. If you plan to reuse them, set the pieces aside somewhere safe. If you are replacing them, store them out of the way until the new trim has arrived.
Next, strip the shower walls down to the bare studs. Pry off old tile, backer board, or waterproof paneling one layer at a time. Work slowly near the tub so you do not dent the surface or scratch the enamel. If the tub is staying, cover it with rosin paper or a drop cloth. Lay a drop cloth over the rest of the bathroom floor as well, because dust and debris have a way of traveling farther than you expect.
The drain needs attention too. Debris falls into the shower pan while you work, so cover the drain opening with a rag or a scrap of plywood. A blocked drain is easy to cause and annoying to clear once the demolition dust has settled.
After the walls are open, inspect the exposed studs for mold, rot, or water damage. Look for dark stains, soft or crumbly wood, and a musty odor. If any structural wood is damaged, bring in a professional to replace it before moving on. Building new tile over damaged framing only hides the problem.
This is also a good time to check whether the studs are flat and plumb. Straight framing makes the rest of the job far easier, and small adjustments now save you from lipped tile and uneven surfaces later.
Step 2: Mount the Water-Resistant Backer Board
The backer board gives the tile a stable, water-resistant base. Mount cement backer board directly over the wall studs, with no drywall underneath. It is designed for wet areas and gives thin-set mortar a rough surface to grip.
Plan the board layout before cutting anything. Measure each wall and arrange the panels to reduce the number of cuts. Offset the vertical seams from row to row, like brickwork, to keep the surface rigid. Leave a small gap between boards so the seams can be taped and filled.
Cutting cement board is dusty but simple. Score the face with a utility knife, snap it over a straightedge, then cut the mesh backing with a knife. For openings around the faucet and showerhead, use a jigsaw with a carbide blade. Mark the openings carefully and cut just inside the line so the escutcheon covers the edge. Wear a dust mask and eye protection, because cement board throws a fine dust as you work.
Fasten the board with 1-1/4-inch cement board screws. Drive them along each stud and around the edges, and set the heads just below the surface without breaking the face of the board. A screw that is overdriven will leave a lump that is hard to smooth over later. Cement board is heavy, so have a helper nearby when lifting larger panels into place.
Once all the boards are mounted, seal the seams with tape and apply a waterproof membrane. Embed alkali-resistant tape into a thin layer of mortar or joint compound, scrape it flat, and let it dry. Then roll or trowel liquid membrane over the seams and screw heads. For extra protection in a shower, some installers coat the lower portion of the walls as well.
Step 3: Map Out the Tile Layout
Plan the complete tile layout before any mortar is mixed. This is the step where you decide how the tile will look, and it directly affects how professional the finished shower appears. The few minutes spent marking walls now can prevent regret later.
Start by finding the center of the main wall. Mark the midpoint and draw a vertical line with a level, then center the tile pattern on that line. Dry-lay a row of tile along the floor to see how the edges land. If the cut on one side would be narrow, shift the pattern by a few inches to balance the two sides. Measure each wall and write down the dimensions so you can plan cuts and confirm your tile order is sufficient.
Balance the layout visually across the shower. The wall with the plumbing fixtures often gets more attention, so check how the cuts look at the corners and around the valve. The goal is to avoid a tiny, awkward cut along a prominent edge.
Keep grout joint widths as consistent as possible. Decide on the joint size before you begin and stick with it throughout the shower. Use spacers for consistent gaps: cross spacers for regular square-edged tile, wedge spacers for larger pieces that need slight adjustments.
The ceiling is rarely level, so plan the row heights from the bottom up. Cut top-row tiles as needed to match an uneven ceiling, and let that irregular cut line stay at the top, where it is less noticeable. A balanced pattern with clean, even joints is the easiest way to make a shower look professionally installed.
Step 4: Apply Thin-Set Mortar to the Wall
Thin-set mortar is the adhesive that holds the tile in place. Mix it according to the manufacturer’s instructions, adding the powder to water and stirring until there are no dry lumps. The goal is a toothpaste-like consistency: thick enough to hold a ridge when raked, but soft enough to spread with little resistance.
Spread the mortar in small sections so it stays workable. Thin-set skins over quickly, especially in warm or dry conditions. Once the surface starts to look dull or feel tacky, the mortar is no longer reliable, so scrape it off and apply a fresh batch rather than forcing tile into a weak bond.
Use a notched trowel to apply the mortar, holding it at a consistent angle and pulling it across the wall in straight lines. Rake the mortar with a notched trowel to create texture; those ridges collapse when the tile is pressed in, which helps ensure even coverage. Choose the trowel notch size recommended by the tile manufacturer, because the right notch matters more than a heavy hand. Large-format tile usually calls for a larger notch, while small mosaic tile needs a smaller one.
Work in manageable sections, such as a band of tile a few pieces wide and one or two rows high. That keeps the thin-set fresh while still giving you room to set tile without stopping constantly. For large tile, butter the back of each tile as well to get full coverage and firm support around the edges. Keep a damp sponge and a bucket of clean water nearby to wipe up spills before they set.
Step 5: Lay the Tile and Keep It Level
Start setting tile along the center line and work outward. Press each tile firmly into the mortar and check it with a level. A gentle twist or a tap from a rubber mallet seats the tile evenly and keeps the surface flat. If a tile sits high, pull it off, add a little mortar, and reset it; pressing harder will not fix a low spot.
Use spacers to keep gaps consistent between tiles. Place spacers at each joint and remove them once the mortar firms up. Check your work frequently with a level, especially after finishing each row. Small corrections are easy during installation and difficult after the mortar sets.
Leave a 1/4-inch expansion gap along the bottom row, where the tile meets the tub or shower pan. This gap eventually gets filled with a flexible sealant, allowing natural movement between the wall and the shower base. Without it, cracks can develop along the bottom edge.
Cut tile with a manual cutter or a wet saw.
- A manual tile cutter is fast for straight cuts: score the surface, snap along the line, and smooth any rough edges.
- A wet saw gives accurate cuts for notches, L-shaped pieces, and cuts around the valve, but it may be optional for this job. Many homeowners rent one for a day instead of buying.
Feed the tile through the saw evenly and avoid forcing it, since too much pressure can chip the edge. Measure each cut twice and keep the blade or cutter well away from the finished faces of surrounding tile. Clean excess mortar out of the joints before it dries, because hardened mortar makes grouting much more difficult.
Step 6: Fill the Joints With Grout
Let the mortar dry for about 24 hours before grouting. The tile should be firmly set, and the joints should be clear of any dried mortar that could block the grout.
Use the grout type recommended by the tile manufacturer. Sanded grout is typically used for wider joints, while unsanded grout suits narrow lines. Premixed grout can help keep the mix consistent because it comes ready to use and eliminates the guesswork of mixing powder and water. If you mix your own grout, follow the bag instructions and only mix what you can use before it starts to stiffen. Choosing a grout color that blends with the tile also helps hide day-to-day stains.
Apply the grout with a rubber float, working from the bottom up. Working upward prevents water and grout residue from dripping over areas you have already cleaned.
- Load the float with grout and press it into the joints.
- Pull the float across the surface at an angle to fill the gaps evenly.
- Wipe the tile faces with a damp sponge after about 10 minutes.
- Remove any haze with a soft cloth once the grout has firmed up.
Use a circular motion with the sponge to smooth the joints and keep them uniform. Rinse the sponge often, because a dirty sponge will leave a film across the tile face. Work in small sections so the grout does not dry before you can wipe the surface. Once the grout has set, a soft dry cloth removes the last haze.
Step 7: Protect the Grout With a Sealer
Grout is porous, and a shower is one of the most moisture-heavy places in a home. Sealing the grout makes the wall easier to clean and helps it resist stains and mildew. Wait at least 48 hours for the grout to cure before sealing, because the sealer needs to penetrate a fully cured grout rather than trap moisture inside.
Inspect the grout lines and repair any cracks or chips before sealing. If you find a small defect, fill it with matching grout and let the repair cure completely. Sealing over damaged grout only locks in the problem. Also brush away any dust or debris along the joints before you apply the sealer.
Choose a sealer suited to tile and wet areas. There are different formulas for ceramic, porcelain, stone, and for wide or narrow joints, so read the label carefully. Check the sealer label for moisture tolerance in wet environments; a shower needs a product rated for ongoing exposure to water, not a basic dry-area sealer.
Apply the sealer carefully along the grout lines, using the applicator that came with the bottle or a small brush. Wipe any sealer off the tile face before it dries so it does not leave a shiny film. Allow the sealer to cure for about 24 hours before using the shower. After that, you can reinstall the fixtures and finish the job with a flexible sealant along the tub or pan.