How to Unblock a Bathroom Sink Safely
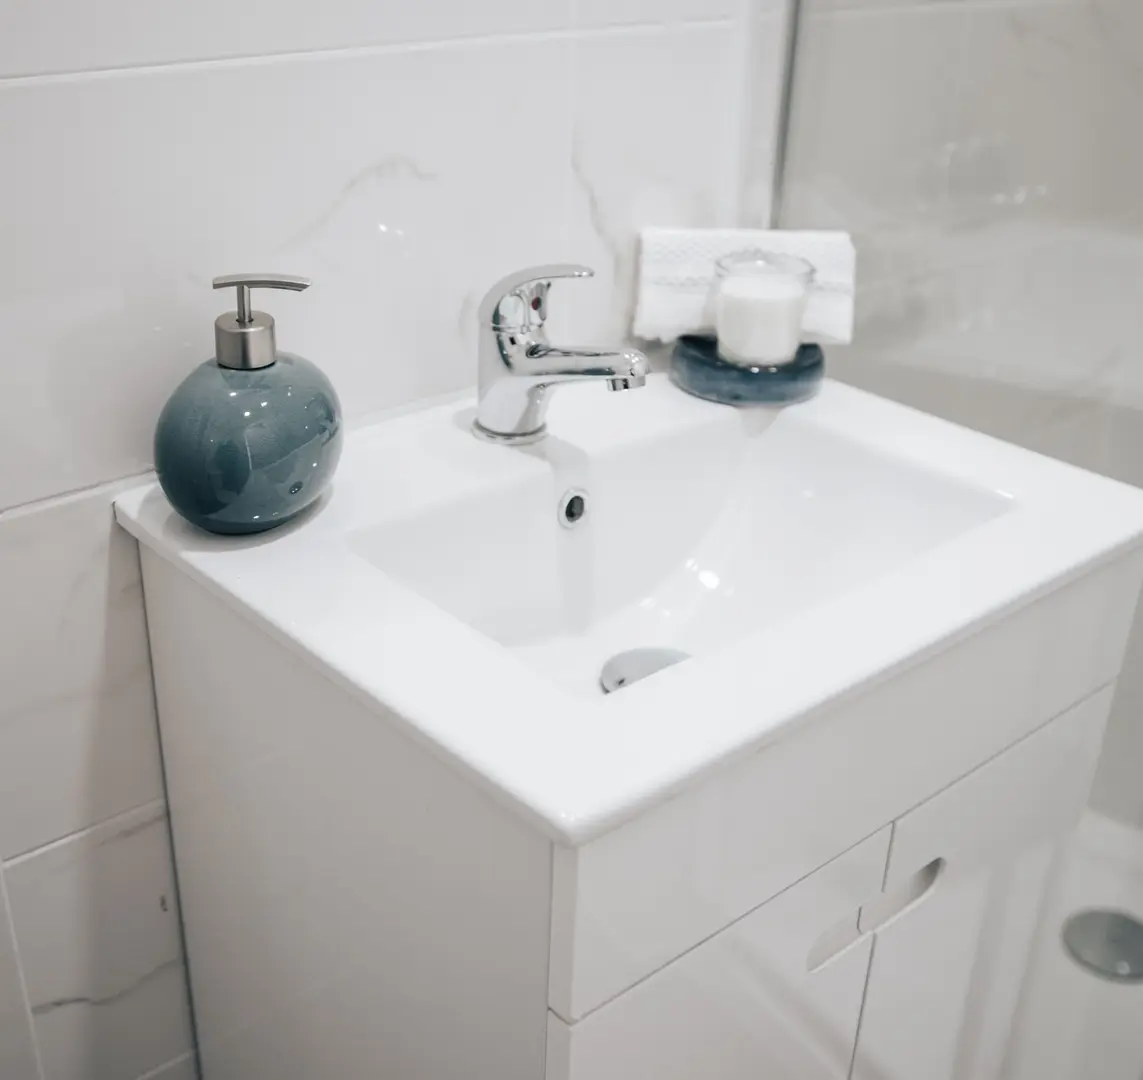
A slow-draining or completely blocked basin can quickly make a bathroom difficult to use. Fortunately, many common blockages can be cleared with household ingredients or basic tools.
This guide explains how to unblock a bathroom sink safely without relying on harsh chemical cleaners. Start with the simplest method, then move to the waste trap if the obstruction remains.
What Is Causing the Bathroom Sink Blockage?
Before trying to clear the sink, consider what may be obstructing it. Identifying the likely cause helps you choose an effective method and avoid repeatedly treating a problem that needs professional attention.
Common causes include:
- Hair, soap residue, grime and dirt inside the waste pipe
- Small foreign objects caught around the plughole or trap
- Incorrect pipe angles or other installation errors
- Leaves and debris blocking external drainage after bad weather
- Poor venting or a partial obstruction affecting airflow and drainage
A complete blockage is easy to recognise because water remains in the basin. Partial blockages can be less obvious. The sink may drain slowly, produce bubbling or gurgling sounds, or appear to clear before water rises again.
Bubbling and slow drainage may indicate trapped air, poor venting or a developing blockage. Addressing the issue early can prevent it from becoming a persistent problem.
If several fixtures are draining poorly at the same time, the problem may be farther along the drainage system rather than directly beneath the sink. Similarly, a blockage that keeps returning after the trap has been cleaned can suggest an installation, venting or deeper drainage issue.
Blockages Caused by Foreign Objects
Most bathroom sink blockages develop gradually. Loose hair enters the plughole and becomes caught inside the pipe. Soap residue, grime and dirt then collect around it, creating a mass that restricts the flow of water.
Other small objects may also fall into the drain. Depending on the type of stopper and waste fitting, an object can become trapped close to the plughole or travel into the waste trap.
The good news is that the basin trap—the curved or bottle-shaped pipe section beneath the sink—provides an accessible place to inspect. Its purpose includes retaining a small amount of water, but its shape also means that debris can collect there. Many traps can be removed, emptied and cleaned without disturbing the rest of the drainage system.
Start by checking the visible parts of the plughole and stopper. Remove accessible hair and grime without pushing it farther down the pipe. If the sink remains blocked, try plunging or cleaning the trap.
Problems Caused by Incorrect Installation
Not every recurring blockage is caused by what goes down the sink. Poorly installed waste pipes can encourage debris to settle instead of being carried away.
Possible installation problems include:
- Waste pipes fitted at an unsuitable angle
- Sections that do not align correctly
- Poorly assembled fittings
- DIY alterations that interfere with drainage
- A trap or pipe arrangement that is difficult to clean properly
An incorrect pipe angle may leave water and residue moving too slowly through the system. Over time, soap, hair and grime can accumulate in these areas.
Recurring drainage problems are an important warning sign. If you clear the trap but the basin soon begins draining slowly again, the obstruction may be deeper or the pipework may have been installed incorrectly. Repeated plunging will not correct a faulty layout.
Inspect only the accessible pipework you can handle safely. If fittings appear misaligned, the pipework repeatedly leaks after reassembly, or the blockage continually returns, ask a qualified plumber to assess the installation.
How Storms and Bad Weather Can Block Drains
Bathroom sink problems do not always begin inside the bathroom. Storms can wash leaves, dirt and other debris into external drains. As the material accumulates, it can restrict the drainage system serving the home.
A blocked external drain may prevent wastewater from flowing away normally. In more serious cases, drainage can back up towards or into the property. This type of problem is unlikely to be resolved by cleaning the bathroom basin trap alone.
Look at the timing of the problem. If the sink began draining poorly immediately after a storm, particularly if other fixtures are also affected, an external blockage may be responsible.
Avoid reaching into an unsafe or inaccessible outdoor drain. If water is backing up, several fixtures are affected or the obstruction cannot be reached easily, arrange professional help rather than continuing to use the affected drainage system.
Ways to Unblock a Bathroom Sink
There are several ways to approach a blocked bathroom basin. The right choice depends on where the blockage is and how severe it has become.
Useful options include:
- Removing visible debris from the plughole
- Using a hand to create a temporary plunging action
- Applying a sink plunger
- Treating minor buildup with baking soda and vinegar
- Removing and cleaning the waste trap or U-bend
Start with a non-chemical approach. Household products and physical removal are often enough for hair, soap and grime close to the basin. They also let you investigate the underlying cause instead of depending on a cleaner that may not reach or remove the obstruction.
Avoid repeatedly pouring chemical drain cleaner into the sink. It may fail to address a trapped object or an installation problem, and some products can be damaging to pipework. Eco-friendly alternatives are generally a better first step for an ordinary household blockage.
If you have already put a chemical cleaner into the drain, follow its safety instructions rather than immediately dismantling or plunging the pipework.
Natural Methods for Unblocking Sinks
If you want to unblock a sink without tools, begin by removing the stopper and lifting out any visible hair or dirt. Clean around the plughole so loosened material does not fall back into the drain.
You can also use a cupped hand as a temporary plunger:
- Add enough water to cover the drain opening.
- Place your palm firmly over the plughole.
- Press down to make a seal.
- Lift and press repeatedly to alter the pressure inside the upper pipe.
- Check whether the water begins to drain more quickly.
This can sometimes shift a light obstruction near the plughole. However, a hand cannot form as consistent a seal as a proper plunger, so it may not clear a severe or deep blockage.
Baking soda and vinegar are another tool-free option for a slow drain affected by residue. They are less suitable when a solid object is trapped in the pipe. If natural methods do not work, move on to plunging or physical trap cleaning rather than repeating the same treatment indefinitely.
Clear the Blockage with a Plunger
A sink plunger is most useful when hair, soap or grime is lodged in the upper section of the waste pipe. The pressure and suction created by the plunger can loosen the material and allow it to move.
The plunger needs to seal around the drain opening. If air can enter around its edge, the plunging motion will have less effect. Water around the cup helps complete the seal.
Plunging may be less successful when the obstruction is deep within the drainage system, when a solid object is trapped in the pipe, or when incorrect installation is causing recurring problems. If repeated controlled attempts make no difference, inspect the trap instead.
Steps for Plunging the Sink
- Remove the plug or stopper. Take out any removable components covering the drain. Clear away visible hair and dirt.
- Add some water. The plunger cup should be covered sufficiently to help it seal against the basin.
- Cover the overflow opening. If the basin has an overflow, block it with a damp cloth so air is less likely to escape.
- Position the plunger. Centre it over the plughole and press down so the rim sits firmly against the basin.
- Create a vacuum effect. Push down and pull up in a controlled motion without breaking the seal.
- Repeat the action. Continue several times, then lift the plunger and see whether the water drains.
- Remove loosened debris. If hair or grime rises into the basin, collect it rather than washing it back down.
- Check the flow. Run a small amount of water to confirm whether drainage has improved.
Do not assume that more force will solve every blockage. A plunger acts mainly on the upper pipework. If it does not improve the flow, the obstruction may need to be removed manually from the trap.
Try Baking Soda and Vinegar for a Slow Drain
Baking soda and vinegar are common household options for a bathroom sink that still drains but does so slowly. Their fizzing action can help loosen and dissolve some of the soft buildup left by soap and grime.
This approach is intended for minor accumulation rather than a completely obstructed pipe or trapped object. It is also unlikely to correct poor venting, external drainage trouble or an incorrectly installed waste pipe.
The main advantage is that it provides a non-chemical first response using familiar household ingredients. However, if the sink repeatedly slows down, physically cleaning the stopper and trap is more likely to reveal the cause.
How to Use Baking Soda and Vinegar
- Remove the stopper and take out any debris you can see.
- Allow standing water to drain away as much as possible.
- Pour baking soda into the plughole.
- Follow it with vinegar.
- Leave the mixture while it fizzes inside the drain.
- Wait until the fizzing has settled.
- Flush the drain with hot water.
- Check whether the sink now empties more freely.
Give the water time to move through the pipe. If drainage has not improved, avoid repeatedly adding more ingredients. The blockage may be too solid or too deep for this method, making a plunger or trap cleaning a more appropriate next step.
Do not combine this method with chemical drain-cleaning products. If another product has already been used, refer to its instructions before attempting a different treatment.
Take Apart and Clean the Waste Trap or U-Bend
When plunging and household ingredients do not work, the blockage may be inside the waste trap. Removing this section allows you to inspect it and clear hair, soap, grime, dirt or a trapped object physically.
Depending on the fittings, useful items include:
- A bucket or washing-up bowl
- Protective gloves
- Old towels or cloths
- An adjustable wrench
- A brush for cleaning the inside of the trap
Place the bucket beneath the pipe before loosening anything. The trap retains water, so some liquid will come out even if the basin appears empty.
Work carefully and note how the fittings, washers and seals are arranged. Correct reassembly is essential. A fitting that is cross-threaded, overtightened or assembled in the wrong order may leak.
Steps for Removing and Replacing the U-Bend
- Turn off the water supply. This prevents anyone from accidentally running the tap while the waste pipe is disconnected.
- Clear the area below the basin. Remove stored items so you have enough room to work.
- Position a bucket and towels. Place them directly beneath the U-bend or waste trap to catch retained water and debris.
- Examine the fittings. Identify which nuts connect the trap to the basin waste and outgoing pipe. Take note of the trap’s position and the order of any washers.
- Loosen the fittings. Unscrew hand-tightened nuts carefully. If necessary, use an adjustable wrench without applying excessive force.
- Support and remove the trap. Hold it level until it is above the bucket, then tip out the contents.
- Clear the blockage. Pull out hair and other material, then clean grime and residue from the accessible pipe sections.
- Inspect the connecting pipes. Check the open ends for visible debris, but do not push an obstruction farther into the drainage system.
- Replace the U-bend correctly. Return the trap to its original alignment and refit the washers and nuts in the correct order.
- Tighten the connections. Secure them evenly. Avoid forcing or overtightening plastic fittings.
- Restore the water supply and test. Run a small amount of water while watching each connection. Confirm that the sink drains and that the reassembled trap does not leak.
If the trap is clear but water still will not drain, the obstruction is probably farther along the pipe. Likewise, ongoing bubbling, repeated blockages or problems affecting several fixtures may indicate poor venting, faulty installation or an external drain issue. At that point, professional investigation is safer and more useful than continuing to dismantle accessible fittings.