How to Waterproof a Window in a Shower
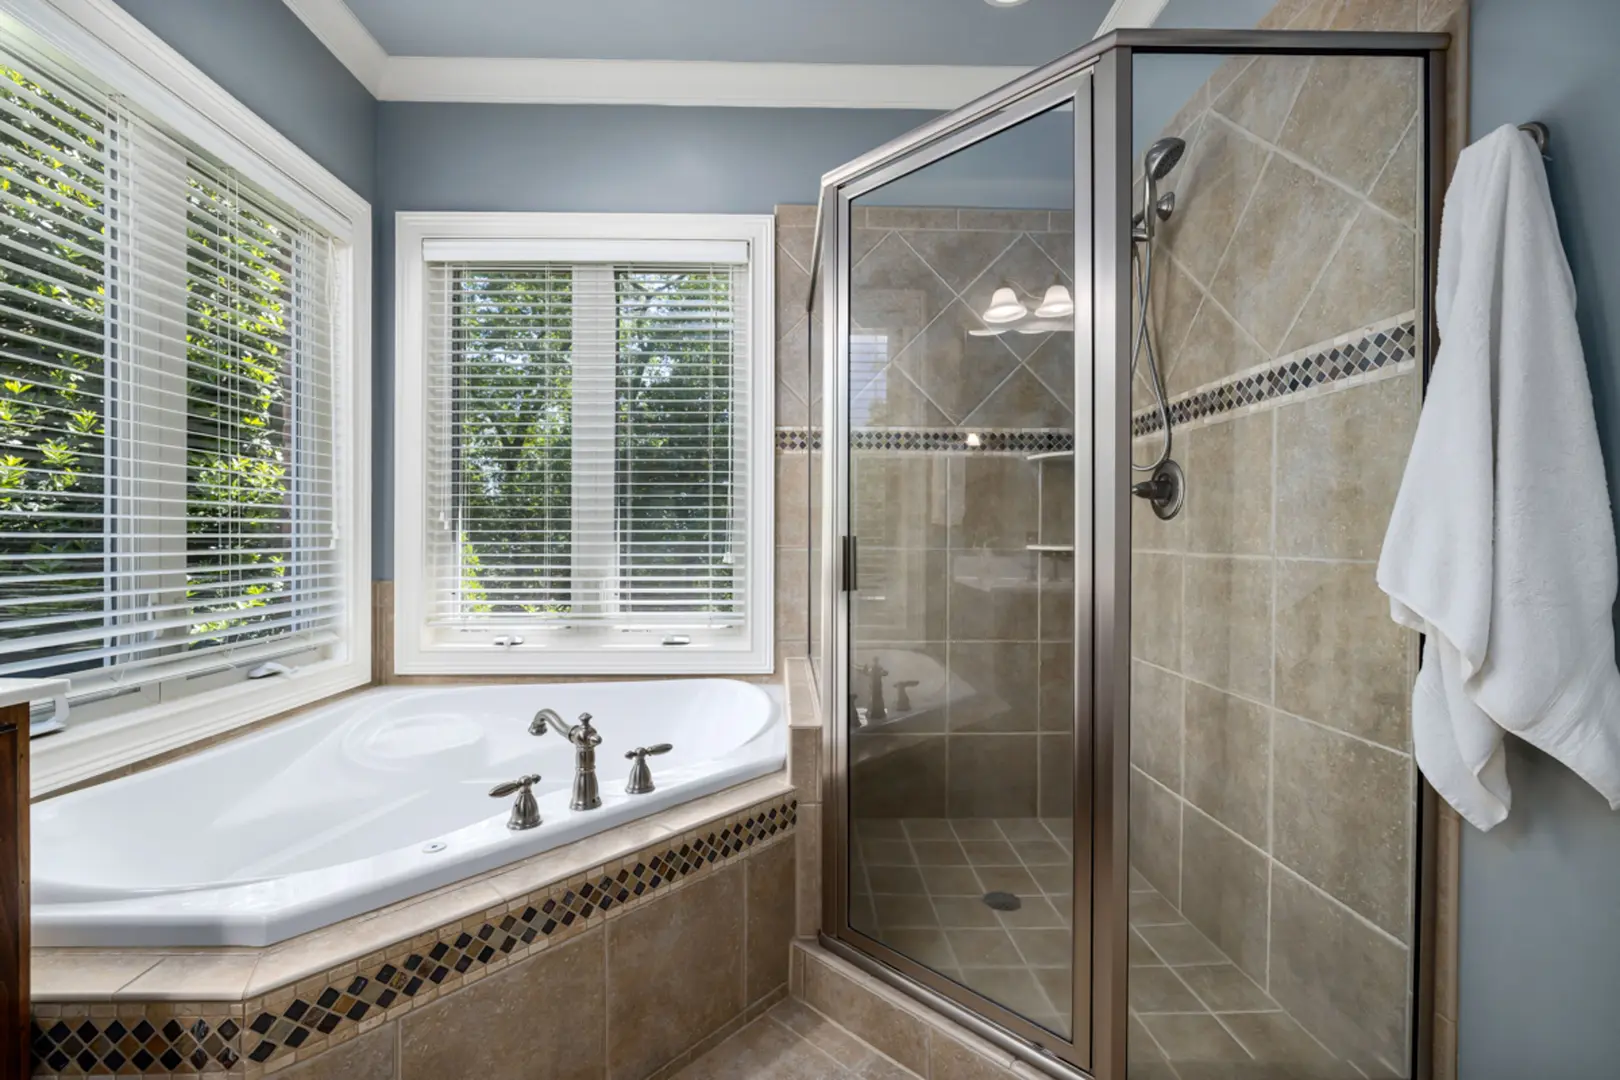
Few things make a shower feel more open than natural light coming through a window. But that same window also takes a direct hit from steam, spray, and soap residue every time someone showers. Water has a way of finding tiny gaps, and if the area around the window is not properly protected, moisture can work its way into the wall and cause expensive damage.
Waterproofing a window in a shower isn’t just about caulking the edges and hoping for the best. It involves building a continuous moisture barrier behind the finish, choosing materials that suit the window, and planning for water to drain away rather than pool. Whether you’re in the middle of a bathroom remodel or trying to fix an existing leak, the steps below will explain how to keep both the window and the wall around it in good shape.
What Waterproofing a Shower Window Involves
The first step is to think about where the window sits. A window placed above the showerhead is less exposed to direct spray than one positioned directly in the path of the water. If you are planning a new shower or replacing a window, choose a location that stays out of the main splash zone whenever possible. It is also worth selecting a window with a moisture-resistant frame, such as one with PVC trim, because these materials handle damp conditions far better than untreated wood. Even a high window can collect condensation, so the goal is to reduce the amount of water that reaches it, not to keep it completely dry.
Once the window is in place, the waterproofing begins behind the finished surface. The waterproof backer board should extend all the way to the window jamb so there is no unprotected gap between the wall and the window. Every hole, seam, and crevice in the surrounding area needs to be sealed before any finish is applied. If you are not sure how to seal the window so moisture cannot get through, work the sealant into all the joints around the jamb and sill rather than just running a bead along the visible edge. This fills the spaces where water would otherwise collect.
The sill should be sloped slightly so water runs off instead of sitting on the ledge, and a waterproofing membrane such as a latex-modified thinset should be applied to create a continuous barrier. This membrane is the part of the assembly that actually stops moisture.
A common mistake is to treat tile as the waterproofing layer. Tile is a hard, attractive surface, but water can pass through the grout and seep behind it. The real protection comes from the membrane underneath, and it must be continuous and properly overlapped at the window. If the membrane stops at the edge of the window or is joined with gaps, moisture will eventually find its way into the wall.
The prep work also depends on what kind of window you have. Vinyl windows and wood windows require different products and steps, so it is important to identify the frame material before you begin. For a vinyl window, a practical approach is to apply a waterproofing membrane directly onto the window and then cover it with PVC trim or tile, creating one continuous barrier. For a wood window, the approach is different: sand the surfaces, apply alternating layers of caulk and a waterproofing product around the trim, then prime and paint with moisture-resistant enamel. The right sequence protects the material without trapping moisture inside.
If your window sits near the shower but not inside the enclosure, remember that it can still get sprayed during a shower. Water bounces off bodies and walls, and steam settles on every surface in the room. That means a window next to the shower needs protection too, even if it is behind a curtain or on the adjacent wall.
Choosing a Waterproofing Method Based on Window Material
Before choosing a waterproofing method, take a close look at the window frame and trim. Vinyl windows are common in modern bathrooms and respond well to a membrane-and-tile approach. In this method, the waterproofing membrane overlaps onto the window itself, creating one continuous moisture barrier. The membrane is then covered with PVC trim or tile, which hides it and gives the window a finished look. This technique works well because the membrane bridges the gap between the wall and the window frame, leaving no open seam for water to enter.
Wood is a different story. A wood window and its trim in a shower are vulnerable and need to be protected with several layers. A practical treatment sequence looks like this:
- Sand the surfaces so the sealant can bond properly.
- Apply alternating layers of caulk and a waterproofing product around the trim, working the material into every joint.
- Once the sealant is dry, apply two coats of primer.
- Finish with two coats of moisture-resistant enamel paint.
This layered approach puts multiple barriers between the wood and the damp shower air. Many homeowners use this technique to protect an existing wood window without replacing it.
Whether the window is vinyl or wood, the condition of the existing frame plays a huge role. Cracks, rot, or a badly fitted sash will shorten the life of any waterproofing treatment. The quality of the surface prep is just as important as the product you choose. A clean, dry, properly prepared surface will hold up far longer than a rushed job on a worn-out frame. Take the time to sand rough areas, remove old sealant, and wipe away dust before you start.
Why the Waterproofing Membrane Matters Behind Tile
Some homeowners assume that once the tile is up, the shower is protected. This assumption can lead to serious problems. Tile itself is not waterproof. Grout is porous, and moisture can migrate through it in both directions. If there is no membrane behind the tile, water that gets through the grout can soak the backer board and the wall framing.
The membrane is the actual moisture barrier, and it needs to extend onto or overlap the window area so that the window and wall behave as one continuous surface. When the membrane is missing or patchy, the finish alone has to do all the work, and it will almost certainly fail over time. A membrane that visibly laps over the window flange is a sign of good workmanship; it means the installer understood that the finish is only a covering, not a shield.
An incomplete membrane is also hard to troubleshoot after the tile is installed. A small leak that begins behind the wall can go unnoticed for months, leading to mold, warped framing, and damage to the ceiling below. Investing time in a complete, correctly overlapped membrane is the best insurance against these hidden failures.
Keeping a Shower Window Openable
Waterproofing a shower window does not mean sealing it shut forever. Many homeowners want to keep the option of opening the window for ventilation, especially in bathrooms that get steamy or in climates where ice dams form in winter and extra airflow helps. You can protect an operable window while preserving its function.
The key is to focus on the moving parts and the areas where water is likely to collect. The frame, sill, seals, and operable hardware all need attention. The membrane and flashing can wrap around the window without gluing the sash in place, so the design must allow the window to operate normally.
Use products that remain flexible after curing, such as quality sealants designed for wet areas, so the natural movement of the window doesn’t crack the seal. The sill should still be sloped for drainage, and any weep holes or drainage paths must stay clear. If water collects in the sill, it will find its way through the gap under the sash.
Operable windows have more potential wear points than fixed ones. The seals around the moving sash are constantly flexed, and the sliding parts can pick up soap scum and hard water residue. Inspect the movable seals and the sill drainage path regularly, and clean them as part of your bathroom routine. A few minutes of maintenance can prevent a small issue from becoming a major leak.
Budgeting for Shower Window Waterproofing
Cost is often a deciding factor when planning any bathroom project. For shower window waterproofing, the national average typically falls between $44 and $108 per window. The final amount depends on several factors:
- Window size and frame material
- The type of waterproofing membrane and sealant you choose
- Whether the backer board needs to be installed or replaced
- Local labor rates and the complexity of the installation
In most cases, the materials cost less than the labor. Waterproofing membranes, sealants, backer board, and trim paint are relatively affordable, but professional installation adds the cost of skilled time. Hiring a professional can be worth the expense because a properly waterproofed window protects the surrounding wall and floor from water damage that would cost far more to repair later.
If a window requires repeated maintenance, replacement may be a better long-term investment. Recaulking and patching a failing window every year adds up, and the repeated moisture exposure can damage the wall structure. In those situations, spending more now on a new moisture-resistant window and a proper waterproofing installation can save money in the long run.
These numbers are general guidance only, not a quote or a promise. Local rates and project complexity can vary widely, so it’s always smart to get a professional assessment before committing to a budget.
Routine Maintenance to Protect a Shower Window
Once the waterproofing is in place, routine maintenance is the best way to keep it effective. If your bathroom window gets wet whenever the shower is used, that repeated exposure makes regular inspections especially important. Check the shower window for signs of moisture, mold, or failed caulk and sealant. Discolored spots on the trim, peeling paint, or a musty smell are early warnings that moisture is getting where it shouldn’t.
A simple inspection routine can help:
- Look for dark spots or streaks on the window trim and sill.
- Press gently on the sealant; it should feel firm, not soft or crumbly.
- Open the window and check the sash corners for damage.
- Wipe the sill dry after a shower and notice where water collects.
Not all leaks come from inside the shower. Rain leaks can originate outside the window area, traveling through insulation, walls, overhangs, or gutters before showing up near the window. When you inspect the window, also check the exterior. Keep the gutters clear, make sure the overhangs are in good condition, and repaint and recaulk the exterior of the window as part of routine home maintenance. A little attention outside can prevent a frustrating leak inside.
It’s also a good idea to look at the rest of the bathroom while you’re at it. Check that bathroom outlets are GFCI-protected, especially those near the shower or sink. This is a simple safety step that rounds out a thorough bathroom check. The goal is to catch small problems early, before they turn into expensive repairs.
When to Call a Professional for Shower Window Leaks
Some shower window problems are easy to diagnose and fix. Others require a closer look than a weekend DIYer can provide. If the shower window is actively leaking, or if you can’t tell where the moisture is coming from, it’s time to call a professional.
Cracked sealant around the window frame is a common culprit, but it isn’t the only one. Leaking pipes inside the wall can also soak the area around the window, and the source of the moisture may be hidden behind the finished surface. A licensed contractor can inspect the wall and window framing to identify the true cause before anyone starts tearing things apart.
Calling in a professional is not an admission of failure. It’s a way to avoid more expensive mistakes. A small leak that is misdiagnosed can spread quickly, damaging framing and encouraging mold growth. In the long run, a professional inspection and repair is often far less costly than fixing a wall that has been slowly rotting behind a seemingly small leak. A contractor can also tell you whether the existing window is worth saving or whether replacement makes more sense.