How to Install a Shower Curtain Rod So It Stays Secure
Install a shower curtain rod securely by choosing the right rod for the opening, positioning it high enough for the curtain to contain water, marking both ends at the same height, and using fixings suited to the wall. A tension rod needs firm, even pressure against sound surfaces; a fixed rod needs properly anchored brackets and careful alignment.
The rod can still slip or sag if it is too short for the opening, overloaded by a heavy curtain and liner, installed on a weak surface, or adjusted without following the manufacturer’s instructions. Use the method below to separate an installation problem from a rod that is simply unsuitable.
Choose the right type of shower curtain rod
There are two common installation methods:
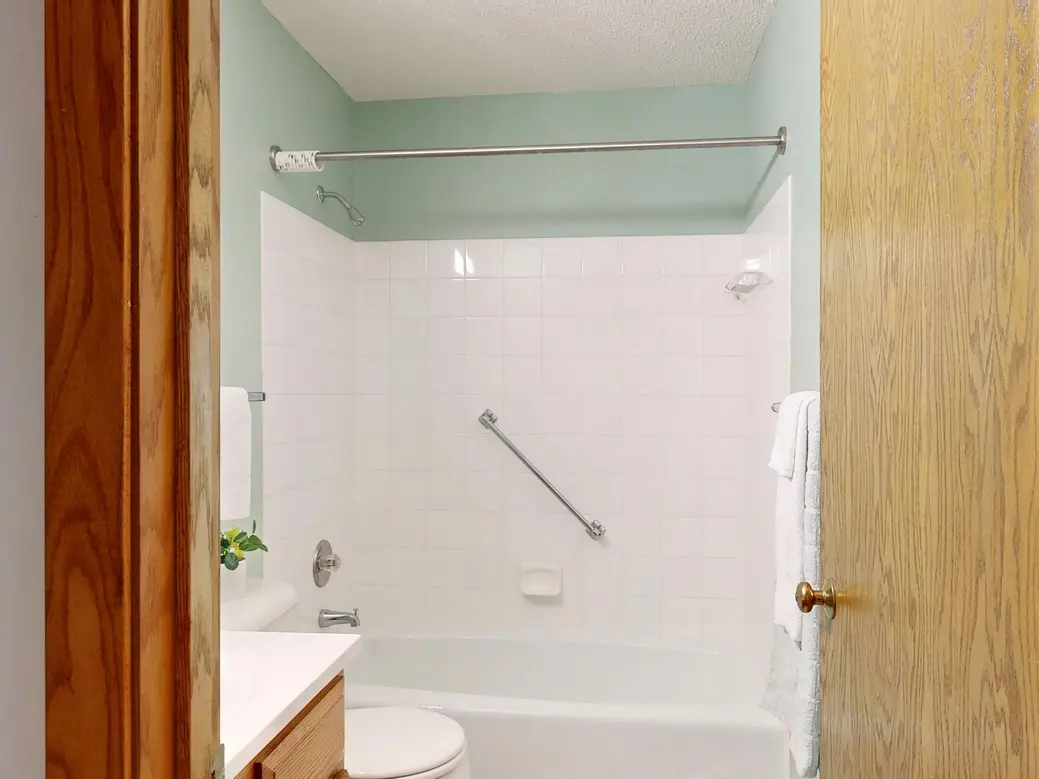
- Tension rod: This fits between two opposing walls and stays in place through pressure. It usually requires no drilling, making it useful for many rentals and straightforward openings.
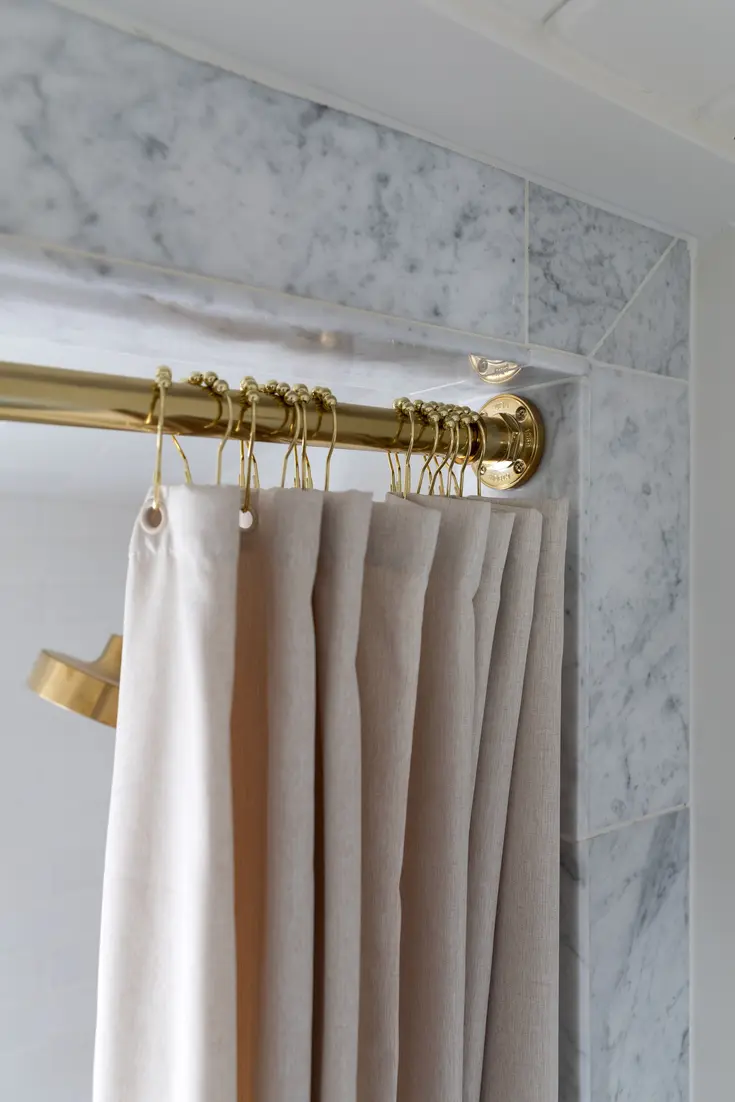
- Fixed rod: This attaches to wall brackets with screws and anchors. It takes more preparation, but it is the better choice when you want a more permanent installation or need dependable support for a heavier curtain setup.
A tension rod must be long enough for the opening and compatible with both wall surfaces. A fixed rod needs brackets that can be attached to sound material with suitable fixings. Curved, extra-wide, or unusually heavy arrangements may require a rod and mounting system designed specifically for that use.
Before drilling or tightening anything, check the rod’s instructions for its adjustment range, mounting requirements, and weight guidance.
Plan the position before you mark the wall
Hold the curtain and liner near the proposed location and check how they will hang. The curtain should cover the shower or tub opening without leaving a large gap at either side. It should also hang inside the tub or shower area enough to direct water inward, rather than resting outside the wet zone.
Avoid placing the rod so low that the curtain bunches heavily on the floor or tub. Avoid placing it so high that the curtain no longer reaches the intended water-containment area. The correct height depends on the curtain length, the tub or shower layout, and any clearance around the ceiling, trim, shelves, or doors.
Also check for practical interference:
- Make sure the curtain can open without hitting a shelf, door, or nearby fixture.
- Leave enough room for the hooks or rings to move freely.
- Check that the rod will not block a window, exhaust grille, or bathroom storage.
- Look at both end points rather than assuming the walls are perfectly symmetrical.
How to fit a shower curtain rod with tension
A tension rod is simple to fit, but it still needs accurate positioning. Follow these steps:
- Measure the opening. Measure between the two surfaces where the rod will sit. Compare that measurement with the rod’s stated adjustment range. Do not force a rod into an opening outside that range.
- Mark the height. Use a pencil or removable tape to mark the same height on both sides. A level helps confirm that the marks align.
- Inspect the contact points. The walls should be clean, dry, and structurally sound. Remove dust, soap residue, or loose material that could reduce grip.
- Adjust the rod according to its design. Some rods twist to lengthen or shorten; others use a spring or locking mechanism. Do not rely on a partly engaged adjustment if the instructions require a specific locking action.
- Set both ends at the marks. Keep the rod level while placing the end caps against the walls. Apply firm, even pressure rather than pushing one end higher than the other.
- Test the rod gradually. Pull lightly down and sideways at several points. If it shifts, remove it and correct the length, surface, or locking adjustment before hanging the curtain.
Do not use a tension rod to compensate for a poor fit. If it is nearly at the end of its adjustment range, visibly bows, or loses contact when the curtain moves, choose a better-sized rod or consider fixed installation.
Fixed shower curtain rod installation
A fixed rod is supported by brackets attached to the walls. The key is not simply drilling a hole; it is anchoring each bracket into a suitable part of the wall.
- Position the brackets. Hold each bracket in place and check the curtain coverage, clearance, and rod level. If the rod has separate mounting plates, use those plates as the marking template.
- Mark the screw holes. Mark through the bracket holes with a pencil. Recheck the distance between sides and confirm that both brackets will support the same rod position.
- Identify the wall surface. Painted drywall, wood, masonry, and tile require different drilling methods and fixings. If possible, position the screws in a stud or other solid structure. Otherwise, use anchors intended for the wall material and the expected load.
- Drill carefully when required. Use the correct bit and technique for the surface. On tile, avoid letting the bit wander across the glaze and do not use impact action unless the tool and bit instructions specifically allow it. Protect the surrounding finish from scratches.
- Install the anchors and brackets. Keep the bracket flat against the wall and tighten the screws until secure. Do not overtighten, since this can damage tile, strip a fixing, or distort a bracket.
- Attach the rod. Fit the rod into the brackets as directed. Check that any set screws, retaining rings, or locking parts are fully engaged.
- Test before hanging the curtain. Apply gentle downward and sideways pressure. The brackets should not rotate, pull away, or creak as the rod moves.
If the wall is hollow, crumbly, heavily tiled, or difficult to identify, take extra care with the fixing choice. A screw that feels tight is not necessarily anchored securely if the material around it is weak.
Surface-specific preparation
Drywall and painted walls
Use a stud when the bracket position allows it. If there is no stud at the required location, select an anchor designed for the thickness and type of drywall. Do not assume that a basic plastic plug is suitable for every bracket or curtain weight.
Clean the surface before using a tension rod. Glossy paint, dust, and residue can reduce friction at the end caps.
Tile
Mark carefully and use a bit intended for tile or the particular tile material. Work slowly and avoid striking the surface. Check what is behind the tile before drilling, especially around plumbing fixtures and electrical equipment.
A tension rod can be suitable on tile when its end caps make broad, stable contact and the surface is sound. Very narrow, uneven, cracked, or highly textured contact areas are less dependable.
Masonry
Use a masonry bit and anchors intended for the wall construction. Clear drilling dust from the hole before inserting the anchor, and use the screw size specified for that anchor. If the masonry is damaged or the hole crumbles, move to a sound fixing point rather than repeatedly tightening the same hole.
Why a shower curtain rod slips or sags
If the rod moves after installation, check the likely cause before replacing it:
- It is too short: The rod cannot maintain adequate contact across the opening.
- The ends are not level: Uneven placement can make the curtain pull the rod toward one side.
- The surfaces are dirty or uneven: Soap film, loose paint, grout ridges, or textured walls can reduce contact.
- The adjustment is not locked: A rod may shorten gradually if its locking mechanism is only partly engaged.
- The curtain setup is too heavy: A thick curtain, liner, rings, and added accessories may exceed what the rod is intended to carry.
- The brackets are poorly anchored: Fixed rods can pull away when screws are in weak material or unsuitable anchors.
- The rod is being used as a grab point: A curtain rod is not a support bar. Pulling on it can loosen even a correctly installed system.
For a tension rod, remove the load and refit it rather than simply pushing it back into place. For a fixed rod, check the bracket screws and the wall around them. If the wall is damaged, use a new sound fixing location or repair the mounting area before reinstalling.
Final installation check
Before considering the job complete, confirm that:
- The rod is level from end to end.
- Both ends or brackets are fully seated.
- The rod does not move under gentle testing.
- The curtain and liner slide without catching.
- The curtain reaches the intended containment area.
- The rod is not visibly bowing under the installed weight.
- No screw, anchor, tile, paint, or drywall is showing signs of damage.
A secure shower curtain rod comes from matching the installation method to the opening and wall, not from tightening the rod as hard as possible. If a tension rod repeatedly slips despite clean, sound surfaces and a correct fit, a fixed rod may be the more reliable solution.