How to Install a Thermostatic Mixer Shower: A Practical Step-by-Step Guide
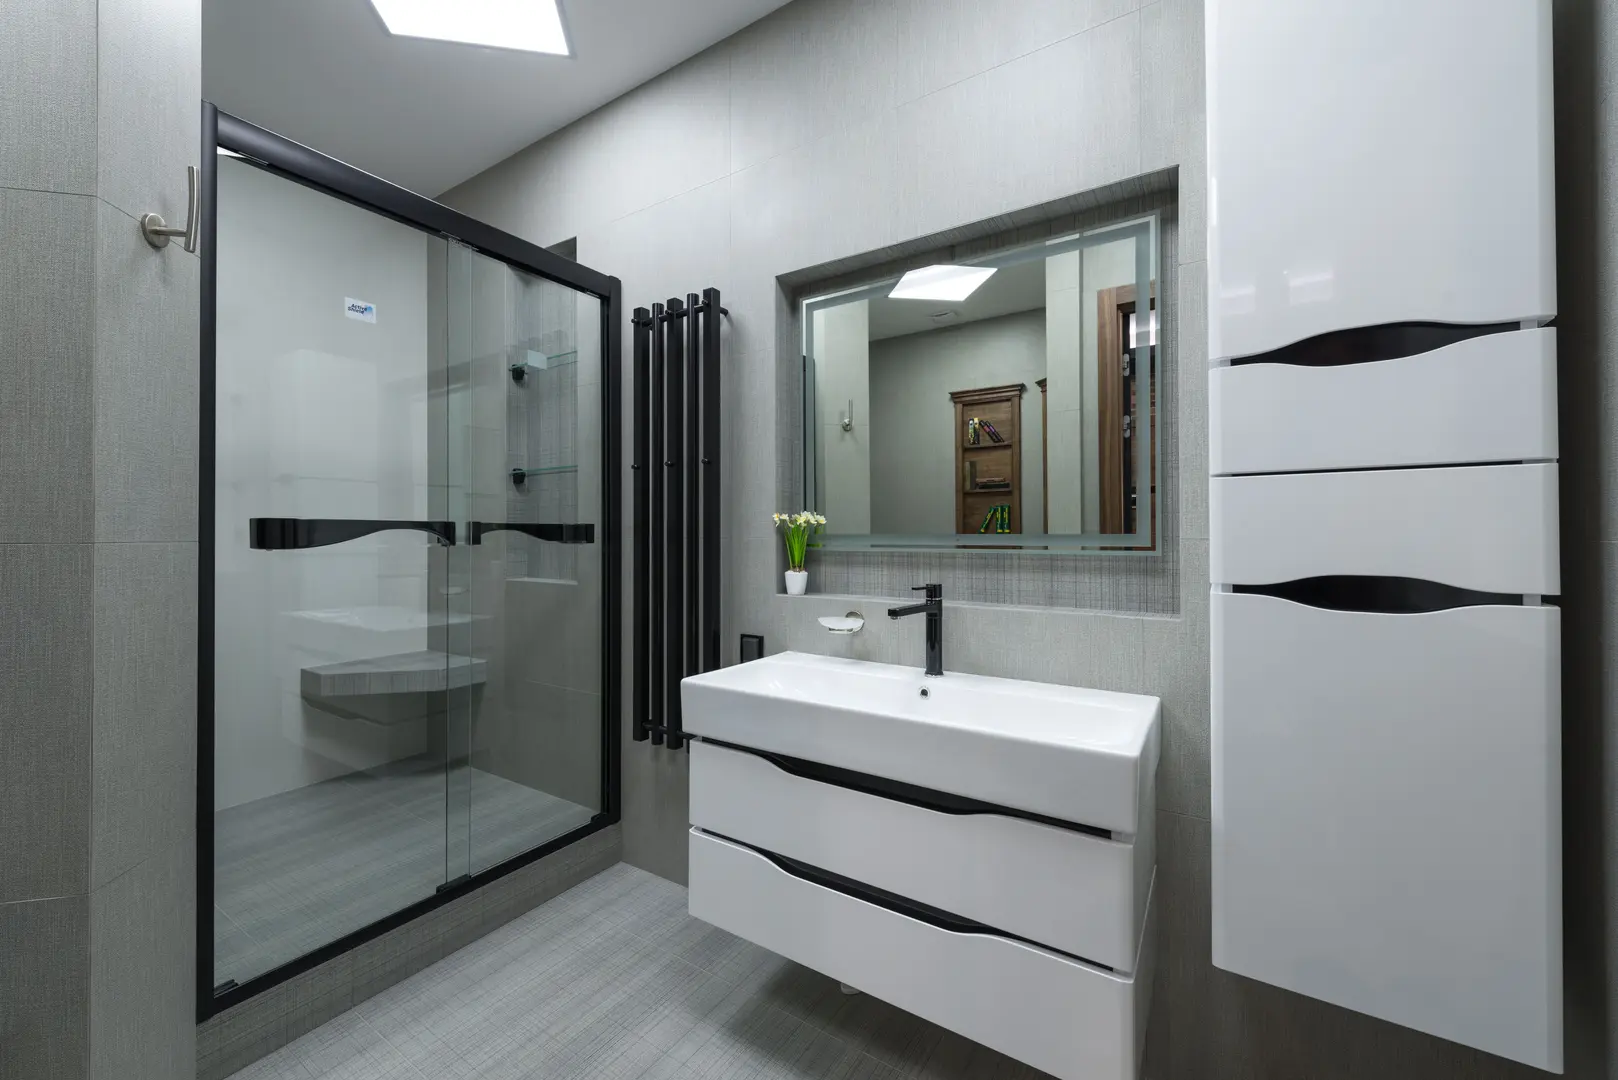
Installing a thermostatic mixer shower can be a manageable DIY project if you have suitable plumbing experience and the existing pipework is straightforward. The valve blends hot and cold water to provide a controlled shower temperature, but successful installation depends on water-system compatibility, accurate pipe alignment and careful fitting.
This guide explains how to install a thermostatic mixer shower, from identifying your water system to dealing with restricted access. Shower designs vary, so always follow the instructions supplied with your chosen model. If you cannot identify the plumbing arrangement or safely alter the pipes, ask a qualified plumber to complete the work.
Check Whether Your Water System Suits a Thermostatic Mixer Shower
Before buying or fitting the shower, identify the type of water system in your home. The three common arrangements are combi boiler, gravity-fed and unvented systems.
Water pressure can help indicate which system you have, although it should not be used as the only method of identification.
| Water system | Typical features | Pressure indication |
|---|---|---|
| Combi boiler | The boiler supplies hot water without a separate hot-water cylinder | Pressure commonly follows the incoming mains supply |
| Gravity-fed system | Usually includes a cold-water storage tank and a hot-water cylinder | Shower pressure may be lower because it depends on the system’s available head and arrangement |
| Unvented system | Uses a sealed hot-water cylinder rather than an open cold-water storage tank | Often provides hot water at mains-fed pressure |
Most modern thermostatic mixer showers can work with more than one type of water system. However, “widely compatible” does not mean that every shower will suit every installation. The available hot and cold pressure must fall within the operating requirements stated by the shower manufacturer.
The hot and cold supplies should also be reasonably suitable for mixing. If one supply behaves very differently from the other, the valve may not perform as intended. Do not assume that apparently strong flow from one tap confirms compatibility for the entire shower installation.
Use the following checks before proceeding:
- Look for a separate hot-water cylinder or cold-water storage tank.
- Check the boiler documentation if you are unsure whether it is a combi boiler.
- Compare the apparent hot and cold flow at nearby outlets.
- Read the shower manufacturer’s stated system and pressure requirements.
- Confirm whether the valve permits any variation in the hot and cold inlet arrangement.
- Ask a plumber to assess the system if its type or pressure is unclear.
Pressure can point you in the right direction, but an unusual or modified plumbing layout may not match the typical features in the table. A professional compatibility check is particularly useful in older properties or where previous plumbing work is difficult to trace.
Also examine the proposed shower position. Confirm that the supply pipes can reach the valve without being forced out of alignment. If you are replacing an existing mixer, do not assume the new valve will fit the same pipe positions. Compare the new fittings with the existing layout before removing or cutting anything.
Tools and Materials to Prepare Before Installation
Gather everything before turning off the water. This avoids leaving the installation incomplete while you search for a fitting or tool.
You will need:
- The thermostatic mixer shower
- The wall brackets and connectors supplied with it
- Any seals, washers and covers included in the fitting kit
- An adjustable spanner
- A suitable screwdriver
- A spirit level
- Appropriate tools for marking and drilling tiles
- The manufacturer’s installation instructions
- An old towel to catch residual water and protect the shower area
Check the shower package against the parts list in its instructions. Fittings vary between exposed and concealed valves, as well as between different manufacturers. Do not replace supplied parts with apparently similar components unless their suitability has been confirmed.
Inspect the adjustable spanner and screwdriver to make sure they fit the relevant connections and fixings. A poorly fitting tool can make controlled tightening more difficult. The spirit level is important because judging the valve position by eye may leave it visibly uneven.
Tile drilling also needs preparation. Use tools intended for the wall finish and confirm where the pipes run before choosing bracket positions. The goal is to secure the wall brackets without interfering with the supplies behind the surface. If you do not know where concealed services are located, pause and obtain professional help rather than drilling speculatively.
Place the old towel below the work area before disconnecting anything. Even after the main supply is turned off, some water may remain in the valve or pipes. The towel can catch these small spills and help prevent tools or fittings from damaging the bath, tray or surrounding finish.
Before beginning, read the complete manufacturer’s installation sequence. Pay particular attention to:
- The intended hot and cold inlet arrangement
- How the wall brackets are assembled
- The permitted pipe layout
- Whether the valve offers reversible or configurable connections
- The required tightening method
- The final setup and operating checks
Reading the instructions first is especially important if the pipework may need to be altered. It is easier to plan the route while the pipes are intact than to correct an unnecessary cut.
Fit and Connect the Thermostatic Mixer Shower
Turn off the water supply before starting work. Confirm that the supply has stopped before opening any connection. Keep the old towel in place to collect water left in the pipework.
The exact fitting procedure depends on the shower model, but the following sequence provides a practical framework.
Plan the valve position
Hold the valve and its brackets in the intended location without connecting them permanently. Check that the shower will be accessible and that the controls can be used comfortably.
Compare the valve inlets with the hot and cold supply pipes. If they do not line up, establish how the pipework will need to change before cutting it. Do not try to pull rigid pipes into position using the valve connections.
Check the inlet arrangement
Identify which supply pipe carries hot water and which carries cold water. Then compare that arrangement with the markings and instructions for the thermostatic valve.
Some installations allow pipes or valve components to be configured differently, while others require a fixed arrangement. Never assume that the inlets can simply be reversed. If the instructions do not clearly permit customization, confirm the options with the manufacturer or a plumber.
Position the wall brackets
Use the supplied wall brackets as directed by the installation manual. Hold them against the wall and check their position with the spirit level.
Mark the fixing locations only after confirming that the bracket positions correspond with the pipe alignment. Check the marks again before drilling. Small alignment errors at this stage can make it difficult to connect the valve without placing strain on the fittings.
Drill and secure the brackets
Drill the fixing points with tools suited to the tiled surface. Work carefully and follow the instructions for the selected drilling equipment.
Fit the brackets using the supplied or approved fixings. Before fully securing them, check the alignment again with the spirit level. The brackets should support the shower in its intended position rather than relying on the supply pipes to hold it level.
Align the supply pipes before cutting
Bring the supply pipes into the position required by the brackets and valve connections. Check both pipes together rather than completing one side without considering the other.
If cutting is required, use the manufacturer’s fitting arrangement to determine the correct position. Recheck the alignment before making an irreversible change. The pipe ends need to meet the connectors cleanly without being forced sideways.
If you are not confident cutting or rerouting pipework, this is the appropriate point to call a plumber.
Fit the connectors and seals
Install the supplied connectors, washers and seals in the sequence shown in the shower instructions. Keep sealing faces clean and make sure washers sit correctly rather than becoming twisted or displaced.
Avoid adding unapproved parts or sealants merely because a connection looks different from the old installation. The supplied fitting method should take priority.
Offer the mixer valve to the connections
Place the valve onto the prepared connectors and start the fittings by hand. Hand-tightening first helps the threads engage correctly and reduces the chance of damaging the valve or connection.
If a fitting will not turn easily by hand, stop and check its position. Resistance may indicate misalignment rather than a need for more force.
Check that the valve is level
Place the spirit level against the valve before final tightening. Adjust the brackets or connections as permitted by the fitting system until the shower sits level.
Do not use the final tightening action as a way to pull a badly aligned valve into place. Correct the underlying bracket or pipe position instead.
Complete the tightening carefully
Once the valve is correctly aligned and hand-tight, finish the connections according to the manufacturer’s instructions. Use the adjustable spanner only where required and avoid excessive force.
Protect visible surfaces while working. A tool slipping against the valve can mark its finish even if the plumbing connection remains intact.
Restore the water supply and inspect the installation
When all connections are secure, restore the water supply carefully. Inspect each joint for escaping water before fitting any decorative covers that would hide the connections.
Operate the shower using the manufacturer’s commissioning procedure. Check the controls, water flow and thermostatic operation. If a connection leaks, turn the supply off again before adjusting it.
Fit the finishing pieces
Once the installation is secure and operating correctly, fit the covers and other finishing parts supplied with the shower. Check the valve with the spirit level one final time and wipe away any water from the surrounding area.
How to Handle Tight Spaces During Installation
Restricted access is a common practical problem, particularly when the supply pipes run beneath a bath or behind a finished wall. The difficulty is not necessarily connecting the shower itself; it is reaching enough of the pipework to make the required changes without forcing the fittings.
Start by checking whether an existing access panel can be removed. If you can reach the pipes beneath the bath, it may be possible to swap or reroute them there so that they arrive at the shower in the correct positions. This can be more practical than attempting to cross or alter them directly behind the valve.
However, swapping the pipes is only an option when there is sufficient access to work on them properly. Do not begin the alteration on the assumption that the inaccessible section can be corrected later.
Homeowners also commonly ask whether the valves themselves can be swapped. The answer depends on the shower design. Some models allow a degree of customization in the valve or inlet configuration, while others do not. Check the installation manual for an approved reversible or alternative arrangement. Do not dismantle or reverse valve components unless the manufacturer explicitly allows it.
When access is limited, consider these options in order:
- Confirm whether the shower valve supports the existing inlet positions.
- Check whether accessible pipework beneath the bath can be swapped or rerouted.
- Look for an existing removable access panel.
- Avoid cutting pipes until the complete revised route is clear.
- Ask a plumber to assess concealed or unreachable connections.
If the pipes are inaccessible and the valve cannot be configured to suit them, forcing the installation is not a practical solution. Professional advice can establish whether pipe access, valve customization or a different compatible shower is the most suitable approach.