How to Install a Toilet Paper Holder Without Drilling
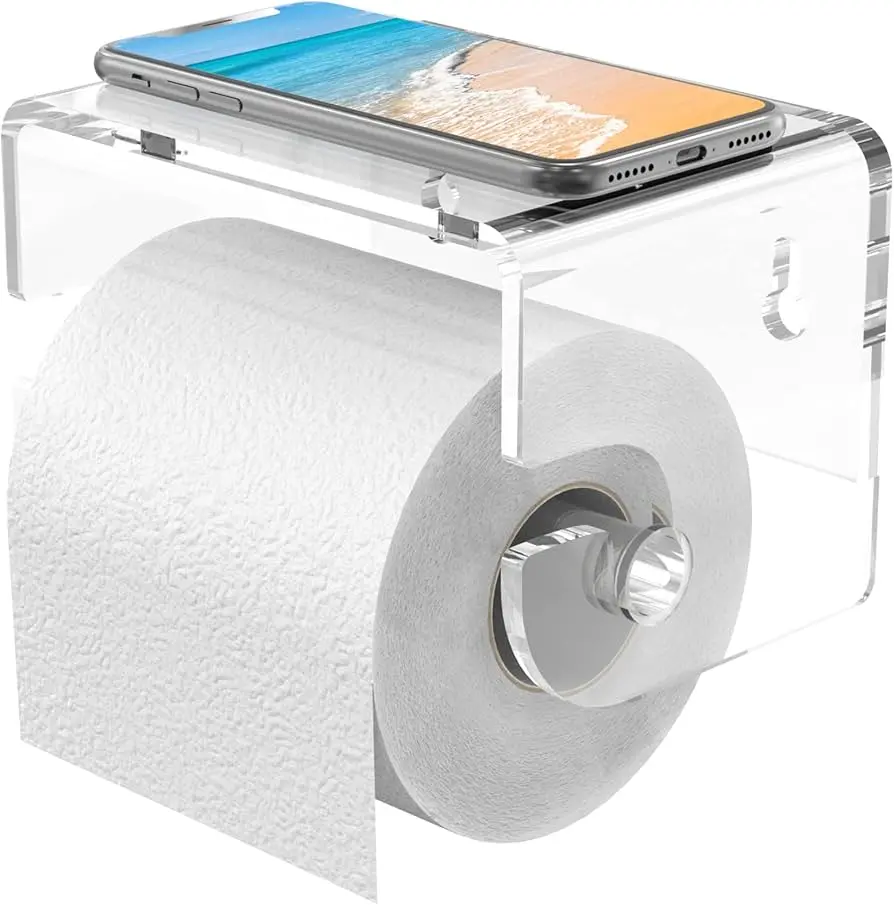
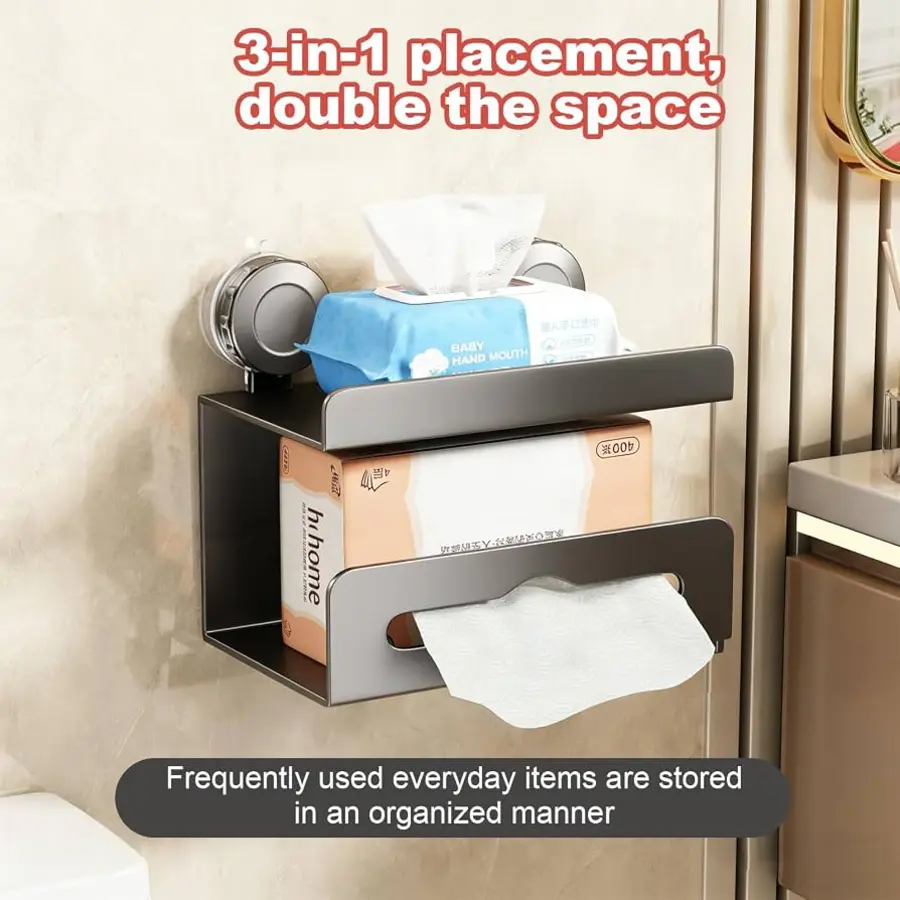
A toilet paper holder can be installed without drilling by using an adhesive-mounted holder, a suction holder, or an over-cabinet model. For most smooth, dry, finished surfaces, an adhesive toilet roll holder is the neatest and most stable option. Suction works best on very smooth, nonporous surfaces, while an over-cabinet holder avoids wall attachment altogether.
The important part is matching the method to the surface. No-drill mounting is not a good choice for textured tile, dusty drywall, peeling paint, damp walls, wallpaper, or damaged finishes. Before attaching anything, check the product instructions, clean the area carefully, position the holder where it will be convenient, and allow the adhesive to cure fully before adding a roll.
Choose the right no-drill method
Adhesive wall-mounted holder
An adhesive holder uses a peel-and-stick pad or a separate mounting adhesive. It is usually the best choice for glazed tile, glass, smooth metal, marble, and other sound, nonporous surfaces. Some products are designed to attach with a mounting adapter and adhesive rather than a simple tape pad.
This method gives the holder a fixed position and generally looks most like a conventional wall-mounted accessory. Its success depends on surface preparation, the quality of the mounting system, and the weight limit stated by the manufacturer.
Suction holder
A suction toilet paper holder is easy to reposition and leaves no adhesive behind. It needs a smooth, flat, nonporous surface so the cup can form and maintain a seal. Glazed tile and glass may work well; textured tile, grout lines, porous stone, and uneven painted walls usually do not.
Suction is convenient, but it can lose its grip over time, especially in a humid bathroom or if the cup is installed across an uneven area. It is better suited to a light, easily replaceable accessory than to a holder that will be pulled or loaded heavily.
Over-cabinet holder
An over-cabinet or over-vanity holder hangs from the edge of a cabinet door or side panel. It requires no wall attachment, making it useful when the bathroom surface is unsuitable for adhesive or suction.
Check that the cabinet door still opens freely and that the holder does not interfere with plumbing, drawers, hinges, or the toilet. This option can also be less convenient if the roll sits too far from the toilet or if the cabinet is frequently used.
Source: m.media-amazon
Check the surface before installing
A no-drill holder needs a stable surface, not simply a surface that looks clean. Do not mount over loose paint, flaking grout, cracked tile, peeling wallpaper, dusty drywall, or a damp area. Textured and uneven surfaces prevent adhesive pads and suction cups from making consistent contact.
Use this quick check:
- Smooth: The mounting area should be flat without heavy texture or deep grout lines.
- Sound: Paint, tile, or laminate should not lift, crack, or powder when lightly touched.
- Clean: Remove soap film, body oil, dust, and cleaning residue.
- Dry: The area must be completely dry before applying adhesive or creating a suction seal.
- Convenient: Leave enough room to replace the roll without hitting the toilet, wall, vanity, or nearby accessory.
If you rent, also check your lease or ask the landlord before using an adhesive system. A product marketed as removable may still lift paint or leave residue if it is applied to a weak or poorly prepared finish.
How to install an adhesive toilet paper holder
The exact sequence varies by product, so use the included instructions if they differ. In general, these steps provide a reliable starting point.
1. Choose the position
Hold the empty holder against the wall and test the location before removing its backing. Sit on the toilet and check that the roll is easy to reach. Make sure the holder will not be struck by the bathroom door, cabinet door, or a nearby towel.
Avoid placing the mounting pad across a grout line or directly over a corner. A single flat tile or another uninterrupted surface gives the adhesive more consistent contact.
2. Mark the location lightly
Use a small piece of removable painter’s tape to mark the top or side of the holder. This creates a visual guide without drawing on the wall and helps prevent repositioning after the adhesive has been exposed.
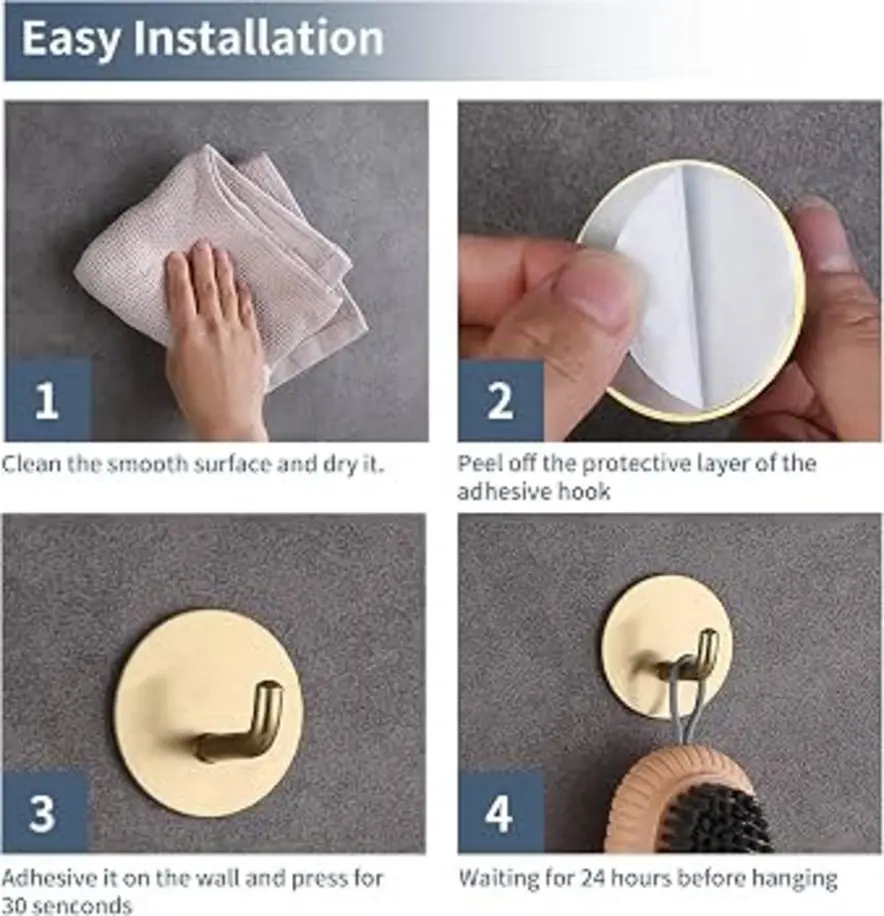
3. Clean the mounting area
Wipe the surface with a suitable cleaner that removes soap film and oil. Follow with a clean, lint-free cloth. If the product instructions recommend a specific cleaning solution, use that rather than adding another product.
Do not apply the holder while the surface is still wet or cool from cleaning. Adhesive needs direct contact with a clean, dry surface.
Source: m.media-amazon
4. Apply the adhesive or mounting adapter
Peel away the backing without touching the adhesive surface. Align the holder with your mark, press it firmly into place, and hold it for the time specified by the manufacturer. Some mounting systems require adhesive to be dispensed into an adapter and may need longer, even pressure during installation.
Keep the holder level and avoid sliding it after contact. If the adhesive pad lands in the wrong position, removing it immediately and starting again may be better than forcing it sideways.
5. Leave it unloaded while it cures
Do not add a toilet paper roll immediately unless the instructions specifically allow it. Adhesive needs time to develop its holding strength. Product guidance may call for roughly 12 hours or longer, and some no-drill bathroom accessory instructions recommend waiting 24 to 48 hours before applying a load.
Treat the longest stated curing time as the safe default for that product. Keep the area dry during this period if possible, and do not test the holder by pulling on it.
6. Add the roll and use it gently
After the curing period, install the roll and check that the holder remains level. Use the holder normally, but avoid pulling down on it or using it as a support. A toilet paper holder is designed for the roll and its ordinary dispensing movement, not for body weight or heavy storage.
Installing a suction toilet paper holder
Clean and dry the surface first, then place the suction cup on a flat area rather than across grout. Press the cup firmly to remove trapped air and engage its locking tab if the design has one. Attach the holder only after the seal is established.
If the cup repeatedly releases, the problem is usually the surface, the seal, or moisture—not a need to press harder. Move it to a smoother location or choose an adhesive or over-cabinet model instead.
How to remove an adhesive bathroom holder
Removal should be slow and controlled. Do not twist the holder sharply or pull it straight away from the wall, because that can stress paint, grout, or the surface beneath the adhesive.
Start by checking the product’s removal instructions. Depending on the mounting system, you may need to loosen a tab, cut through adhesive with an appropriate tool, or soften residue as directed by the manufacturer. Work gradually and support the holder as it releases.
Once the holder is off, remove remaining adhesive carefully. Avoid aggressive scraping on painted drywall, plastic laminate, or delicate finishes. If the surface begins to lift, stop rather than trying to make the area perfectly clean in one pass.
When a no-drill holder is unsuitable
Choose another solution if the only available location is:
- Textured, heavily uneven, or porous
- Damp from regular splashing or condensation
- Covered with dust, soap film, or loose paint
- Cracked, peeling, or damaged
- Too close to a grout line, corner, hinge, or moving door
- Unable to support the holder’s stated load limit
In these situations, an over-cabinet holder or freestanding toilet paper stand may be more practical than risking a failed wall attachment. If the holder must support unusually heavy storage or frequent force, a properly installed mechanical mount may be more appropriate—but that requires a different installation method and permission in many rental bathrooms.
The practical choice for a rental bathroom
For a smooth, dry tile wall, start with an adhesive toilet roll holder that has clear surface and curing instructions. Use suction when repositioning matters and the surface is exceptionally smooth. Choose an over-cabinet model when the wall is textured, fragile, or off-limits.
The installation itself is simple: check the surface, choose a reachable position, clean and dry the area, press the holder into place, and wait for the full cure time. Most no-drill failures come from skipping one of those steps or using a mounting method on a surface it was never designed to handle.
References
- Toilet Paper Holder For Tile Wall. (n.d.). https://www.amazon.com/Toilet-Paper-Holder-Tile-Wall/s?k=Toilet+Paper+Holder+For+Tile+Wall
- No Drill Bathroom Accessories. (n.d.). https://www.amazon.com/no-drill-bathroom-accessories/s?k=no+drill+bathroom+accessories
- How to Install a Toilet Paper Holder Without Drilling – CraftKitties. (n.d.). https://craft-kitties.com/blogs/guides/how-to-install-toilet-paper-holder-without-drilling
- Toilet Paper Holder - tesa. (n.d.). https://www.tesa.com/en/consumer/bathroom-accessories/toilet-accessories/toilet-paper-holder
- How to Install No-Drill Bathroom Accessories Properly. (n.d.). https://www.steelve.com/en-pl/blogs/design-stories/mistakes-when-installing-bathroom-accessories-without-drilling-and-how-to-avoid-them
- No-Drill Toilet Paper Holder 2-Pack – Adhesive Stainless Steel Wall Mount – DailyFinds26.com. (n.d.). https://dailyfinds26.com/products/2pcs-stainless-steel-no-drill-toilet-paper-holder-heavy-duty-adhesive-tissue-rack-for-bathroom-kitchen
- Toilet Paper Roll Holder with Shelf丨Stick on Toilet Paper Roll Holder – hitslam. (n.d.). https://hitslam.myshopify.com/products/toilet-paper-roll-holder-with-shelf
- No-Drill Bathroom Accessories: 3 Best Picks - Joybuy. (n.d.). https://m.joybuy.de/blog/no-drill-bathroom-accessories-guide/cIwImnsf