The Main Causes of a Leaky Shower
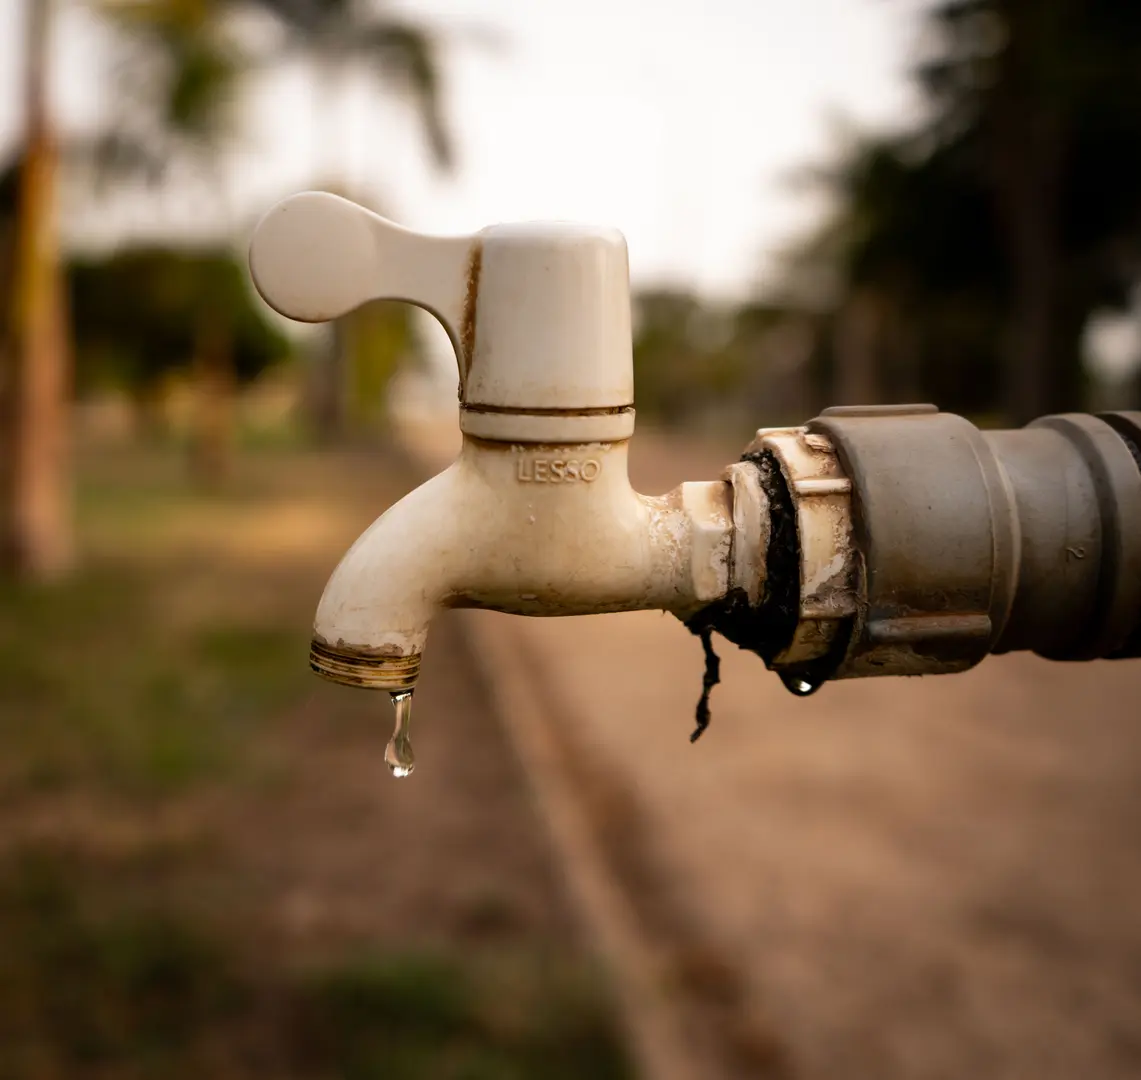
A leaky shower can waste water, leave stains, and allow moisture to reach areas that should remain dry. The source is not always obvious: water may drip from the shower head, escape around the tray, or pass behind tiles through damaged grout or sealant. The shower’s design also affects where leaks are likely to develop.
Before attempting a repair, identify whether the leak occurs while the shower is running, after it has been turned off, or continuously. This distinction can help separate a loose connection or enclosure problem from a faulty valve inside the wall.
Why a Shower Head May Drip or Leak
A loose connection between the shower head and shower arm is one of the simplest causes of a leak. Water may seep from the threaded joint while the shower is running, leaving droplets around the fitting rather than coming only through the shower head’s spray holes.
Inspect the connection closely. If water appears around the threaded area, the shower head may need to be tightened. Do this carefully, as overtightening can damage the fitting or its finish. Protect decorative surfaces before using a tool, and avoid applying a wrench directly to chrome where it could leave scratches.
Changes in water pressure may also contribute to intermittent dripping. For example, a shower head might release a small amount of retained water after the shower has been switched off. This does not necessarily indicate a major defect, especially if the dripping stops shortly afterward. However, dripping that continues for an extended period can point to a valve that is no longer shutting off completely.
A practical inspection involves:
- Drying the shower head, arm, and surrounding wall.
- Running the shower while watching the threaded connection.
- Turning the shower off and observing how long the head continues to drip.
- Carefully tightening a visibly loose connection.
- Checking again for moisture around the joint.
If tightening does not resolve the problem, the connection may need to be removed, checked, and resealed appropriately. Persistent dripping from the spray face rather than the connection should shift attention to the shower valve.
When Shower Valves Wear Out
Shower valves regulate the flow of hot and cold water. Every time a handle is turned, internal valve components move to start, adjust, or stop the water. Repeated use can gradually wear these components, including cartridges, seals, and O-rings.
A worn valve often reveals itself through one or more of the following symptoms:
- The shower head drips continuously after shut-off.
- The handle must be forced into a particular position to stop the water.
- Water flow does not stop completely.
- Moisture appears around the handle or trim plate.
- The handle becomes difficult to turn or feels unusually loose.
A shower head that keeps dripping may therefore be working correctly—the valve behind it is simply allowing water to pass. Replacing the head will not solve a valve that cannot fully shut off.
Access can make valve repairs more complicated. Some cartridges and seals can be reached after removing the handle and trim plate. A complete valve replacement may require access through the shower wall or from the opposite side. The plumbing arrangement and valve design determine how much work is necessary.
Temporary capping must also be approached cautiously. Threading a properly capped nipple into the wall fitting with suitable thread-sealing tape can isolate an outlet in some installations. However, this does not repair a leaking valve. If the valve continues allowing water through, pressure remains behind the cap. An incorrectly installed cap or a weak concealed connection can then become another leak point.
Do not improvise a cap or assume that blocking the shower arm eliminates the underlying problem. The fitting must be compatible, correctly sealed, and able to handle the plumbing system’s pressure.
Valve replacement does not always require soldering. Depending on the pipes, available space, and local installation requirements, a plumber may be able to use an approved threaded or push-to-connect fitting. This can avoid using an open flame near the wall, but the old valve may still need to be cut out, and pipe positions may need adjustment. Connector compatibility and installation instructions must be checked carefully.
Cost Considerations for Repairing a Leaky Shower
The cost of fixing a leaky shower faucet or valve depends on what has failed and how easily it can be reached. Replacing an accessible O-ring or cartridge is generally a smaller job than removing an old valve body from inside a finished wall.
The main cost factors include:
| Repair factor | Why it affects the price |
|---|---|
| Faulty component | A seal, cartridge, handle assembly, and complete valve body require different levels of work. |
| Valve availability | Older or uncommon valves may require more time to identify and source compatible parts. |
| Access | A removable trim plate may provide enough access for a cartridge repair, while valve-body replacement may require opening a wall. |
| Pipe modifications | New valves may not align with existing pipes and connectors. |
| Wall restoration | Tile, backer material, drywall, or decorative finishes may need repair after plumbing access. |
| Local labour charges | Professional plumbing rates vary by area and the urgency of the call. |
Because these variables are significant, a single price range can be misleading. When requesting a quote, ask whether it includes:
- Diagnosis of the leak
- Replacement parts
- Labour for removing and installing the valve or cartridge
- Opening and closing the wall
- Disposal of old components
- Restoration of tile or other finishes
It is also useful to ask whether the quoted repair addresses only the visible symptom or the actual valve failure. A low-cost shower head replacement offers little value if water is leaking through a defective shut-off valve.
For a concealed leak, professional diagnosis may prevent unnecessary removal of tile or wall finishes. Comparing itemised quotes can also make it easier to understand whether the proposed work involves a simple internal component or a complete valve replacement.
Compatibility of New Shower Handles with Existing Valves
A new handle must be compatible with the valve behind the wall. Shower handles are not universally interchangeable, even when they look similar. The stem shape, fastening method, cartridge design, and required movement all affect whether a handle will work correctly.
Changing from two compression-style handles to a single handle is usually more involved than replacing decorative trim. A single-handle control generally needs a compatible valve designed to regulate both temperature and flow in that format. If the existing valve does not support the new handle, the valve may also have to be replaced.
Before buying a handle or trim kit:
- Identify the existing valve or cartridge.
- Check the manufacturer and model where possible.
- Confirm that the replacement is designed for that valve.
- Verify that the new trim covers the existing wall opening.
- Determine whether the desired handle requires a different valve body.
Removing old compression handles can be difficult, particularly if mineral deposits or age have caused them to stick. Avoid gripping a finished handle directly with a wrench, as this can scratch or deform the surface. Remove the fastening screw first and use a suitable handle-removal method rather than excessive force.
Care is also needed when accessing the cartridge or O-rings behind the handle. Damaging the stem or surrounding components can turn a seal replacement into a larger repair. If the handle will not release or the valve cannot be identified, a plumber may be able to remove it without damaging reusable parts.
Shower Tray Leaks: What to Check
A shower tray directs water toward the drain while preventing it from reaching the floor and nearby walls. Leaks often appear at the tray’s joints rather than in its main surface, so start by inspecting every transition.
Check:
- Where the tray meets the wall
- Corners and changes in direction
- The joint around the drain
- The shower screen or door frame
- Visible seams between tray components
- Existing silicone for gaps, lifting, or cracking
Dry the area before inspecting it. Water travelling along an edge can make the source appear farther away than it really is, so follow the moisture back toward the first damp joint.
Suitable gaps or minor cracks at sealed joints may be repaired with silicone sealant. Remove loose or failing material first rather than covering it with another layer. The surfaces should be clean and prepared so the new sealant can form a continuous barrier.
Not every tray leak is accessible from above. Water may be escaping around the drain connection or from a concealed joint beneath the tray. If the visible seals appear sound but moisture continues below or beside the shower, internal inspection may be necessary.
In some installations, this means removing an access panel. In others, the shower tray itself may need to be lifted or removed. Tray removal can disturb the drain, wall finishes, and surrounding seals, so it should not be the first step unless there is evidence that the problem is underneath.
When Bathroom Sealant Stops Keeping Water Out
Sealant creates a flexible, water-resistant barrier around shower edges and bathroom fixtures. Over time, it can pull away, split, peel, or otherwise deteriorate. Once a gap forms, water can escape even if the tray, screen, and tiles remain in good condition.
Inspect the sealant around:
- Shower tray edges
- Bath-and-shower combinations
- Shower screens and door frames
- Corners where tiled walls meet
- Pipe and fixture penetrations
- Other joints regularly exposed to spray
Look for visible gaps, lifting edges, cracks, and areas where the sealant no longer adheres to one side of the joint. Discoloration alone does not locate a leak, but damaged or separated material should be investigated.
Applying fresh silicone directly over failing sealant is unlikely to create a dependable barrier. Remove the deteriorated material, clean the joint, and allow the area to dry before resealing it. The new bead should bridge the full joint without breaks or thin spots.
Use a sealant intended for bathroom or shower applications and follow its preparation and curing instructions. Running the shower before the material has cured can compromise the new seal.
If newly applied sealant fails repeatedly, movement or an underlying plumbing leak may be involved. In that situation, replacing the sealant again may hide the symptom without correcting the cause.
How Damaged Grout Can Cause Shower Leaks
Grout fills the joints between tiles and helps create a finished, protected surface. When it cracks, loosens, or falls out, water can pass through the open joints and reach the area behind the tiled surface.
Inspect grout lines carefully, especially in corners, around fixtures, and in areas that receive direct spray. Small cracks can be easy to miss when the wall is wet, so examine the tiles after the shower has dried.
Damaged grout should not simply be covered with a thin layer of new material. Loose, cracked, or deteriorated grout must first be removed so the replacement can fill the joint properly. Clean out dust and debris, then apply fresh grout according to the product instructions.
Renewing grout has two benefits: it improves the appearance of tiled surfaces and closes visible routes through which water may travel. Even, intact grout lines also make future damage easier to notice.
However, recurring cracks or continued dampness after regrouting may indicate a deeper problem. Water could be entering through another joint, or movement behind the tile may be causing the grout to fail. In those cases, further inspection is more useful than repeatedly patching the same area.
Finding the true cause of a leaky shower is essential. Loose fittings may need careful tightening, while worn valves, failed tray joints, deteriorated sealant, and cracked grout require different repairs. Addressing the source—not just the place where water finally becomes visible—provides the best chance of restoring a reliable, watertight shower.