How to Maintain Privacy With a Window in the Shower
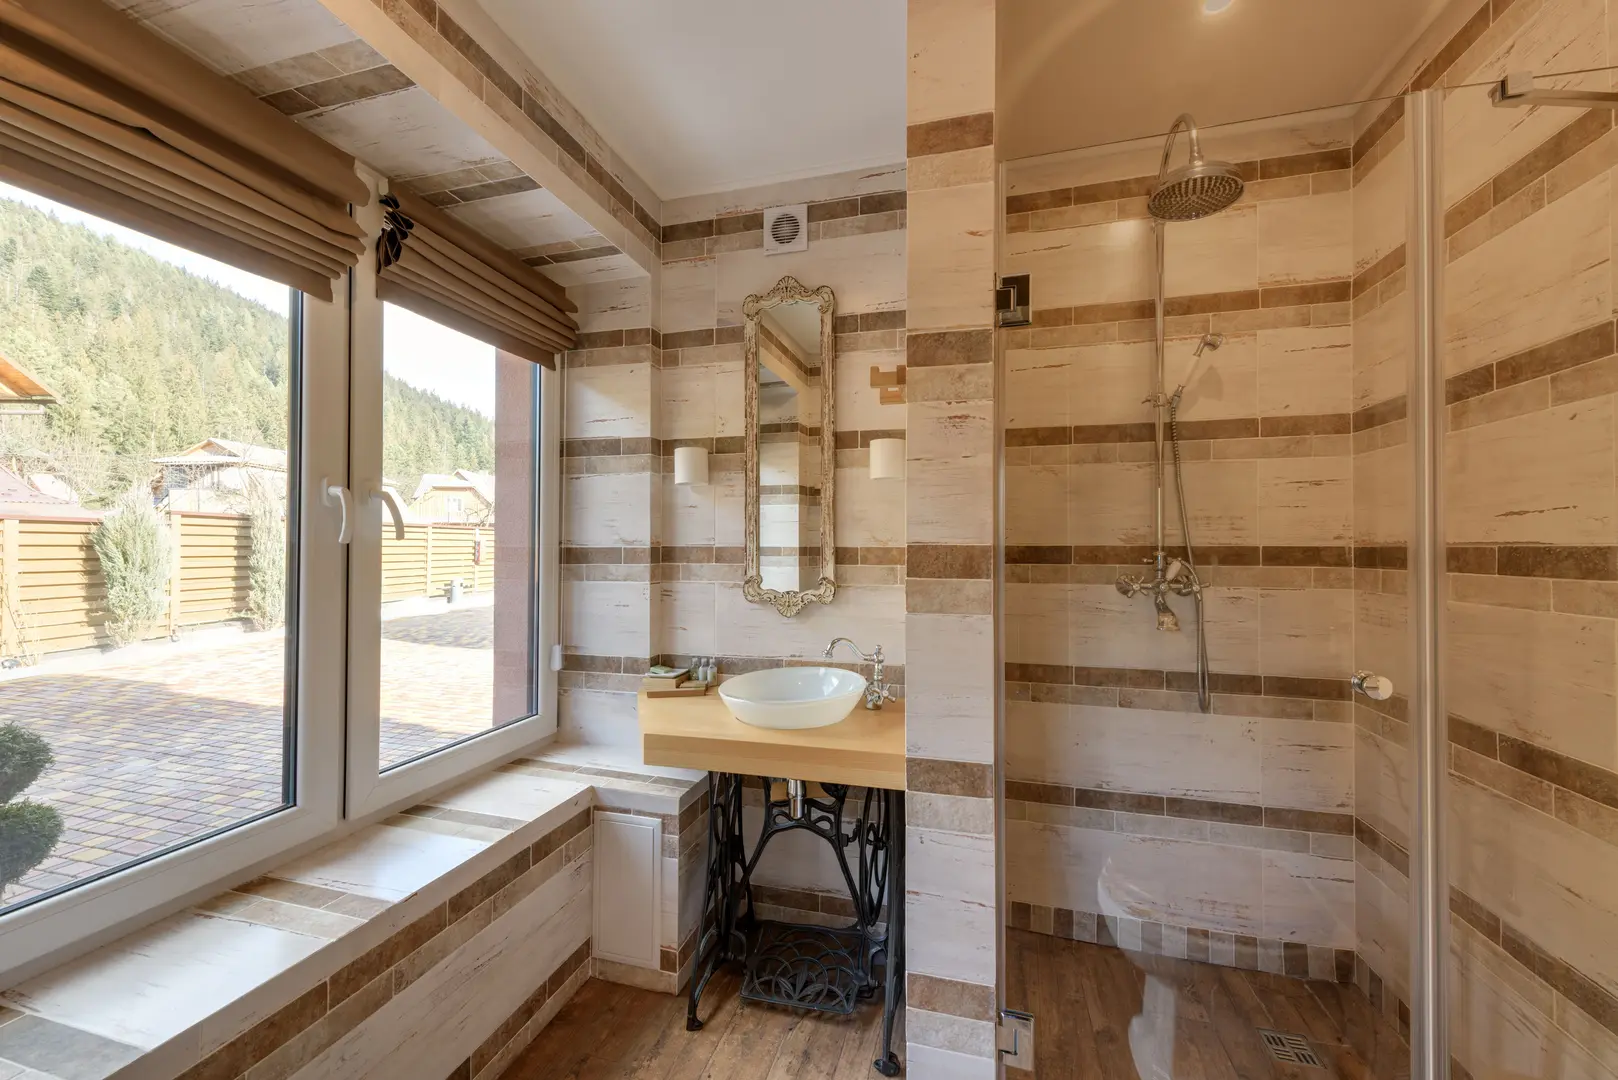
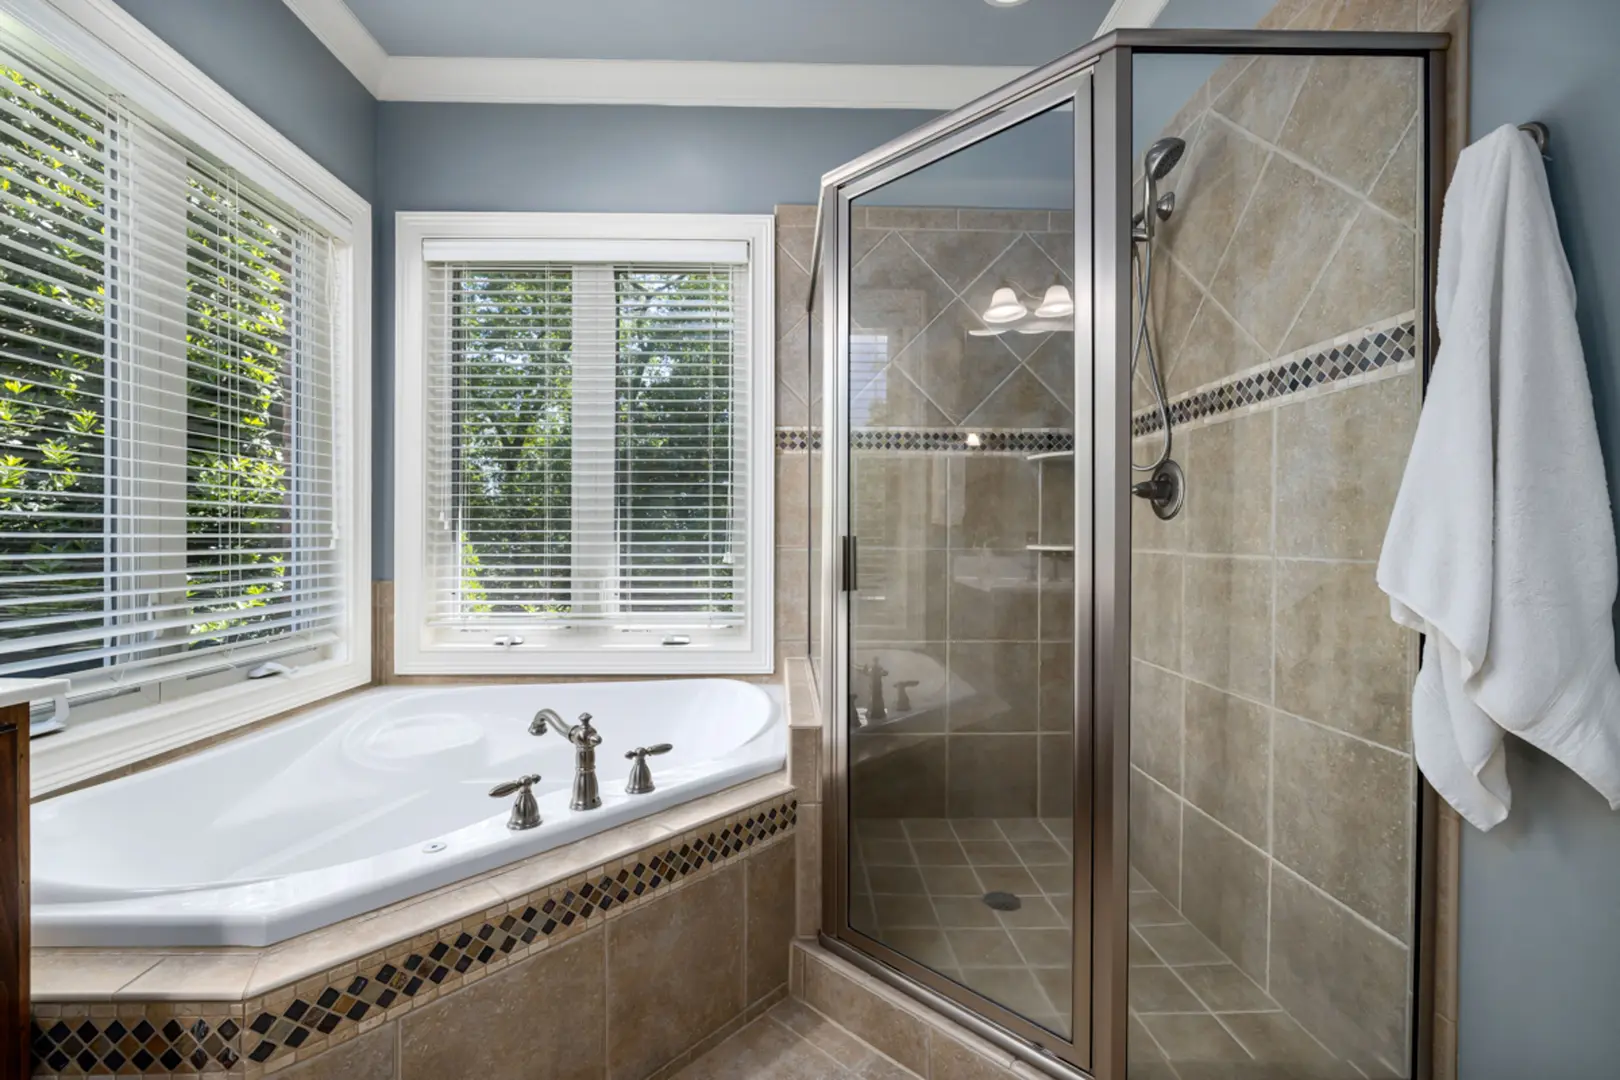
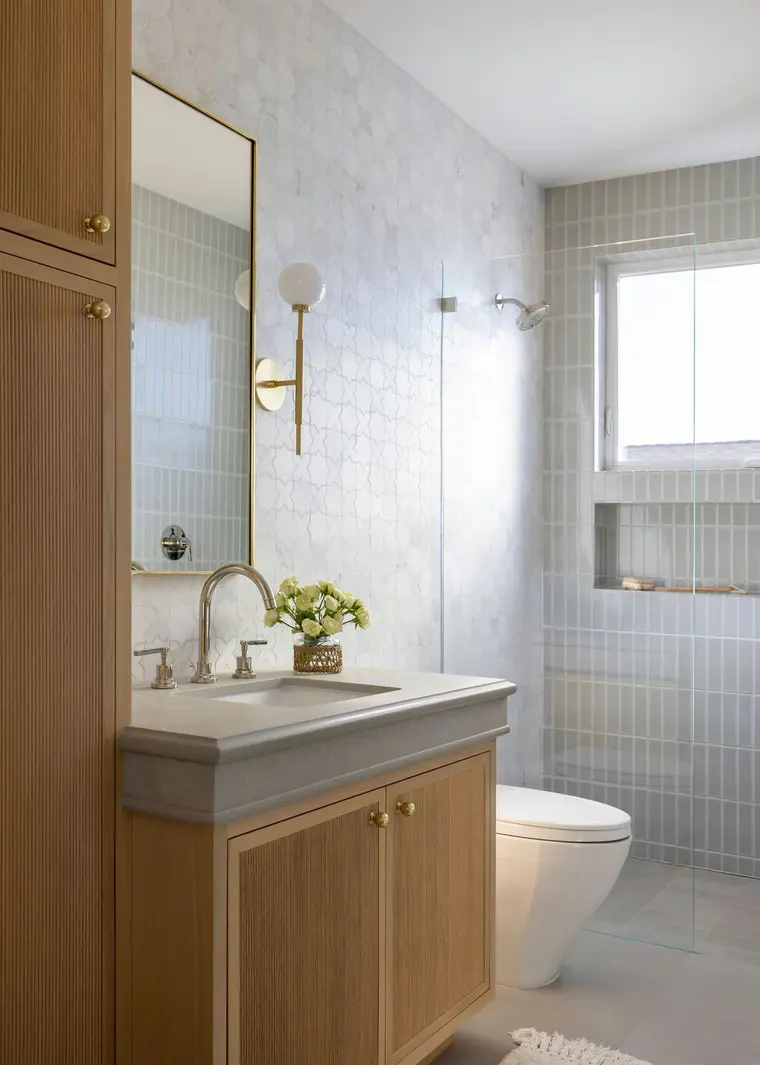
A window can make a shower feel brighter and more open, but it also creates two practical concerns: privacy and moisture exposure. Fortunately, you may not need to remove or replace it. Privacy film, careful water management, and moisture-resistant materials can help you preserve the natural light while protecting the window area.
Here is how to maintain privacy with a window in the shower while also reducing the likelihood of moisture-related damage.
Why Older Homes Often Have Windows Near Showers
Shower windows are especially common in older homes because many bathrooms were designed before showers became standard. The room may originally have contained only a bathtub, with a nearby window providing natural light.
As bathing habits changed, homeowners began adding showerheads over existing tubs. A window that had once been safely positioned above a bathtub suddenly became part of a shower enclosure. It was not necessarily placed there because anyone thought a window belonged in a shower; the room simply evolved around it.
This history explains several features commonly found in older bathrooms:
- The window may be lower than expected.
- It may have traditional wood trim or a wood frame.
- The shower spray may point directly toward the window.
- The glass may be clear because privacy was less of a concern when the space held only a tub.
- The original materials may not have been selected for frequent exposure to shower water.
Removing the window is one possible response, but it is not always desirable. A window can bring daylight into a small bathroom, make the shower feel less enclosed, and preserve the exterior appearance of a historic home. Closing the opening may also involve work on both the interior and exterior walls.
For those reasons, many homeowners prefer to keep the window and adapt it to the bathroom’s current use. The two main priorities are blocking unwanted views and controlling how much water reaches the frame, trim, sill, and surrounding wall.
Before selecting a solution, look at the window from both sides. Consider whether a person outside can see through the glass during the day or at night. Privacy conditions can change when the bathroom is illuminated after dark, so an arrangement that seems private in daylight may not offer the same coverage at night.
You should also inspect how the shower interacts with the opening. Watch where the spray lands, whether water sits on the sill, and whether the window can still open and close properly. These observations will help you choose a privacy treatment without overlooking the window’s condition.
Ways to Add Privacy to a Shower Window
Privacy film is one of the most straightforward ways to cover a shower window without eliminating daylight. It attaches to the glass and obscures the view through it, allowing you to retain the opening instead of permanently covering it.
Films are available in a variety of decorative styles. Depending on the look you want, you may find finishes that resemble frosted, etched, patterned, or textured glass. This makes privacy film useful not only as a practical covering but also as part of the shower decor.
A simple frosted appearance suits bathrooms with a clean, understated design. A patterned film can complement a traditional room or create a decorative focal point. The best choice is one that provides enough visual obstruction while working with the window frame, tile, hardware, and other finishes.
Privacy film can offer several advantages:
- It covers clear glass without requiring an entirely new window.
- It can preserve some natural light.
- It is available in multiple patterns and finishes.
- It provides an added layer over the glass.
- It can be changed if the bathroom’s style changes.
When comparing film, select one intended for the conditions in which you plan to use it. A shower window is regularly exposed to humidity and may also receive direct splashes. Follow the film manufacturer’s instructions for surface preparation, installation, and placement.
The glass generally needs to be clean before film is applied. Residue, dust, or soap deposits can interfere with a smooth finish. Take time to clean the pane and allow it to reach the condition specified in the installation directions.
Coverage also deserves attention. Film should obscure every part of the glass through which someone could see into the shower. Decorative borders may look attractive, but a clear strip around the edge can undermine the purpose of the treatment. Check sightlines from different heights and angles rather than judging privacy only while standing directly in front of the window.
Privacy film should also be treated as a glass covering, not as a repair for a deteriorated frame. It can address visibility and provide additional protection to the pane, but it does not correct soft wood, failed paint, open joints, or other problems around the opening. Those issues require separate attention.
After installation, test the result under realistic conditions:
- Look at the window from outside during daylight.
- Turn on the bathroom lights and check it again after dark.
- View it from the likely approach angles around the home.
- Confirm that the entire shower area is adequately obscured.
- Make sure the window can still operate if it is intended to open.
If the film does not provide sufficient coverage, choose a more obscuring pattern rather than relying on assumptions about lighting. The objective is to preserve useful daylight without leaving recognizable views into the shower.
A film’s visual style can also help an old window feel intentional. For example, a restrained frosted finish can allow detailed historic trim to remain the main feature. A more decorative pattern can draw attention to the glass itself. Either approach lets the window contribute to the room rather than looking like an awkward leftover from an earlier bathroom layout.
How to Reduce Rot Risk Around a Shower Window
Privacy is only one part of maintaining a shower window. Water management is equally important, particularly when the opening contains wood.
Windows installed on a home’s exterior are generally constructed to withstand rain. However, that does not mean a shower window should be left under constant direct spray without care. A shower exposes the interior side of the opening to water in a way that may not have been part of its original design.
The simplest strategy is to minimize the amount of shower water reaching the window. If possible, direct the showerhead away from the opening. The goal is not merely to keep the glass clean; it is to prevent water from repeatedly collecting on the frame, trim, and sill.
A few routine practices can make water easier to manage:
- Keep the shower stream from pointing directly at the window.
- Wipe the glass and frame after showering.
- Remove water that collects on the sill.
- Pay attention to corners, joints, and painted wood surfaces.
- Inspect the finish periodically instead of waiting for visible deterioration.
- Address damaged coatings or exposed wood promptly.
Wiping down the window after each shower is a simple but valuable habit. Concentrate on horizontal surfaces where droplets can remain rather than draining away. A small squeegee can clear the glass, while a soft cloth can dry the frame and trim.
Regular cleaning also makes it easier to notice changes. Peeling paint, exposed wood, soft areas, or joints that no longer look sound should not be hidden beneath a decorative covering. The earlier the underlying material receives attention, the easier it is to preserve the window.
The appropriate repair depends on the window’s construction and condition. Traditional wood can sometimes be retained and treated, while severely exposed components may benefit from more moisture-resistant materials. Three options to consider are borate-treated wood, modified wood, and PVC.
Using Borate Treatment to Help Prevent Wood Rot
Borate treatment can help protect wood against rot, making it relevant when restoring a wood window in a moisture-prone location. Products such as Bora-Care are designed to be applied to bare wood so the treatment can reach the material rather than sitting on top of an existing coating.
That application requirement is important. Paint, primer, and other finishes can prevent a bare-wood treatment from being used as intended. Simply brushing it over painted trim is not the same as properly preparing and treating exposed wood.
A basic treatment sequence is:
- Expose the wood that requires treatment.
- Prepare the surface according to the product instructions.
- Apply the borate treatment to the bare wood.
- Allow the treated surface to dry as directed.
- Prime the wood.
- Finish it with paint.
Priming and painting after treatment provide the finished surface needed for the bathroom environment. The borate application should not be viewed as a substitute for the protective coating or for routine water management.
It is also important to evaluate the wood before beginning. A preventive treatment is not a reason to leave failed material in place. If the condition of the frame or trim is uncertain, determine what can be retained and what needs repair before applying a new finish.
Once the work is complete, continue to keep shower water away from the area and dry the window after use. Treatment, primer, and paint work as parts of a larger maintenance strategy; they do not make repeated water exposure irrelevant.
Modified Wood for Long-Term Rot Resistance
Modified wood is another option when window parts need to be replaced but a real-wood appearance is still preferred. Accoya is one example of a modified wood used where rot resistance is a priority.
The modification process is sometimes described as treating the wood with an industrial form of vinegar. This process changes the wood so it is more resistant to rot while retaining the appearance and workability associated with wood.
Modified wood can be especially appealing in an older home where the profile and character of the original window matter. It may be used to create replacement components that match traditional details more closely than a completely different material would.
Depending on the manufacturer and application, a long-term warranty may be available. Warranty terms can vary, however, so verify the current requirements, permitted uses, finishing instructions, and installation conditions before choosing the material.
Modified wood still needs thoughtful installation and care. Rot resistance does not remove the need to control shower spray, maintain finishes, and wipe standing water from the sill. Its advantage is that it offers another level of durability while allowing the window to keep a genuine wood appearance.
For a historic bathroom, that combination can be valuable. The window can remain visually consistent with the rest of the home without relying exclusively on conventional untreated wood in a demanding location.
PVC as a Moisture-Resistant Alternative
PVC can serve as an alternative to wood for window components in areas with high moisture exposure. Because it is not wood, it does not face wood rot in the same way, making it a practical material around a shower.
One common concern is that replacement trim will look too modern for an older home. However, PVC can be shaped and detailed to retain a historical appearance. With appropriate profiles and workmanship, it can resemble traditional painted trim while providing better suitability for a wet location.
PVC may be worth considering for:
- Trim that receives frequent splashes
- Sills where water tends to collect
- Replacement components in a deteriorated opening
- Bathrooms where the traditional painted look should be preserved
Material choice alone does not solve every potential issue. Joints, transitions, and the surrounding wall still need to be handled correctly, and water should not be allowed to sit around the window. PVC reduces concern about the trim itself rotting, but it does not mean the entire window assembly can be ignored.
The best solution may also combine materials. A homeowner might preserve parts of an original window while replacing the most exposed trim with PVC, or use modified wood where authentic wood is important. The right approach depends on the window’s condition, its architectural value, and how directly it is exposed to the shower.
Ultimately, learning how to maintain privacy with a window in the shower involves more than covering the glass. Use a suitable privacy film to block views, direct water away from the opening, dry the window after bathing, and maintain every exposed surface. Where repairs are needed, borate-treated wood, modified wood, and PVC provide different ways to balance appearance with resistance to moisture-related deterioration.