How to Measure Shower Doors for a Proper Fit
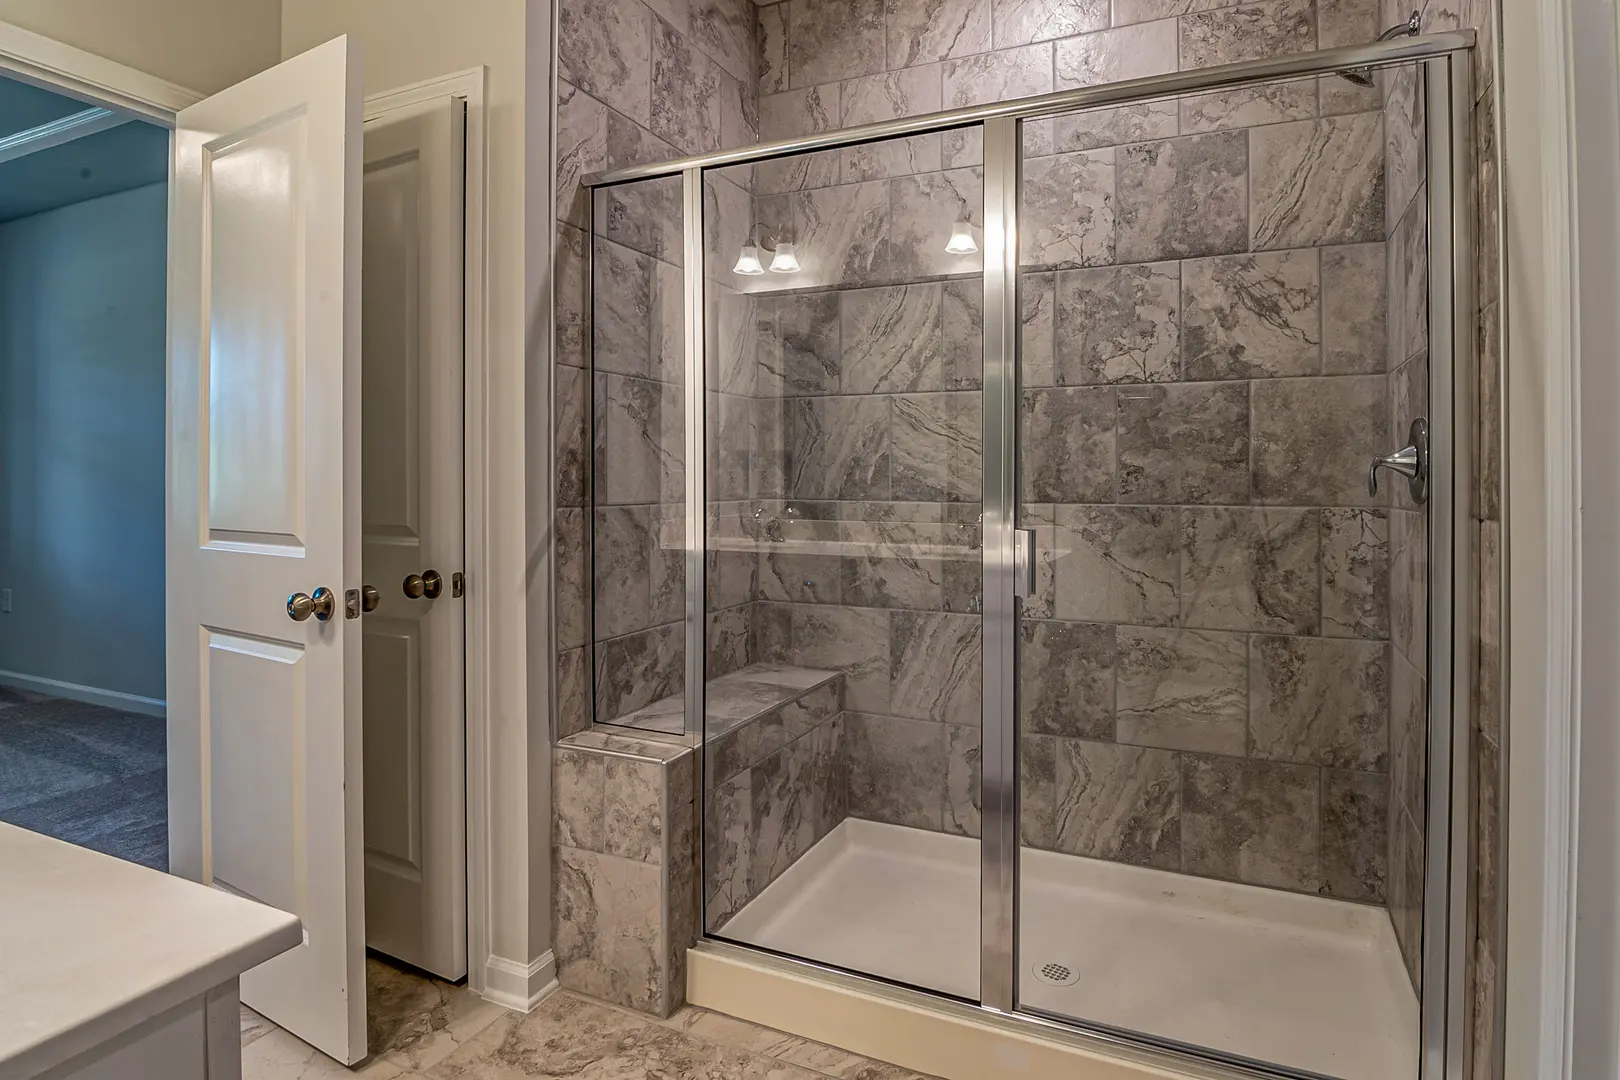
Measuring a shower door correctly is essential whether you are replacing an existing door, ordering a custom panel, or planning a new enclosure. Even small inaccuracies can affect how the door closes, how the rails align, and whether the enclosure contains water effectively.
This guide explains how to measure shower doors step by step, including how to check the opening at several points, identify walls that are not straight, and account for any adjustment offered by the chosen door system.
Why Accurate Shower Door Measurements Matter
A shower door must fit the opening closely enough to operate correctly and create an effective barrier against escaping water. If the measurements are inaccurate, the door may not align with its frame, rails, hinges, or adjoining panels.
Poor measurements can lead to several problems:
- The door or glass panel may be too large for the opening.
- A door that is too small may leave excessive gaps.
- Rails may not fit or align properly.
- Hinged doors may not open and close freely.
- Seals may not sit against the correct surfaces.
- Water may escape around the edges of the enclosure.
Leaks are more than an inconvenience. Persistent moisture around the shower can contribute to damp conditions and may encourage mold growth. Water can also reach surrounding surfaces that were not intended to become repeatedly wet. Accurate measurements help reduce these risks by making it easier to select and install a properly fitting enclosure.
Correct measurements can also save time and money. Discovering that a door does not fit after delivery may delay the project and lead to replacement or alteration costs. This is particularly important for custom glass panels, which are made for a specific opening and may not offer the same flexibility as adjustable framed products.
Precision does not mean recording only one height and one width. Shower openings are not always perfectly square. A wall may lean slightly, the tray may not be completely level, or the width may vary between the bottom and top of the opening. Measuring at multiple points gives a clearer picture of the actual space.
Measurements should also reflect the finished opening. If wall panels, tiles, a shower tray, or other surrounding surfaces have not yet been installed, the dimensions may change as work progresses. Final door measurements are best taken from the surfaces against which the enclosure will actually sit, unless the door supplier specifically requests otherwise.
Tools for Measuring a Shower Door
You do not need a large collection of specialist equipment, but the right basic tools make it easier to take consistent measurements.
- Measuring tape: Use this to record the height, width, and available opening space. Choose one that is long enough to span the full enclosure without requiring several separate measurements.
- Spirit level: This helps you check whether the tray or threshold is level and whether the walls are vertical. It can also reveal why the opening is wider at one point than another.
- Pen and paper: Write down every measurement as soon as you take it. A quick sketch of the opening can help you associate each number with the correct position.
- Calculator: A calculator is useful when comparing dimensions, converting units, or checking differences between the top, middle, and bottom of the opening.
- Another person: Assistance is recommended, especially for wide openings. One person can hold the end of the tape in position while the other keeps it straight, reads the measurement, and records the result.
Before starting, decide which unit you will use and stay consistent. Do not switch between measurement systems partway through the process unless you convert every figure carefully. Record dimensions clearly and include the unit beside each number.
It is useful to draw a simple front-facing diagram of the shower opening. Mark spaces for the left and right wall heights and for the width at the top, middle, and bottom. If you are replacing an enclosure, note which measurements relate to the finished opening and which relate to existing rails or frames.
Do not rely on the dimensions of the old door alone. The stated size of an existing product may not be the same as the actual opening, and previous rails may have been cut or adjusted during installation. Measure the current finished space directly.
A Step-by-Step Guide to Measuring Shower Doors
The following process covers the main checks involved in learning how to measure shower doors. Keep the intended door type and the supplier’s instructions nearby, as different systems may define their fitting ranges or reference points differently.
Prepare the opening
Remove anything that prevents the tape from sitting against the relevant finished surfaces. The area should be accessible enough to measure from wall to wall and from the tray or threshold to the intended top of the enclosure.
If the shower area is still being built, confirm whether the finished wall and floor surfaces are in place. Measurements taken before tiling or wall-panel installation may not represent the final opening.
Create a measurement sketch
Draw the opening as viewed from the front. Label the left wall, right wall, tray or threshold, and top of the intended enclosure. Add separate spaces for the top, middle, and bottom widths.
If the enclosure includes a fixed return panel or has an unusual layout, include it in the sketch. The purpose is not to produce a technical drawing but to prevent dimensions from being mixed up.
Measure the door height
Measure vertically from the top of the shower tray, threshold, or other specified mounting surface to the intended top edge of the door or enclosure. Keep the tape straight rather than following the surface of a wall.
Take a height measurement on both sides of the opening. If the system requires another reference point, such as the center, measure there as well. Record each result separately rather than assuming both sides are identical.
The supplier’s instructions should determine the precise starting and ending points. Some systems may be described by their overall enclosure height, while others require the usable opening height.
Measure the width at the bottom
Measure horizontally across the finished opening near the shower tray or threshold. Place the end of the tape against one finished wall and extend it to the opposite finished wall.
Keep the tape straight and level. A tape that sags, bends around a fitting, or runs diagonally can produce an inaccurate result. Record this as the bottom width.
Measure the width at the middle
Repeat the width measurement around the middle of the proposed enclosure. Do not copy the bottom figure even if the walls look parallel.
The middle measurement may reveal an inward or outward curve, an uneven wall surface, or a gradual change that is not obvious by sight.
Measure the width at the top
Take a third width measurement near the intended top of the shower door. Again, measure between the finished wall surfaces and keep the tape horizontal.
You should now have at least three width figures: bottom, middle, and top. Do not immediately average them. Each dimension provides useful information about the shape of the opening, and the door manufacturer may specify which figure should be used.
Check whether the walls are straight and vertical
Place the spirit level vertically against each wall where the enclosure profile, hinges, or fixed panel will be fitted. Check whether the wall is plumb and note any visible variation.
Compare this check with the width measurements. If the top width differs from the bottom width, one or both walls may not be vertical. A door with an adjustable wall profile may accommodate some variation, but the permitted amount depends on the particular product.
Also consider whether the surface is locally uneven. A generally vertical wall can still have raised areas, dips, or irregular joints that affect how a rail or profile sits.
Check the tray or threshold
Position the spirit level across the lower mounting surface. This helps identify whether it is level and whether the door’s lower rail or seal will have an even base.
Record any noticeable difference rather than assuming the enclosure will compensate for it. If you are uncertain whether the condition is acceptable, provide the information to the installer, manufacturer, or supplier before ordering.
Assess the door-opening space
A door can match the opening dimensions and still be unsuitable if there is not enough room for it to operate. Consider the proposed opening direction and the nearby space.
For a hinged or pivoting door, check the area through which the door will move. Look for nearby sanitaryware, cabinets, towel rails, walls, or other obstacles. The user should also have enough clear space to enter and leave the shower.
Sliding and folding doors use space differently, but their tracks and panels must still fit within the measured area. Confirm that the planned configuration suits both the opening and the surrounding bathroom layout.
Measure any return or side panel separately
If the enclosure turns a corner or includes a fixed side panel, measure that section independently. Use the same method: check dimensions at more than one point and assess whether the supporting walls are vertical.
Clearly label these figures so that a side-panel measurement is not mistaken for the door-opening width.
- Be careful when measuring rails
Inaccurate rail measurements are a common practical cause of poor fit. Do not assume a rail should be cut to the nominal door size or to a number taken from an old component.
Identify the exact surfaces or endpoints specified in the installation instructions. A rail may relate to the overall opening, a frame dimension, or a cut length, and these are not necessarily interchangeable.
Check the rail measurement before making an irreversible cut. The familiar “measure twice, cut once” approach is especially valuable here. Careful rechecking takes little time compared with correcting a rail that has been shortened incorrectly.
- Double-check every dimension
Repeat the complete process rather than checking only the figures that appear unusual. Measure the height again and recheck the width at the top, middle, and bottom.
Ideally, have the second person verify the tape position and reading. Compare the new figures with the original notes. If two readings differ, do not choose the one you prefer or calculate an average automatically. Measure again until you understand the discrepancy.
- Review the numbers against the product information
Once the measurements are confirmed, compare them with the fitting range or ordering requirements for the chosen shower door. Make sure you understand whether the supplier wants the raw opening dimensions or expects a specific deduction.
For custom glass, submit each requested dimension exactly as instructed. Include information about walls that are not vertical or openings that are not square when the supplier asks for it.
Do Shower Door Measurements Need to Be Exact?
Shower door measurements should be as accurate as you can reasonably make them. However, whether the final door dimension must match the opening exactly depends on the type of enclosure.
Some framed or semi-framed shower doors include an adjustment range. This may allow the enclosure to fit openings that vary slightly in width or help with walls that are not perfectly vertical. The presence and amount of adjustment are product-specific. Never assume that every door provides the same allowance.
An adjustment range also does not make careful measuring optional. The opening must still fall within the permitted range, and the top, middle, and bottom widths all need consideration. A door might suit the width at one point but fall outside the supported range elsewhere.
Custom panels generally require greater precision because the glass is made for a particular space. The supplier may account for installation clearances, seals, hardware, and surrounding surfaces when turning site dimensions into manufacturing dimensions. For that reason, provide the measurements requested rather than subtracting an estimated gap yourself.
Follow these principles:
- Record the actual finished-opening dimensions.
- Measure width at multiple heights.
- Check both wall alignment and base level.
- Do not round figures unnecessarily.
- Do not invent your own adjustment allowance.
- Confirm whether the stated product size is a nominal size or a fitting range.
- Follow the supplier’s instructions for deductions and clearances.
- Recheck all figures before ordering custom glass or cutting rails.
If your repeated measurements do not agree, the issue may be the measuring technique or an opening that is not square. Use the spirit level, inspect the tape position, and measure again with assistance. Where a custom enclosure is involved or the opening is significantly irregular, ask the supplier or installer to confirm how the dimensions should be submitted.
The safest approach is simple: measure the finished space carefully, record every figure clearly, and verify the results before ordering or cutting anything. A small amount of extra attention at the measuring stage can prevent fitting difficulties, ineffective sealing, leaks, and avoidable project delays.