7 Mistakes to Avoid When Hanging an LED Mirror
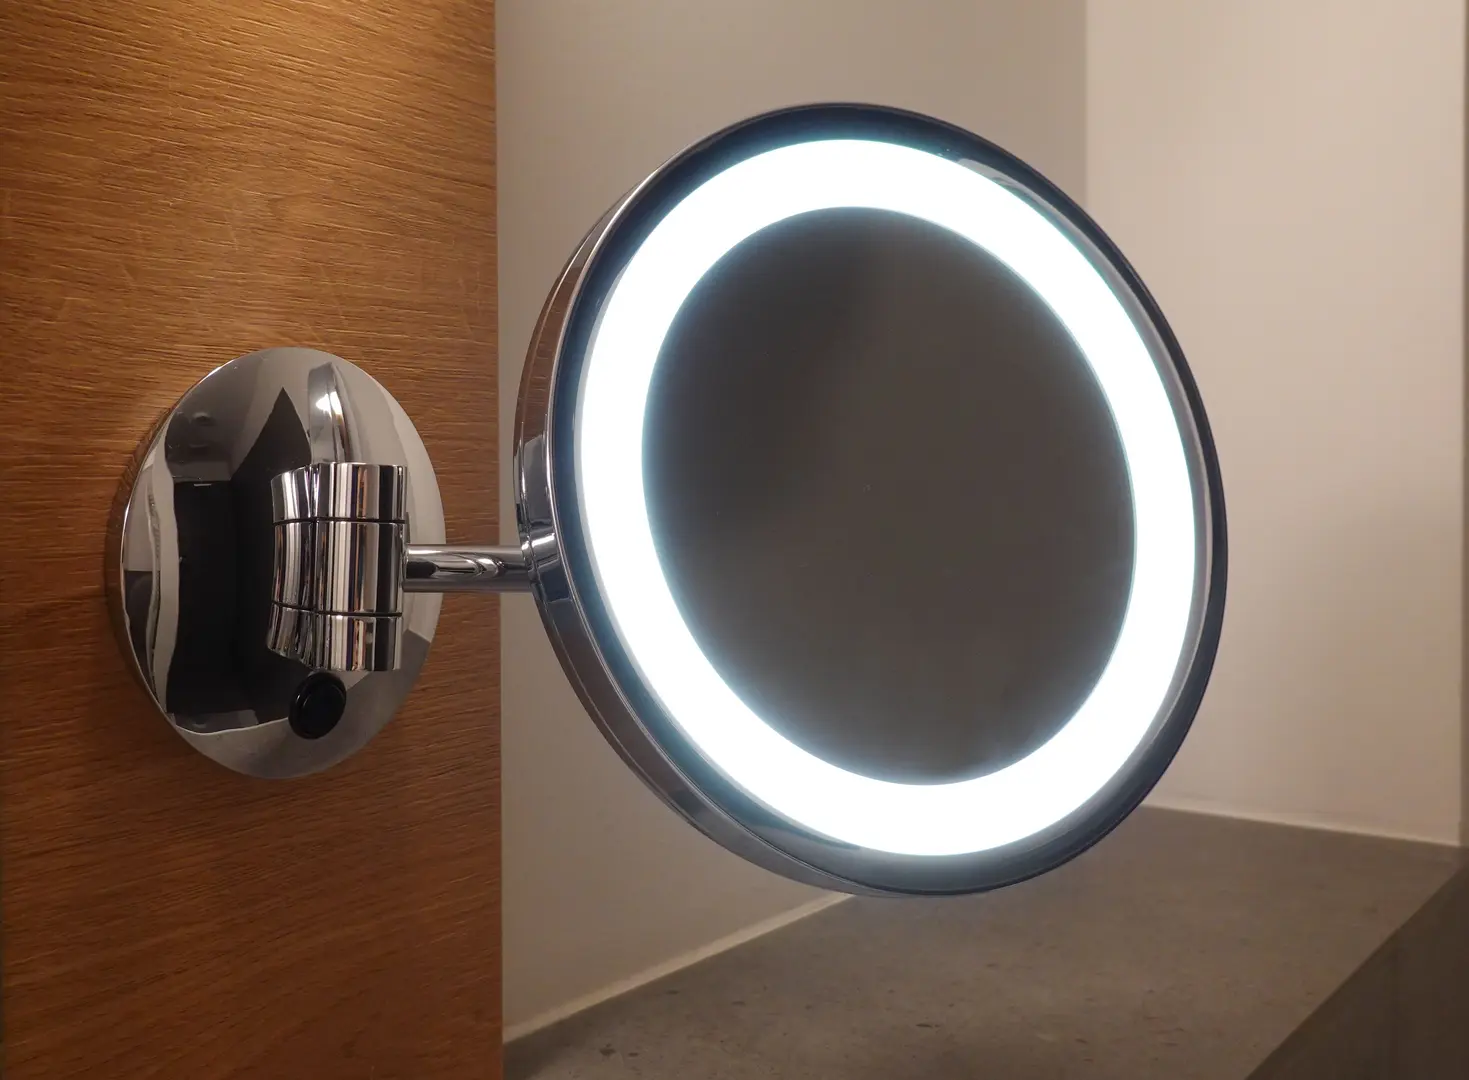
An LED mirror can make a bathroom feel brighter, more practical, and more polished. However, installing one involves more than choosing an attractive position and drilling a few holes. The mirror must be comfortable to use, securely supported, accurately aligned, and safely connected to power.
Most mistakes to avoid when hanging an LED mirror can be prevented before installation begins. Careful measuring, an understanding of the wall structure, and a clear plan for wiring and ventilation will help you avoid a crooked mirror, visible cables, damaged finishes, or electrical problems.
Planning Before Hanging an LED Mirror
Poor planning is a common reason home decor projects become more complicated than expected. With an LED mirror, decisions about size, location, mounting hardware, and power are connected. Changing one detail after installation has started can create extra work or leave a less-than-professional result.
Begin by reviewing the mirror manufacturer’s mounting and electrical instructions. Confirm how the mirror is supported, where its power connection is located, and whether the design requires any clearance around the back or edges. Do not assume that every LED mirror uses the same mounting system.
A structured plan should cover:
- The mirror’s width, height, weight, and orientation
- The available wall space above the basin
- The preferred viewing height for regular users
- The wall material and suitable fixings
- The location of the power supply and bathroom lines
- The mirror’s moisture resistance
- Clearance from taps, lighting, shelving, and cabinets
- Ventilation and potential condensation
- Cable concealment and edge finishing
- The tools and professional assistance required
Inspect the installation area before buying or unpacking the mirror. Identify restrictions such as a narrow wall, an off-center basin, nearby fittings, or a power connection that does not align with the mirror’s cable entry point.
It also helps to establish the intended centerline and outline before drilling. A paper or cardboard template can make the proposed placement easier to judge. View it from the doorway and from common positions around the bathroom. This small planning step may reveal proportion or alignment issues that are difficult to notice from directly in front of the basin.
Taking time to follow a clear process requires more effort at the beginning, but it reduces guesswork during installation. It also helps prevent costly corrections, damaged surfaces, and avoidable LED mirror malfunctions.
Setting the Mirror at an Uncomfortable Height
Mounting height has a direct effect on daily comfort. A mirror placed too high may force shorter users to stretch or leave part of their reflection outside the usable area. One placed too low can require taller users to bend repeatedly. Even when the mirror technically fits the wall, an uncomfortable height can make it frustrating to use.
Do not base the position only on the distance between the basin and ceiling. Consider who will use the mirror and which parts of the reflective surface need to remain visible. The aim is to create a practical viewing area without making the mirror appear disconnected from the vanity.
Test the height before making permanent marks. Hold the mirror in place if this can be done safely, or attach a lightweight template to the wall. Ask regular users to stand naturally in front of it. Check whether they can see themselves comfortably without leaning, crouching, or lifting their chin.
The mirror should also work visually with the rest of the room. Look at its relationship with:
- The basin and vanity
- Nearby wall lights or ceiling lighting
- Taps and backsplashes
- Shelves, cabinets, and decorative features
- The open space above and beside the mirror
An ergonomically comfortable position usually produces a more balanced appearance as well. Instead of following a generic height without question, use the room and its users as the guide. Once the preferred location is established, mark both the centerline and the top or bottom reference line so the position is not lost during installation.
Failing to Account for the Wall Material
A fixing that works well in one wall may be unsuitable for another. Tile, masonry, plasterboard, and other wall constructions require different drilling methods, anchors, and support strategies. Using whatever screws happen to be available can lead to wall damage, loose hardware, or an unstable mirror.
Determine the wall material before drilling. Do not judge only by the visible surface. A tiled wall, for example, still has a supporting structure behind the tile. The fixings must suit both the surface and the material carrying the mirror’s weight.
Check the mirror manufacturer’s instructions for mounting points and hardware requirements. If the supplied hardware is not appropriate for the wall, obtain compatible fixings rather than improvising. Where necessary, identify suitable structural support behind the finished surface.
The inspection should also account for hidden bathroom services. Drilling without checking what may be behind the wall creates an unnecessary hazard. Wiring, water lines, and other services should be identified before mounting holes are planned.
A sensible wall assessment includes three questions:
- What is the visible wall finish? This affects how the surface should be drilled and protected.
- What structure is behind it? This determines how the mirror will be supported.
- Are there hidden services nearby? This influences where drilling can safely take place.
If the wall condition or internal structure is uncertain, pause the project and seek appropriate professional guidance. Correct fixings and reliable support are essential because an LED mirror combines glass, lighting components, wiring, and mounting hardware in one unit.
Treating Wiring and Electrical Safety as an Afterthought
Unlike a standard decorative mirror, an LED mirror needs a power connection. Wiring therefore has to be included in the placement plan from the start. Choosing a location first and trying to solve the electrical connection afterward can result in exposed cables, an inaccessible connection, or interference with other bathroom services.
Before installation, identify the mirror’s power requirements and connection type. Follow the manufacturer’s directions, applicable electrical requirements, and any bathroom-specific restrictions. If the mirror needs a hardwired connection, use a qualified electrician rather than attempting unfamiliar electrical work.
Moisture must also be considered. Verify that the mirror has a moisture resistance rating appropriate for its intended bathroom location. Do not assume that every illuminated mirror is suitable for every wet or humid area. The installation position and electrical components should be kept clear of unsuitable locations and bathroom lines.
Plan the following before the mirror is mounted:
- Where the power supply will come from
- Where the mirror’s connection point will sit
- Whether the connection can remain safely accessible when required
- How cables will be routed and concealed
- Whether the product is suitable for the room’s moisture conditions
- Whether existing water or electrical lines affect the drilling area
Switch off the relevant power supply before electrical work begins and confirm that work is completed safely before operating the mirror. Wiring should not be pinched, placed under tension, or trapped behind mounting hardware.
Electrical planning is not simply about making the LEDs turn on. It also affects the mirror’s final position, appearance, and safe operation. Resolve connection details before drilling so the mounting and electrical plans work together.
Installing the Mirror Without Precise Alignment
Even a secure, correctly wired mirror can look poorly installed if it is slightly crooked or off-center. Misalignment interrupts the visual relationship between the mirror, basin, vanity, and surrounding fittings. Illuminated edges can make uneven lines particularly noticeable when the LEDs are switched on.
Avoid relying on the ceiling, floor, or nearby tile lines as the only reference. Existing surfaces and fittings may not be perfectly level or centered. Instead, establish the position based on the feature the mirror should align with—usually the basin or vanity—while also considering the room as a whole.
Use a careful marking process:
- Mark the intended vertical centerline.
- Mark a level horizontal reference.
- Transfer the mirror’s mounting points accurately.
- Measure the spacing between each mark again.
- Compare the outline with the basin and nearby fixtures.
- Confirm the marks with a level before drilling.
A template is useful when mounting points are difficult to transfer directly. It also allows you to step back and check the composition from different angles.
Measure more than once. Small errors can become difficult to correct after holes have been drilled, especially on a finished or tiled wall. If the mirror uses more than one bracket, ensure the supports are level with each other and match the mounting points on the back of the unit.
After hanging the mirror, check the alignment again before considering the job complete. Confirm that it sits evenly against the wall and that the mounting system is fully engaged. Precise lines improve both visual symmetry and confidence in the installation.
Overlooking Airflow, Fogging, and Condensation
Bathrooms naturally produce humidity and condensation, and mirror placement can influence how much moisture remains around the unit. Installing an LED mirror where airflow is restricted may increase fogging and allow moisture to linger near its edges or rear components.
Do not treat ventilation as separate from the mounting plan. Consider how air moves through the room and whether the proposed location is crowded by cabinets, shelving, or other features. Follow any manufacturer instructions concerning clearances around the mirror.
Adequate room ventilation helps moisture disperse rather than collect on nearby surfaces. Make sure existing ventilation is not blocked or compromised by the mirror or surrounding decor. If the room routinely remains damp, address that broader airflow issue instead of expecting the mirror alone to solve it.
When evaluating a location, consider:
- Whether air can move around the mirror
- Whether nearby furniture encloses its sides or top
- Where steam and condensation tend to collect
- Whether the room’s ventilation is working effectively
- Whether the manufacturer specifies rear or edge clearance
Some LED mirrors include features intended to reduce fogging, but these do not remove the need for appropriate ventilation or moisture-resistant installation. Persistent condensation can still affect surrounding finishes and create an unsuitable environment for electrical components.
Plan for airflow before fixing the mirror to the wall. A slightly different position—or better clearance from surrounding objects—may help protect the mirror and keep it more convenient to use.
Selecting a Mirror That Is the Wrong Size
Mirror size affects both practicality and visual harmony. A model that is too large can crowd the basin area, compete with nearby fittings, or leave insufficient clearance. A mirror that is too small may look disconnected from the vanity and provide a limited reflective area.
Measure the wall and basin before purchasing the mirror. Record the usable width and height rather than the wall’s total dimensions. The usable area may be reduced by lights, sockets, shelves, cabinets, taps, backsplashes, sloped ceilings, or door movement.
Compare the mirror dimensions with:
- The width and position of the basin or vanity
- The available wall area
- The preferred mounting height
- Nearby lighting and storage
- Required space for wiring and ventilation
- The room’s overall scale
Do not assess size from product images alone. A mirror may appear compact in a large showroom or promotional photograph but dominate a smaller bathroom.
Create a full-size template using paper or cardboard and attach it temporarily to the wall. This allows you to judge the proportions from across the room and test whether the proposed outline feels crowded. It also helps confirm that the mirror can be centered properly without interfering with nearby fixtures.
Remember to check access before installation as well. The mirror must be moved safely into the bathroom and positioned at the wall without striking doors, fittings, or other surfaces. Selecting the correct size before purchase is far easier than adapting the room around an unsuitable mirror later.
Leaving the Installation Without Final Details
Once the mirror is mounted and the LEDs work, it may be tempting to consider the project finished. However, exposed wires, uneven gaps, visible marks, or poorly treated edges can make an otherwise careful installation appear incomplete.
Start by inspecting the cable route. Wiring should be safely managed and concealed as intended by the product design and installation plan. It should not hang below the mirror or sit loosely where it can be pulled, pinched, or exposed to moisture.
Check the edges and surrounding wall. Where sealing is required or recommended, use a suitable method that does not block necessary airflow or conflict with the manufacturer’s instructions. Neat edge treatment can reduce places where moisture and grime collect, creating a cleaner and more hygienic result.
Complete a final review:
- Confirm that the mirror is level and stable.
- Check that all mounting points are fully secured.
- Make sure wires are concealed and not under strain.
- Inspect the edges for untidy gaps or damaged finishes.
- Remove pencil marks, dust, fingerprints, and installation debris.
- Verify that ventilation clearances remain open.
- Test the lighting and other built-in functions according to the instructions.
- Review the area for signs of interference with nearby fixtures.
Finishing details affect more than appearance. They support easier cleaning, protect surrounding finishes, and help the mirror function as intended. A tidy final inspection is the last step in avoiding an installation that looks improvised or requires preventable corrections.