Natural Ways to Clean Your Bathroom Without Harsh Chemicals
Bathrooms need frequent attention because moisture, soap residue, toothpaste, dirt, and everyday use can quickly leave surfaces looking dull. However, keeping the room fresh does not always require a cabinet full of strong commercial cleaners.
Many of the most practical natural ways to clean your bathroom rely on two familiar ingredients: baking soda and white vinegar. Combined with reusable microfiber cloths, a soft brush, and a squeegee, they can handle routine grime on many common bathroom surfaces. The key is to clean regularly, use gentle techniques, and check the care instructions for each material before applying any solution.
Is It Possible to Keep Your Bathroom Clean Without Chemicals?
Yes, you can maintain a clean bathroom without relying on harsh conventional cleaning products. In this context, “chemical-free” cleaning generally means using simple household ingredients instead of strong shop-bought formulas.
Natural cleaning works best as part of a consistent routine. Wiping away water, soap residue, and dirt before they build up is usually easier than trying to remove months of staining in one session. Regular upkeep also reduces the need for heavy scrubbing, which may damage grout, finishes, or delicate surfaces.
A sustainable bathroom cleaning routine can include:
- Reusable microfiber cloths instead of disposable wipes
- A squeegee for shower glass and other smooth surfaces
- Baking soda for gentle scrubbing and grime removal
- White vinegar diluted with water for compatible glass and bathroom surfaces
- Old soft-bristled brushes for grout lines and tight corners
- Regular spot cleaning rather than occasional aggressive cleaning
Natural ingredients are useful, but they are not suitable for every surface or every cleaning problem. Always check the manufacturer’s care guidance for your bath, shower enclosure, tiles, taps, and countertops. If you are uncertain, test the solution on a small, inconspicuous area first.
It is also important to be realistic. Baking soda and vinegar are helpful for ordinary bathroom dirt, light residue, and routine maintenance, but they may not completely restore damaged surfaces or deeply stained grout. A natural routine is most effective when it prevents heavy buildup from developing.
A Simple Chemical-Free Bathroom Cleaning Method
Baking soda and white vinegar are the main ingredients in a straightforward natural bathroom cleaning routine. Baking soda can be used as a mild cleaning powder or turned into a paste, while diluted vinegar can help clean compatible surfaces, particularly glass.
Microfiber cloths are equally valuable. Their fine fibers pick up dust, water, and loosened grime without requiring aggressive scrubbing. Keep separate cloths for different areas, such as the toilet exterior, sink, shower, and mirror.
Before you begin, gather:
- Baking soda
- White vinegar
- Clean water
- A spray bottle
- Several microfiber cloths
- A non-abrasive sponge
- A soft-bristled brush
- A squeegee
- A small bowl or container
A simple cleaning process looks like this:
Remove bathroom items. Move toiletries, bath mats, bins, and other objects out of the way. This gives you access to edges and corners where dirt often collects.
Clear loose dust and debris. Wipe shelves, ledges, and dry surfaces with a microfiber cloth. Sweep or vacuum the floor before introducing wet cleaning solutions.
Start with higher surfaces. Clean mirrors, shelves, and wall tiles before moving to the bath, shower, sink, and floor. Working from top to bottom prevents loosened dirt from falling onto areas you have already cleaned.
Use diluted vinegar on compatible surfaces. For glass, mix equal amounts of white vinegar and water. Spray lightly rather than soaking frames, seals, or surrounding materials.
Apply baking soda to stubborn grime. Mix baking soda with a small amount of water to make a spreadable paste. Apply it to areas with visible residue, leave it in place briefly, and then loosen the dirt with a damp microfiber cloth, non-abrasive sponge, or soft brush.
Rinse where necessary. Remove remaining paste and loosened dirt with clean water. Pay particular attention to textured surfaces and grout lines where residue may remain.
Dry the surfaces. Use a clean microfiber cloth or squeegee to remove excess water. Drying helps prevent streaks and keeps water from sitting around edges and fittings.
Finish with the floor. Clean floor tiles and grout after the rest of the room so that you collect any dust or residue that has fallen during the process.
Avoid trying to make gentle cleaners behave like abrasive scouring products. Firm pressure, rough pads, and repeated scraping can harm surfaces even when the cleaning ingredient itself is mild. Allow the solution and a little time to loosen the dirt before wiping or brushing gently.
For easier maintenance, keep a microfiber cloth and squeegee close to the shower. A quick wipe after use can reduce the buildup that makes future cleaning more difficult.
Natural Methods for Cleaning Bathroom Mirrors and Shower Glass
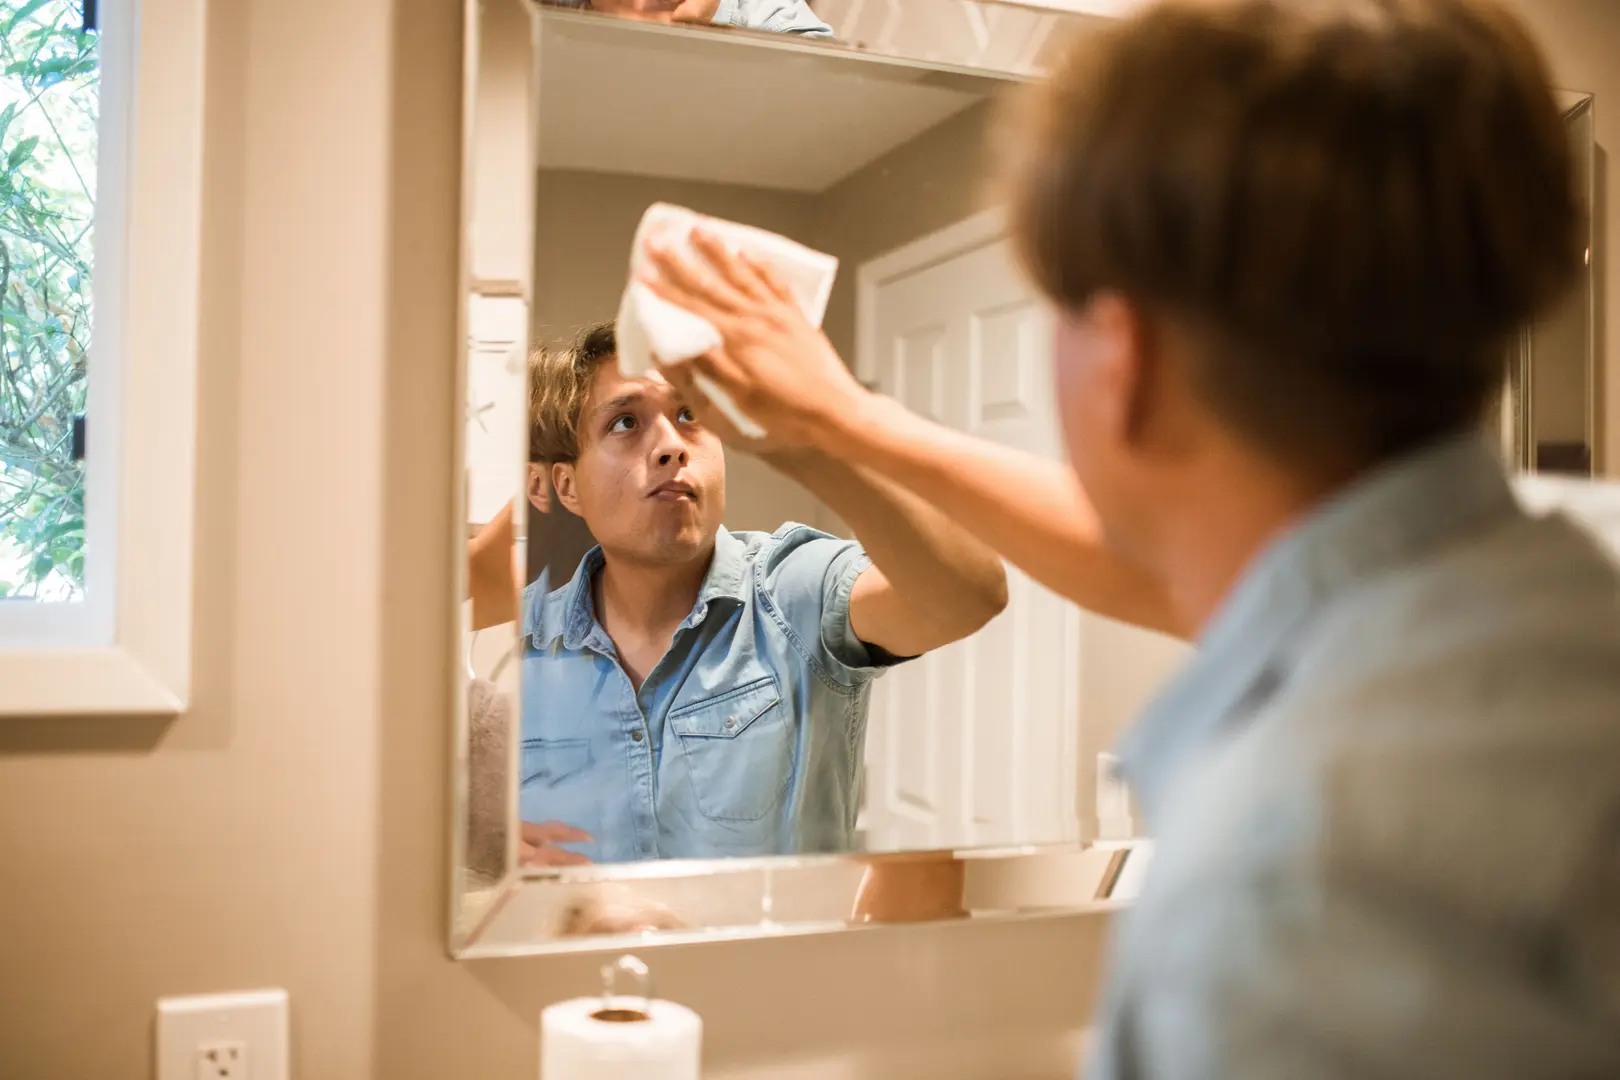
An equal mixture of white vinegar and water is a simple natural solution for bathroom mirrors and compatible shower glass. It can lift everyday marks and residue without the need for a conventional glass-cleaning spray.
Follow these steps for a streak-free result:
- Mix equal parts white vinegar and water in a clean spray bottle.
- Remove loose dust with a dry microfiber cloth.
- Spray the solution lightly onto the glass or cloth.
- Wipe from the top downward with a clean microfiber cloth.
- Use a squeegee on larger glass panels, overlapping each pass slightly.
- Wipe the squeegee blade between passes so that it does not transfer water or residue back onto the glass.
- Dry the edges and corners with a second clean microfiber cloth.
For mirrors, use the solution sparingly. Avoid flooding the edges, backing, frame, or nearby materials. Spraying the cloth instead of the mirror gives you more control.
Shower glass may need more than one pass when it has visible soap residue. Apply the diluted vinegar, wipe gently, and repeat rather than reaching immediately for a rough pad. Finish by rinsing if needed and using the squeegee to remove water.
The same basic method can be used on other compatible glass surfaces around the home. Windows, glass shelves, and glass-fronted cabinets can all benefit from a light application followed by a microfiber cloth or squeegee. Check the relevant care instructions first, especially when glass has a coating, decorative finish, frame, or attached hardware.
Regular drying makes a noticeable difference. Running a squeegee over shower glass after bathing takes little time and prevents water and residue from remaining on the surface. It also makes the next full clean much quicker.
Chemical-Free Ways to Clean Your Bath and Shower
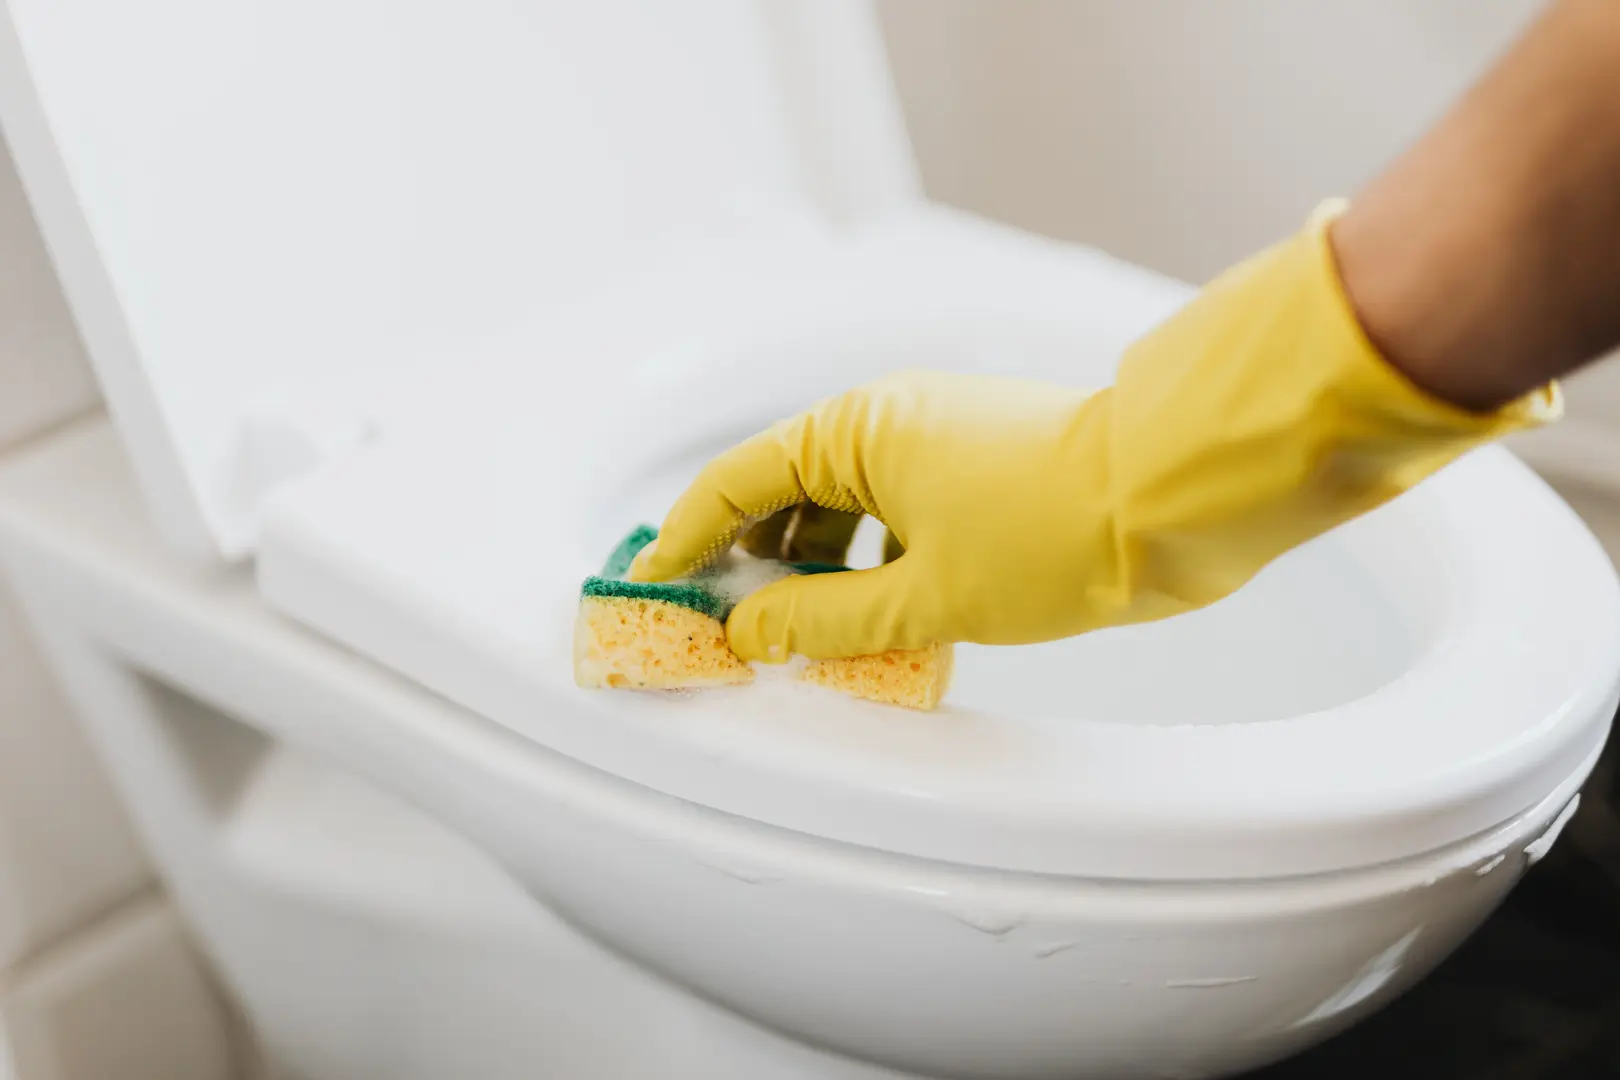
Baths and showers collect a mixture of soap residue, body oils, water marks, and general grime. A baking soda paste is a useful natural option for many routine cleaning jobs because it stays in place while you work.
To prepare the paste, place some baking soda in a bowl and add water gradually until it reaches a spreadable consistency. Then:
- Wet the area lightly.
- Apply a thin layer of paste to the grime.
- Allow it to sit briefly so it can help loosen the residue.
- Wipe with a damp microfiber cloth or non-abrasive sponge.
- Use a soft brush around corners, fittings, and textured areas.
- Rinse thoroughly with clean water.
- Dry with a microfiber cloth.
Use gentle pressure. Baking soda should support the cleaning process, not become a reason to scrub aggressively. Check the care guidance for the bath or shower material before applying it widely.
White vinegar is often used as a natural option for addressing some bathroom mold. However, it should not be treated as a universal solution. Mold can vary, and the surrounding surface may not be suitable for vinegar. Before using it, confirm that vinegar is appropriate for both the type of mold you are dealing with and the affected material.
For a small area where vinegar is considered suitable, apply it carefully, allow it to contact the affected spot, and wipe using a dedicated cloth. Rinse or dry the surface as appropriate. Do not spread the same cloth over the rest of the bathroom.
Cleaning alone may not solve a repeated mold problem. Continue removing standing water, drying shower surfaces, and paying attention to damp corners. If the growth is extensive, keeps returning, or cannot be identified confidently, do not assume that a household remedy will be sufficient.
Shower curtains, screens, seals, trays, tubs, and wall panels may have different care requirements. Treat each component separately rather than spraying one natural solution over the entire enclosure. This helps prevent damage to materials that react differently to moisture, vinegar, or scrubbing.
Natural Cleaning Solutions for Bathroom Tiles and Grout
Floor tiles and grout can be among the hardest bathroom areas to clean safely. Dirt settles in grout lines, while repeated foot traffic can leave the floor looking dull. The challenge is removing the buildup without wearing away the grout or scratching the tile.
Begin with dry cleaning. Sweep or vacuum the floor carefully, including along edges and around the toilet and vanity. If loose grit remains, it may drag across the tile while you scrub.
For routine cleaning, follow this method:
Check the tile-care instructions. Make sure the proposed solution is compatible with both the tile and grout. Not every tile material should be treated in the same way.
Test a hidden section. Apply a small amount of the solution in an inconspicuous place before cleaning the whole floor.
Clean the tile surface first. Wipe the floor with a damp microfiber cloth or suitable mop to remove ordinary dirt. Avoid soaking the grout unnecessarily.
Make a baking soda paste. Combine baking soda with a small amount of water. Apply it directly to dirty grout lines rather than covering the entire floor with a thick layer.
Brush gently. Use a soft-bristled brush and short, controlled strokes. Focus on the stained line without pressing hard against the tile edges.
Use white vinegar only where suitable. White vinegar can help with routine dirt and staining on compatible tiles and grout. Apply it carefully and according to the material’s care requirements. Do not assume it is appropriate for every tiled surface.
Remove all residue. Wipe away loosened dirt and cleaning paste with clean water and a microfiber cloth. Rinse the cloth frequently so that grime is not redistributed.
Dry the area. Use a clean cloth to remove excess moisture, especially along grout lines and around room edges.
Do not use abrasive pads, metal brushes, or harsh scraping tools on tiles and grout. These may scratch tile finishes, roughen grout, or cause gradual damage. A soft brush and repeated gentle cleaning are safer than one forceful scrubbing session.
For isolated stains, apply the baking soda paste only to the affected area. This targeted approach gives the paste time to work without requiring unnecessary scrubbing across clean sections of the floor. If the first pass does not remove the mark, rinse the area, let it dry, and reassess before repeating the process.
Natural methods have limits. Baking soda and white vinegar can be effective for routine dirt and some stains, but heavily discolored grout may not return to its original appearance. Deep staining can remain even after the surface dirt has been removed, and damaged or deteriorating grout cannot be repaired through cleaning.
The best strategy is prevention. Wipe up splashes, clean the floor regularly, and address dirty grout lines before the buildup becomes severe. A consistent, gentle routine protects the appearance of the tiles while reducing the need for abrasive tools or harsh bathroom cleaners.