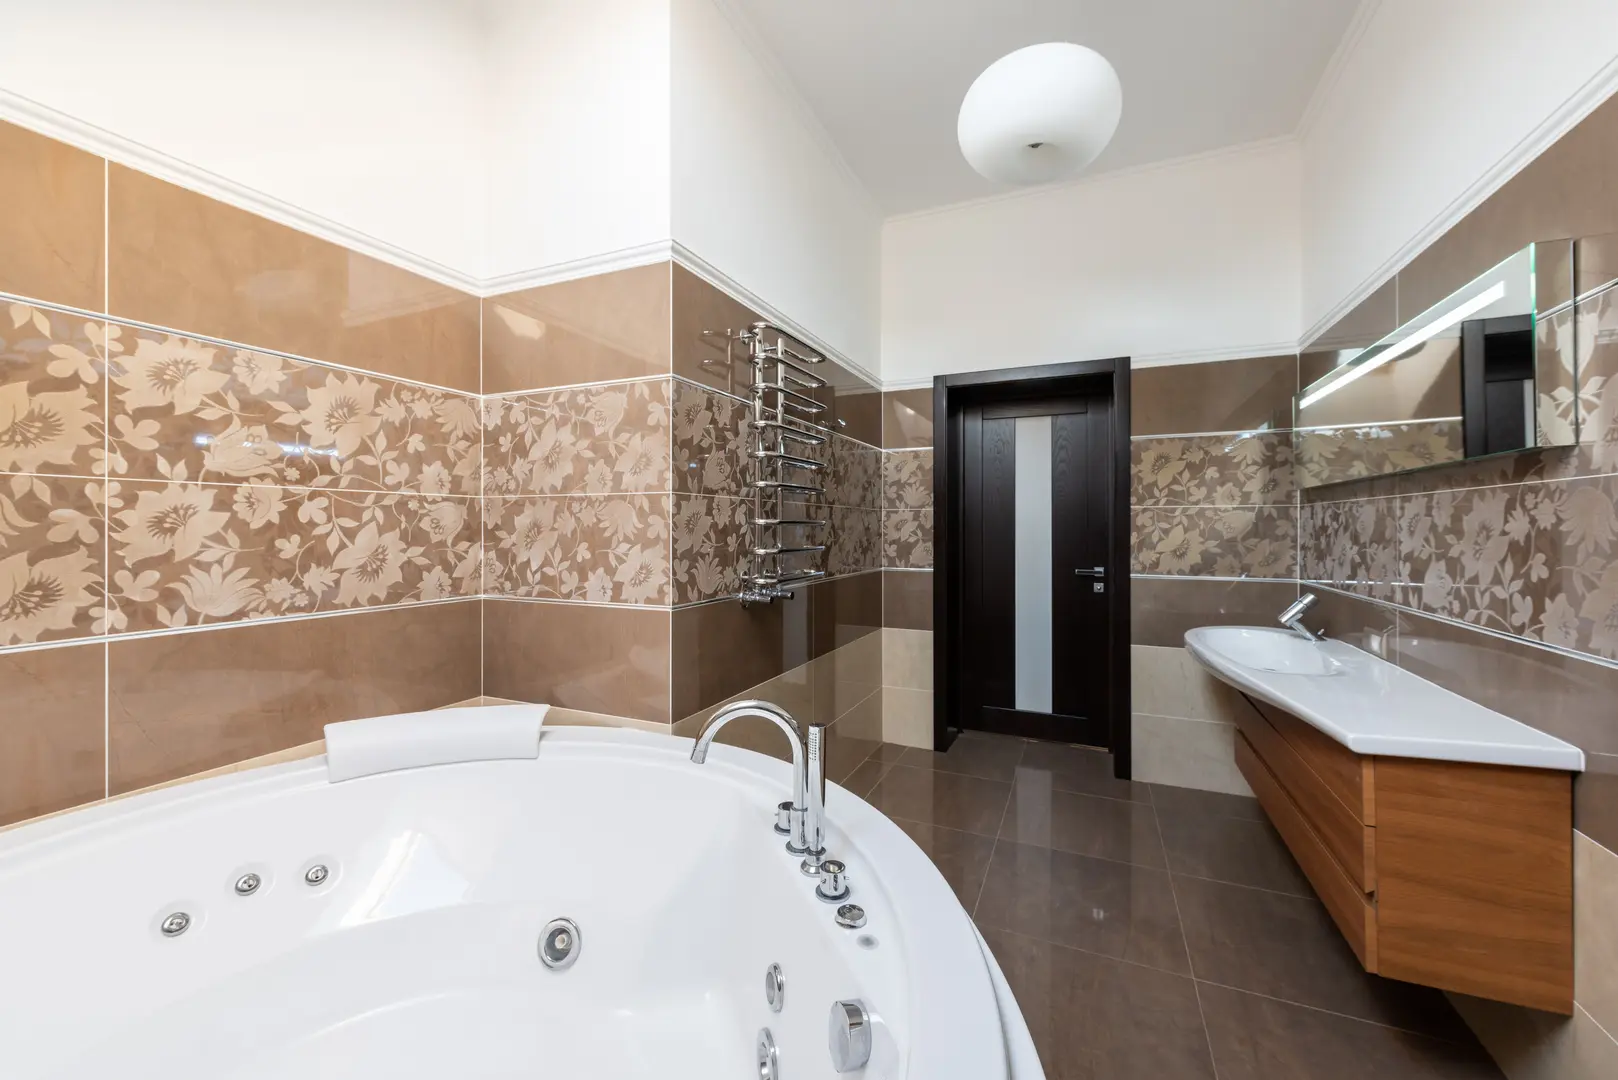
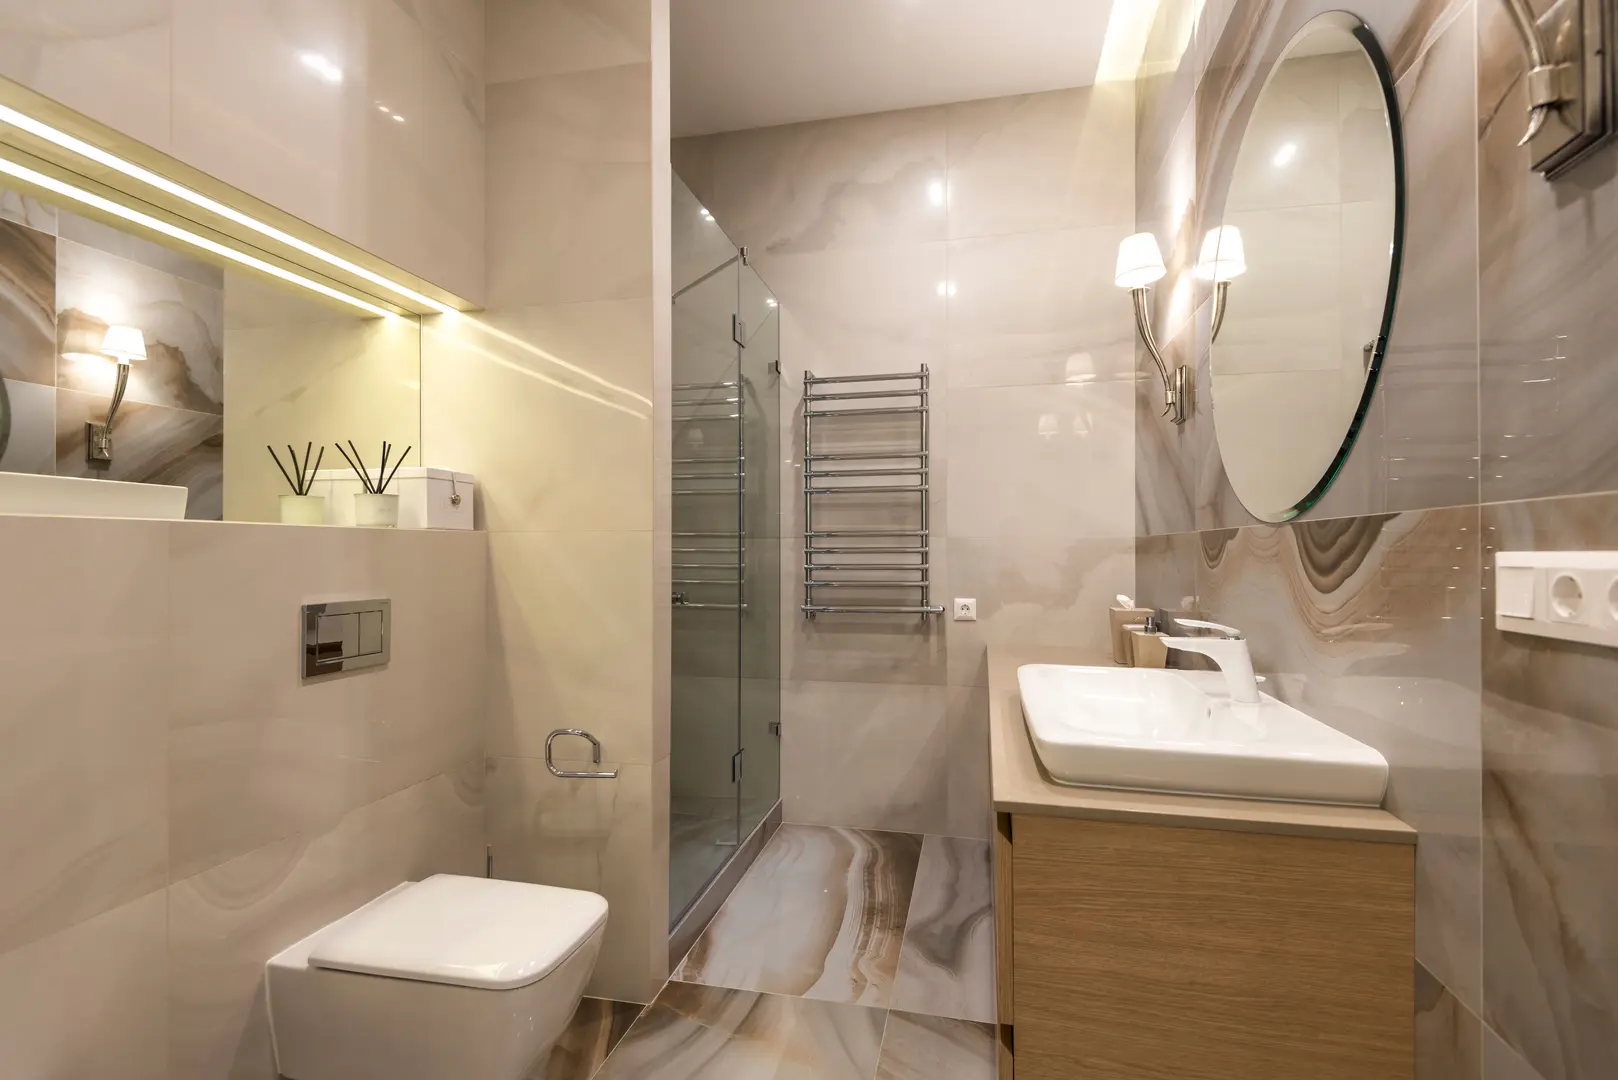
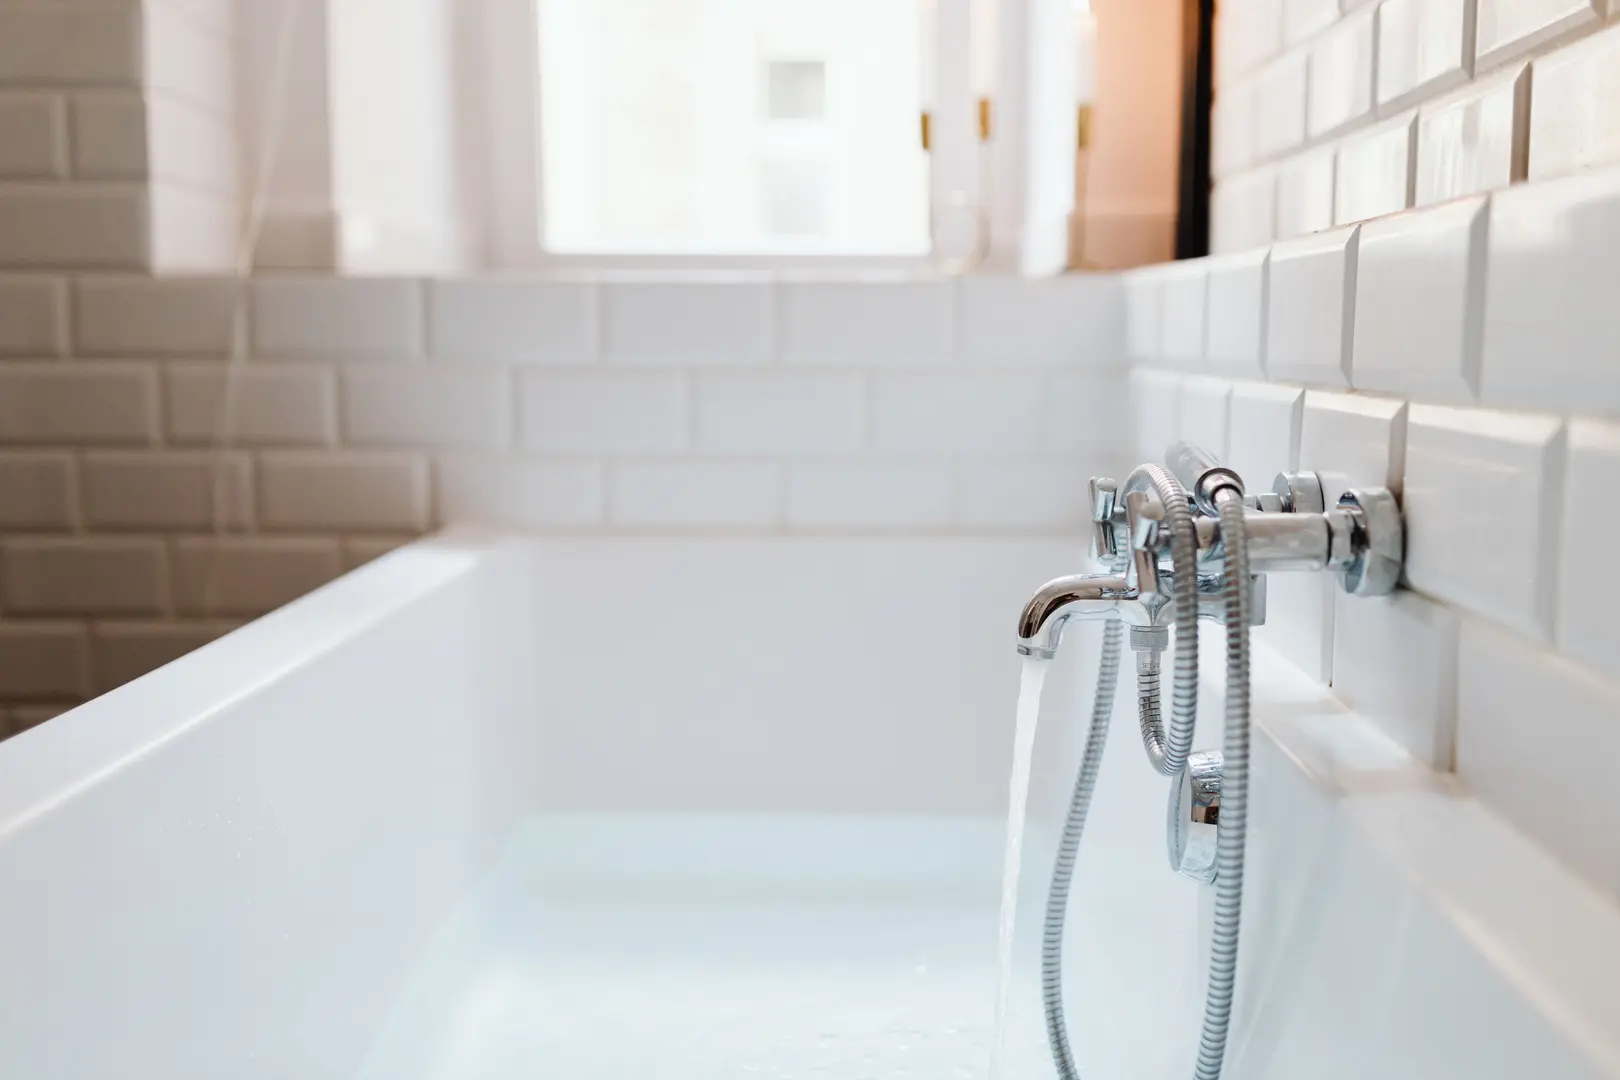
Painting Your Bathroom: How to Get It Right
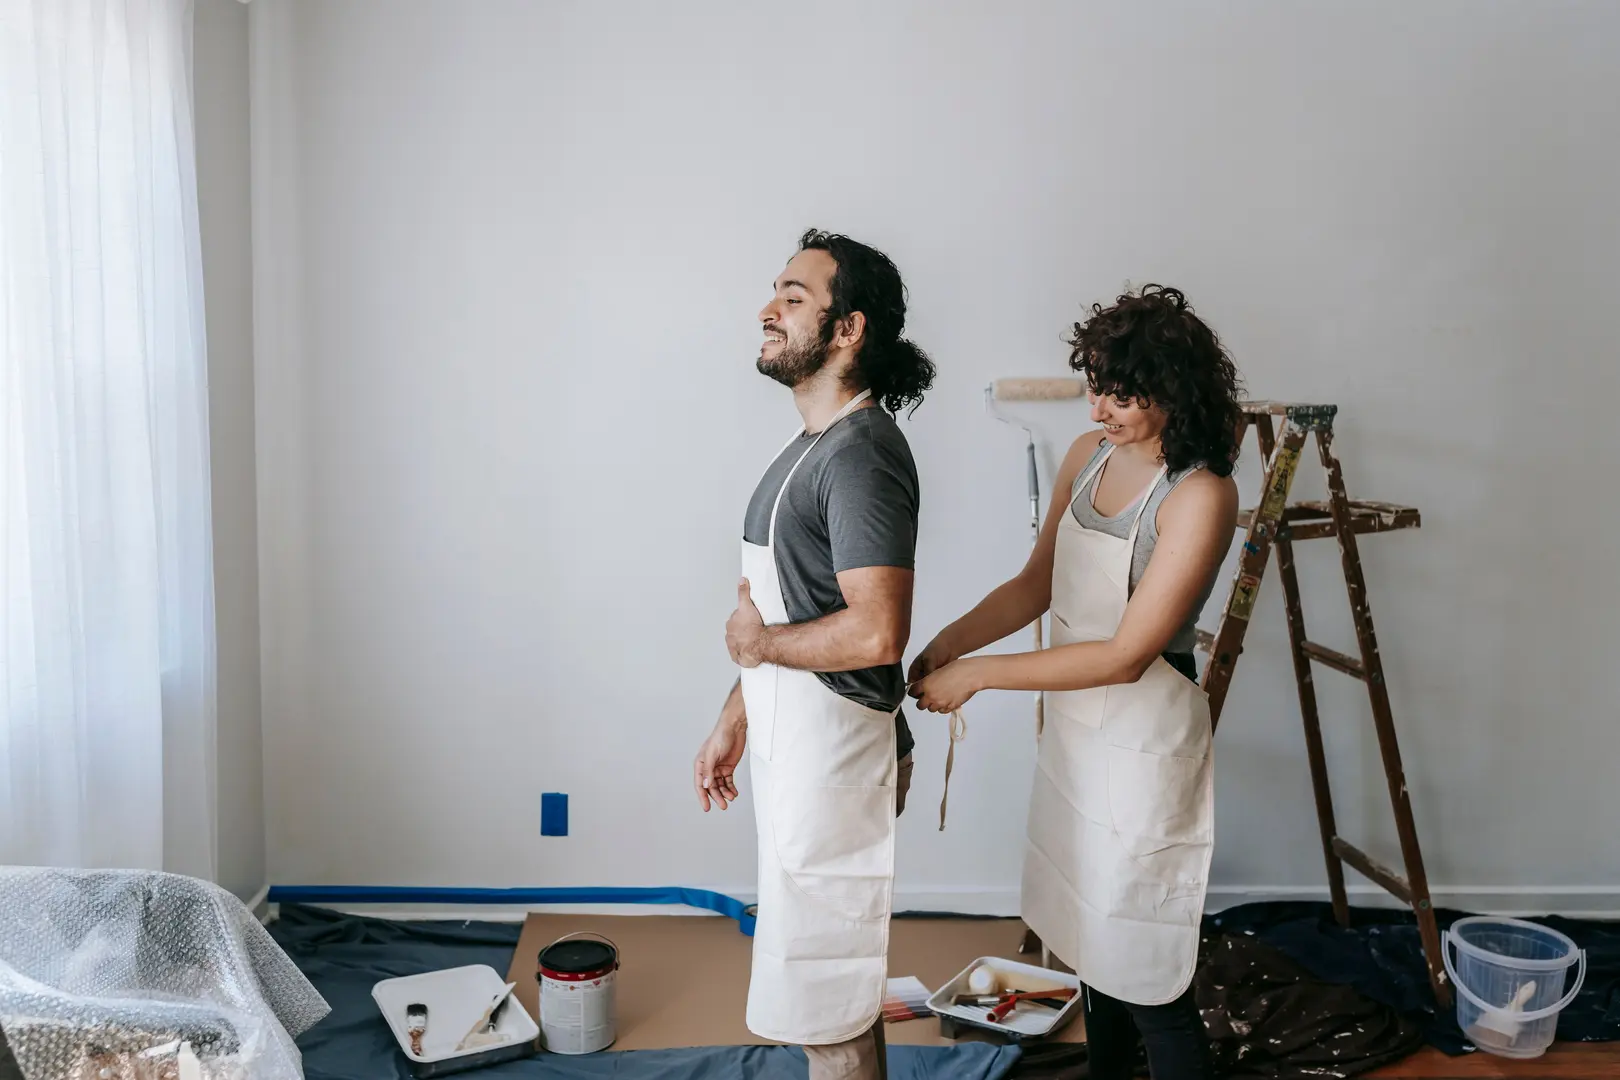
Painting a bathroom is a cost-effective way to refresh the room without committing to a full remodel. However, high humidity, condensation, and regular splashes make this space more demanding than a bedroom or hallway. Successful painting bathroom walls and ceilings depends on careful preparation, a moisture-resistant finish, and ongoing ventilation and cleaning.
Prepare the Bathroom Before Painting
Good preparation helps bathroom paint adhere evenly and prevents premature peeling or wear. Do not rush directly into applying a new colour, even if the existing walls appear to be in reasonable condition.
Start by removing portable items such as towels, toiletries, storage baskets, and decorative accessories. Protect everything that must remain in the room, including:
- Flooring
- Tiles and splashbacks
- The bath and shower
- The basin and vanity
- Taps and other fittings
- Mirrors and cabinets
- Light fixtures and switches
Use suitable covers and secure the edges so that drips cannot reach the surfaces beneath. Masking the borders around tiles, trim, fixtures, and other details also helps create cleaner painted lines.
Next, inspect the walls and ceiling closely. Bathrooms often develop flaking or loose paint where humidity has affected an older coating. Remove unstable paint with a scraper rather than painting over it. A fresh coat cannot create a durable surface if the layer below is already peeling away.
Check for cracks, dents, and small holes once the loose material has been removed. Apply an appropriate filler and allow it to set before smoothing the repaired areas. The objective is to create a stable, level surface without raised edges that may remain visible under the final coat.
Glossy existing paint can make adhesion more difficult. A de-glossing solvent can help prepare the old finish so that the new coating bonds more effectively. Follow the product directions and keep the room ventilated during preparation and painting.
The surface must also be clean. Residue and everyday bathroom grime can interfere with adhesion, so do not apply primer over dirty walls. Pay particular attention to the areas around basins, baths, and frequently touched surfaces.
Once repairs and cleaning are complete, apply a primer intended for bathroom conditions. A bathroom-specific primer creates a suitable foundation for the topcoat and is a better choice than treating the room like a dry living area. Make sure repaired patches, scraped sections, and other uneven areas are properly covered.
A practical preparation sequence is:
- Remove movable items and protect nearby surfaces.
- Scrape away loose or failing paint.
- Fill holes, dents, and cracks.
- Smooth the repaired areas.
- Clean the surfaces thoroughly.
- Use a de-glossing product where necessary.
- Apply a bathroom-appropriate primer.
- Allow each product to dry as directed before continuing.
Preparation is also the right time to investigate signs of persistent moisture. Painting over an active leak, recurring condensation, or existing mould will not solve the underlying problem. Correct the source before completing the decorative work.
Common Electrical Mistakes in Bathroom Remodeling
A new paint colour is often part of a wider bathroom update. Homeowners may replace lights, switches, fans, or dimmers at the same time, but DIY electrical work in a bathroom can create serious safety hazards. Water and electricity are a dangerous combination, and electrical work should not be treated as a minor decorative task.
Do not remove, alter, or relocate electrical fittings unless you are qualified to do so. If switches, lights, sockets, or ventilation equipment need attention, use an appropriately qualified electrician. This is especially important when a renovation changes the room layout or affects fittings near wet areas.
Dimmers are another potential source of problems. Bathroom lights may flicker when a dimmer is used improperly or is not suitable for the lighting setup. Flickering should not simply be accepted as a normal result of renovation. Have the dimmer, light fitting, and related electrical work checked rather than repeatedly changing lamps or ignoring the issue.
Electrical planning also affects painting. Arrange any necessary work before completing the final coats so that newly painted walls do not have to be cut into or repaired immediately afterward. If electrical plates or fittings need to be loosened for decorating, leave that task to someone who can manage them safely.
The wider lesson is simple: distinguish between cosmetic DIY and specialist work. Filling a small hole or painting a wall may be a reasonable homeowner project. Altering bathroom wiring is not the place to experiment.
Choosing the Right Bathroom Paint
Paint selection matters because bathroom walls face conditions that ordinary interior finishes may not tolerate well. Humidity and condensation can cause unsuitable materials to deteriorate early, resulting in more frequent maintenance and another round of painting.
Prioritize paint described as water-resistant or suitable for bathrooms. The label should make clear that the product is intended for moisture-prone interiors. Choosing paint based only on colour or price may save money initially, but a finish that does not hold up can quickly undermine those savings.
The sheen also affects suitability. Although terminology can vary among paint ranges, the main finish options can be considered as follows:
| Finish | Bathroom suitability |
|---|---|
| Flat | Generally best avoided because it is not the preferred option for humid bathroom conditions |
| Matt | May work in carefully chosen, lower-moisture areas when the product is made for bathrooms |
| Eggshell | Generally best avoided for a moisture-prone bathroom |
| Satin | Can suit some bathroom surfaces when a bathroom-rated, water-resistant formula is selected |
| Semi-gloss | A strong general choice because it repels moisture effectively |
| High-gloss | Offers the strongest water resistance of these finish options |
Flat and eggshell finishes are not the best default choices for bathroom walls. They may provide the visual effect wanted in another room, but appearance should not take priority over moisture resistance here.
Matt paint needs more careful consideration. A standard matt coating should not be assumed to be bathroom-ready. However, a matt product specifically formulated for bathroom conditions may be suitable in areas with less direct exposure to splashing. This can be useful when a softer, less reflective appearance is important.
Satin offers some sheen without looking as reflective as semi-gloss or high-gloss. A water-resistant satin paint may work in bathrooms where ventilation is effective and painted surfaces are not repeatedly soaked. Check the intended use of the individual product rather than relying on the finish name alone.
Semi-gloss is often the practical middle ground. It has enough sheen to repel moisture well and is a dependable choice for walls or other painted surfaces in a humid room. It can also be easier to maintain than a more delicate finish.
High-gloss provides the greatest water resistance. Its strongly reflective appearance will not suit every decorating scheme, but it can be useful where durability against moisture is the leading concern. Keep in mind that a glossy surface can make imperfections more noticeable, which makes scraping, filling, smoothing, and priming particularly important.
The room itself should guide the choice. Before buying paint, consider:
- How often the bathroom is used
- Whether condensation commonly forms
- How effective the ventilation is
- Which walls are likely to be splashed
- Whether the surface is a wall, ceiling, or trim
- How much sheen suits the intended design
- Whether tiles would be more appropriate in the wettest locations
Colour remains important, but it should come after performance. A beautiful finish that begins to wear prematurely will not deliver a successful result. Start with bathroom-compatible products, compare their available colours and sheens, and then select the best match for the room.
Application matters as much as selection. Follow the paint manufacturer’s directions, apply the product to a stable and properly primed surface, and avoid trying to cover damaged paint without repairing it. A suitable coating can still fail quickly if the preparation underneath is poor.
Paints That Resist Mould and Mildew
Mould-resistant paint is worth considering in a bathroom, particularly where humidity has caused previous problems. These products are designed to resist mould growth on the painted surface and can form one part of a sensible decorating plan.
However, mould-resistant paint is not a substitute for finding the cause of mould or mildew. Painting over visible growth while leaving the moisture source untouched is unlikely to produce a lasting improvement.
Possible underlying issues should be investigated before repainting. These may include recurring condensation, poor ventilation, persistent wetting, or a water problem that requires repair. The aim is to prevent surfaces from remaining damp rather than depending on paint to manage all moisture-related issues.
If mould is already present, address it appropriately and make sure the cause has been dealt with before preparing the wall. The surface must be suitable for primer and paint; simply concealing a stain does not resolve the condition beneath it.
It helps to treat mould resistance as one layer of protection:
- The underlying moisture issue is identified and corrected.
- Ventilation reduces humid air and condensation.
- Wet surfaces are allowed to dry.
- The wall is properly cleaned and prepared.
- Bathroom-specific primer is applied.
- A suitable mould-resistant topcoat is used.
- Regular cleaning and maintenance continue after painting.
This combined approach is more reliable than expecting a specialist paint to compensate for poor airflow or constant splashing. It also protects the wider bathroom update. New paint, cabinetry, sealants, and decorative materials may all deteriorate sooner when the room cannot release moisture effectively.
Keeping the Bathroom Paint Looking Good
Maintenance begins as soon as the painting project is complete. Even the most water-resistant coating benefits from sensible moisture control and regular care.
Effective ventilation is the first priority. Humid air and lingering condensation put unnecessary strain on painted surfaces. Use the bathroom’s ventilation system and encourage air movement so that the room can dry after bathing or showering. If the space regularly remains damp, investigate the ventilation rather than assuming that a stronger coat of paint is the only answer.
Clean painted surfaces regularly. Bathroom walls can collect residue and marks, especially near basins and other busy areas. Use cleaning methods compatible with the selected paint and follow its care instructions. Avoid aggressive treatment that may dull or damage the finish.
Deal with marks before they become heavily established. Regular light cleaning is generally more manageable than waiting until a wall requires intensive scrubbing. Pay attention to corners, areas around fittings, and places where condensation frequently gathers.
Limit splashes on painted walls whenever possible. Water-resistant paint is designed to perform better in humid conditions, but it should not be treated as a replacement for a fully wet-area surface. Wipe away obvious splashes and avoid allowing water to sit against painted sections.
Tiles are the better option for areas exposed to frequent wetting. Shower enclosures, bath surrounds, and other repeatedly soaked surfaces should use materials intended for that level of contact. Combining tile in wet zones with bathroom paint elsewhere provides a practical balance between durability, cost, and design flexibility.
Watch for early signs of trouble, including peeling, bubbling, persistent discoloration, or returning mould. These symptoms may indicate a problem beneath or behind the paint. Investigate moisture and ventilation before applying another coat.
A simple maintenance routine can protect the finish:
- Keep ventilation working effectively.
- Help the room dry after use.
- Wipe away splashes from painted areas.
- Clean walls periodically with a suitable method.
- Check corners and moisture-prone sections for mould.
- Use tile rather than paint in frequently wet areas.
- Repair the source of water problems promptly.
Painting a bathroom successfully is not simply a matter of choosing a colour and opening a tin. Protect the room, remove unstable coatings, repair defects, improve adhesion, and use bathroom-specific primer. Select a water-resistant finish suited to the level of moisture, with semi-gloss offering strong everyday performance and high-gloss providing the greatest water resistance. Finally, support the paint with ventilation, cleaning, and tiles where regular wetting makes paint impractical.