How to Remove Pink Mold on a Shower Head
Pink or reddish slime around shower-head nozzles, grout, drains, and curtains is more than an appearance problem. Although it is commonly called pink mold, the buildup is usually bacterial. Fortunately, you can remove pink mold on a shower head and nearby surfaces with careful cleaning, appropriate protective equipment, and better moisture control.
The key is to clean the entire shower—not just the most visible spot—and then keep surfaces as dry as possible.
What Is the Pink Buildup in a Shower?
The pink, coral, or reddish film found in showers is commonly associated with Serratia marcescens. Despite the familiar name “pink mold,” Serratia marcescens is an airborne bacterium rather than a true mold.
Because the bacteria can travel through the air, they may settle naturally on wet bathroom surfaces. A shower provides favorable conditions: frequent moisture, limited airflow, and residue that remains after bathing. The buildup may appear on:
- Shower-head nozzles and faceplates
- Grout and caulk
- Tile and fiberglass walls
- Shower curtains and liners
- Drains and drain covers
- Soap dishes, shelves, and bottles
- Corners and joints that remain damp
The discoloration may begin as a faint pink ring or a few small spots. If the area stays moist and is not cleaned, it can develop into a slippery film.
Most healthy people can clean a small affected area safely with suitable precautions. However, exposure may be more concerning for people with weakened immune systems. Avoid direct contact, protect cuts or broken skin, and seek professional or medical guidance when appropriate.
Why Does Pink Growth Develop in the Shower?
Airborne bacteria can land anywhere, but they are more likely to persist on wet surfaces. That is why pink buildup often returns around a shower head even after the fixture has been rinsed.
Several bathroom conditions contribute to its development:
- Inadequate ventilation: Steam and humidity remain in the room when there is little airflow.
- Constant surface moisture: Shower-head openings, grout lines, caulk, folds in curtains, and corners can stay wet long after use.
- Soap scum: A film left on shower surfaces creates an area where bacteria can collect.
- Shampoo and conditioner residue: Product splashes can remain on walls, shelves, bottles, and curtains.
- Irregular cleaning: Rinsing with water may remove loose residue, but it does not replace scrubbing and disinfection.
- Damp shower accessories: Sponges, brushes, bath mats, and cloths can hold moisture near freshly cleaned surfaces.
A shower head is especially susceptible because water repeatedly passes through or over its nozzles. Its small openings, seams, and textured surfaces are also harder to wipe than a flat shower wall.
How to Clean Pink Mold Thoroughly
Cleaning only the visible pink mold on the shower head may leave buildup on surrounding grout, curtains, or accessories. Use a complete cleaning process so that overlooked damp areas do not continue acting as bacterial breeding grounds.
Before starting, check the care instructions for the shower head, curtain, liner, tile, grout, and other finishes. Some cleaners can discolor fabric or damage natural stone, metal coatings, sealants, or other sensitive materials. Test your selected cleaner in an inconspicuous place if compatibility is uncertain.
Most importantly, never mix bleach with vinegar, peroxide, ammonia, or other household cleaners. Combining cleaning chemicals can create dangerous fumes or reactions. Choose one cleaning product, follow its label, and rinse surfaces before using a different product at another time.
Step 1: Put On Protective Equipment
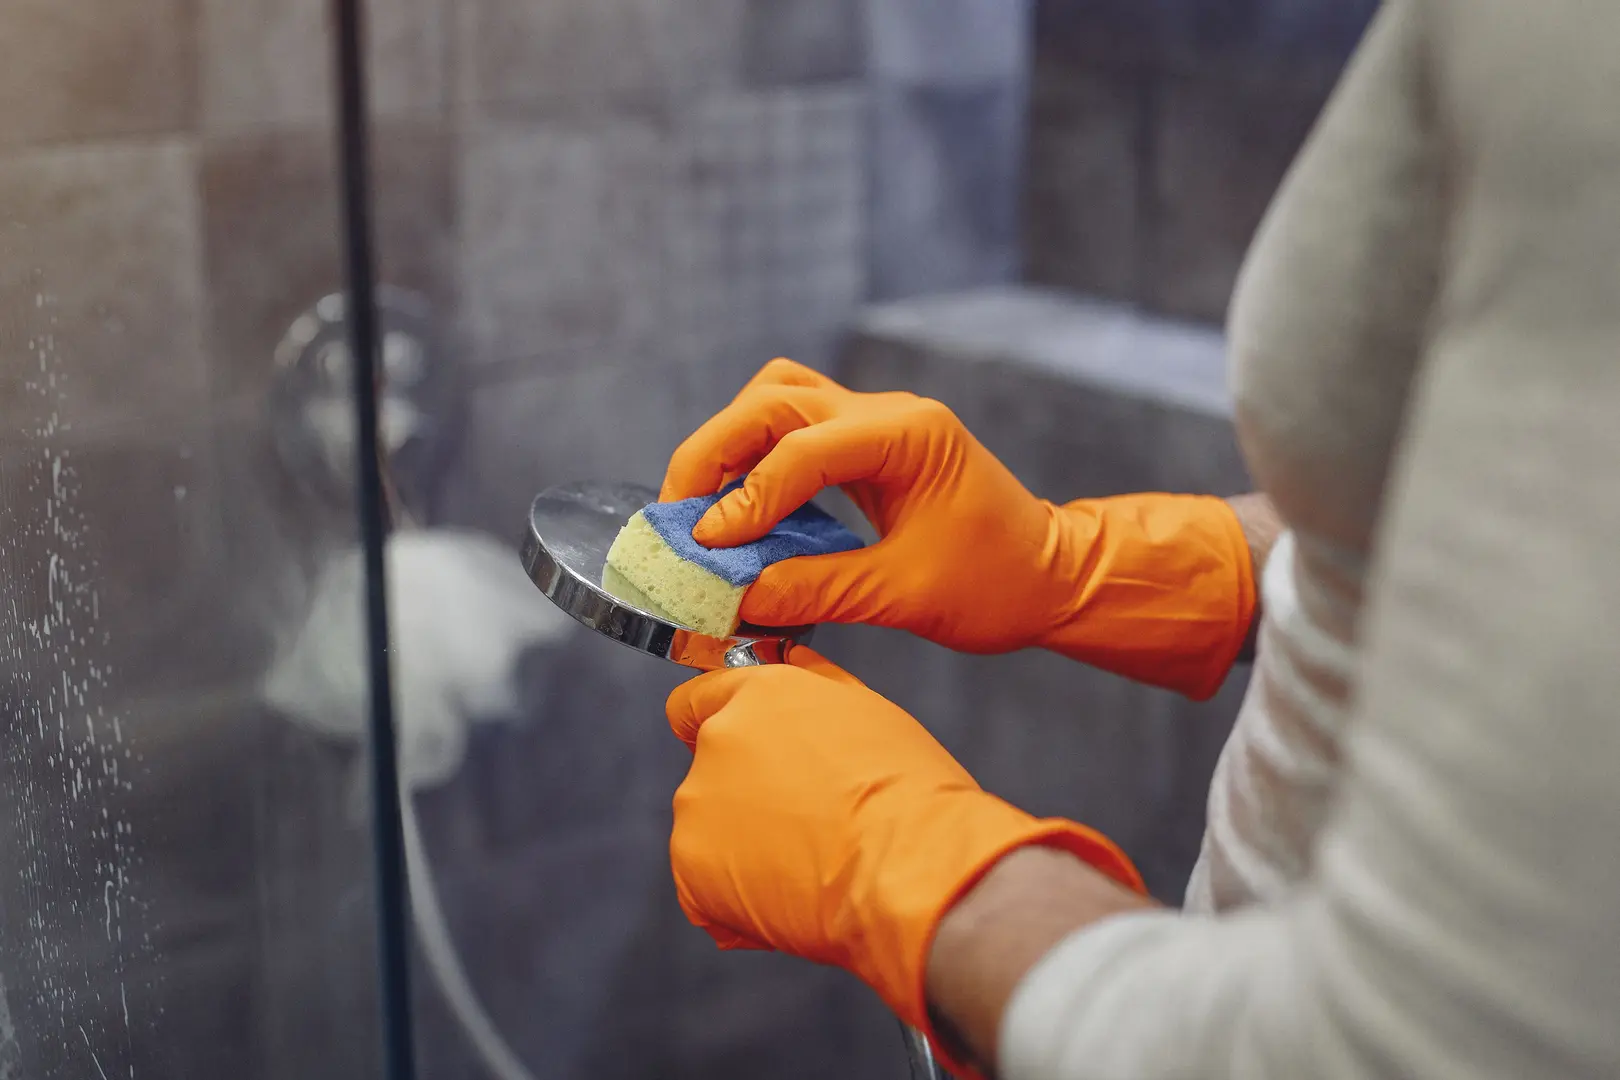
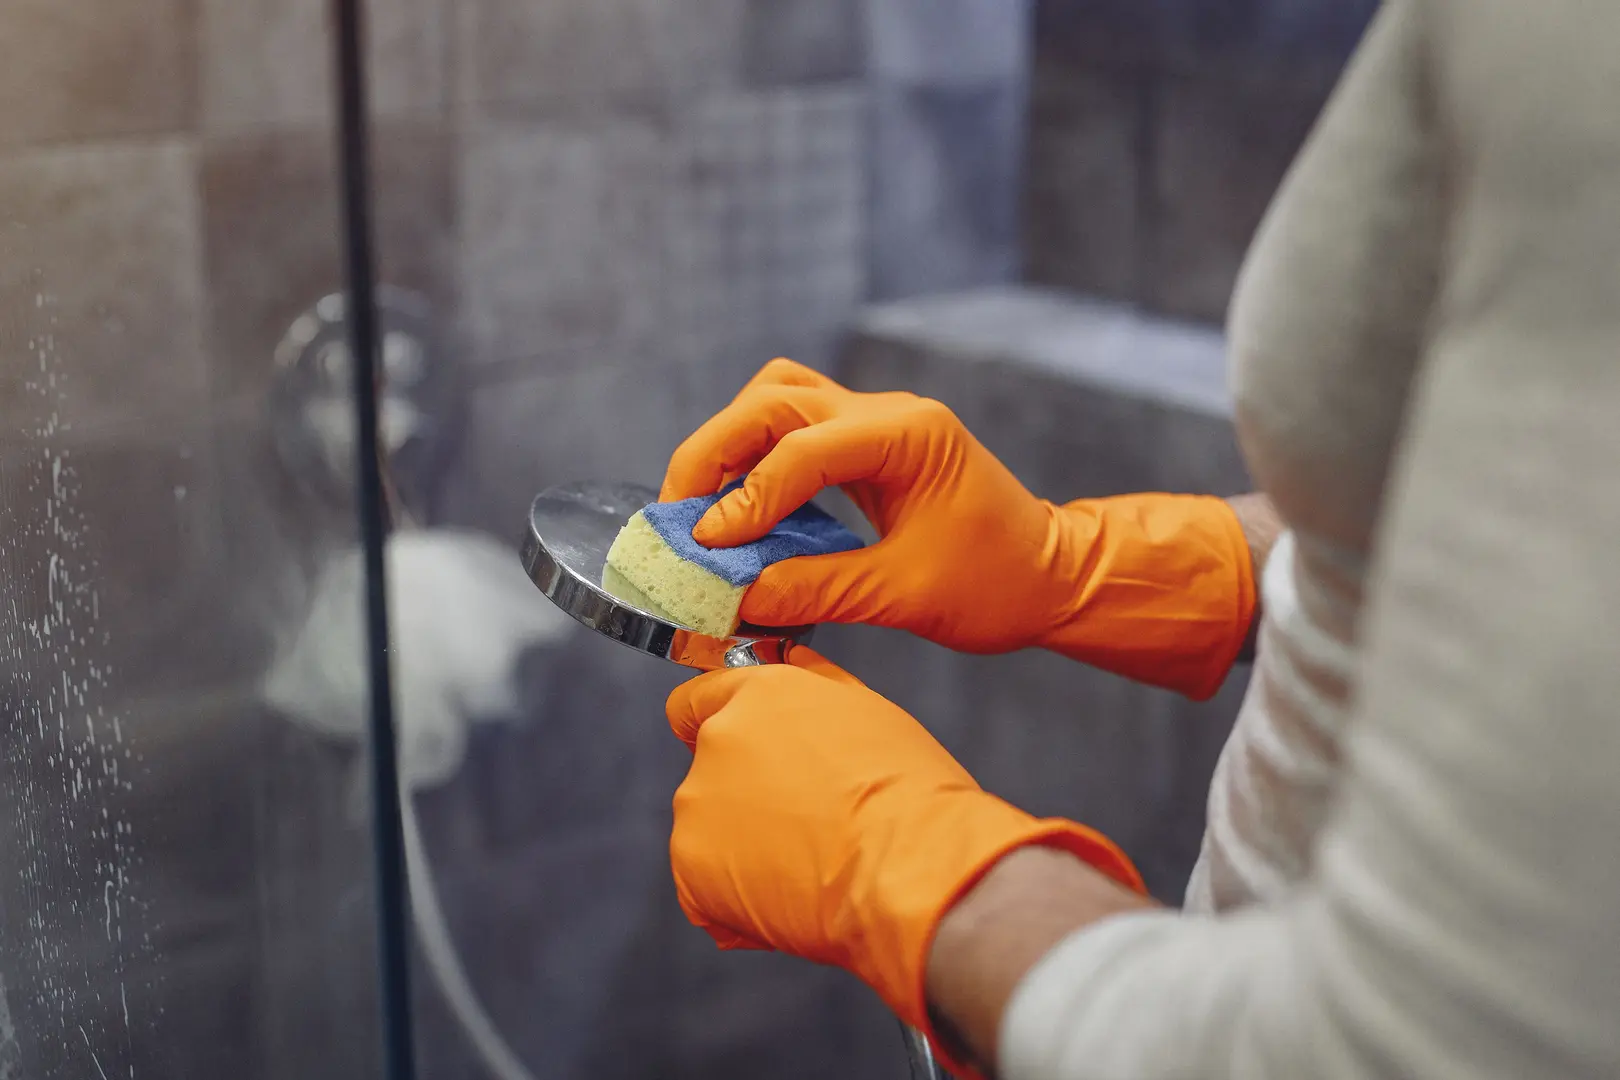
Wear household cleaning gloves before touching contaminated surfaces or preparing a cleaning solution. Gloves help limit skin contact and keep the bacteria away from small cuts or irritated skin.
A well-fitting mask can reduce exposure to droplets and particles disturbed during scrubbing. Goggles are also advisable, particularly when cleaning above shoulder height or spraying around a shower head. They help protect your eyes from splashes and loosened debris.
Before cleaning:
- Cover any open cuts with a waterproof bandage.
- Keep children and pets out of the bathroom.
- Turn on the exhaust fan or open a window.
- Avoid placing your face directly under the shower head.
- Change out of clothing that becomes splashed with cleaner.
If you have a weakened immune system or a significant respiratory condition, consider asking someone else to perform the cleaning.
Step 2: Gather Tools and Mix a Cleaning Solution
Collect everything before you begin so you do not have to move through the home while wearing contaminated gloves.
Useful supplies include:
- A spray bottle
- A small cleaning brush or old toothbrush
- A larger scrub brush
- Nonabrasive cloths or sponges
- A bucket or basin
- Gloves, a mask, and goggles
- Your chosen cleaning solution
Vinegar, hydrogen peroxide, or a bleach-based cleaner may be used, depending on the surface and its manufacturer’s instructions. Choose only one. Do not combine these products or pour one into a bottle that previously held another cleaner.
Prepare the selected solution with warm water only when the product label or surface-care directions allow it. Do not guess at bleach concentrations; follow the bleach label for cleaning and disinfecting instructions. Label any spray bottle clearly, and never store a homemade solution in a beverage container.
For a removable shower head, consult the fixture instructions before soaking it. Certain finishes and internal parts may not tolerate prolonged exposure to acidic or bleach-based products. When removal is not recommended, clean the accessible exterior and nozzle area in place.
Step 3: Scrub the Contaminated Areas
Apply the chosen cleaner to the shower head and other affected surfaces. Give it the amount of contact time stated on the product label. Keeping the product on the surface for too little time may reduce its effectiveness, while leaving it too long could damage some finishes.
Use a small brush to work around the shower-head nozzles, joints, and edges. Scrub first in one direction and then across it—vertically and horizontally—to reach textured areas from multiple angles. Avoid forcing loosened material farther into the nozzle openings.
Continue with the surrounding wall, grout, caulk, faucet, hose, shower arm, and drain cover. Pay attention to the underside of shelves and the bottoms of bottles, where moisture and residue often collect.
Rinse the cleaned areas thoroughly with cool water. Check the shower head from several angles for remaining pink or reddish film. If discoloration remains, repeat the process with the same product rather than immediately switching chemicals.
Wipe the shower head and nearby surfaces dry with a clean cloth when finished.
Step 4: Clean the Shower Curtain
Inspect the shower curtain and liner for pink film, especially along the lower edge, seams, folds, and areas near the wall. If the care label permits bleach, soak the curtain in bleach and warm water according to the bleach manufacturer’s directions.
After soaking, rinse the curtain thoroughly to remove loosened residue, cleaner, and remaining spores or bacteria. Wash it according to its care label if additional cleaning is allowed, then hang it fully extended so it can dry.
Do not use bleach on a curtain that is not bleach-safe. For those materials, follow the manufacturer’s recommended washing method. Never add vinegar, peroxide, ammonia, or another cleaner to a bleach soak.
Clean the curtain rod, rings, hooks, and clips as well. These small components can retain residue and reintroduce it to a clean curtain.
Step 5: Disinfect Every Shower Surface
Once the obvious buildup is gone, address the rest of the shower. Bacteria may remain on surfaces that do not yet look pink.
Thoroughly scrub or wipe:
- Walls, tile, and grout
- Caulked edges and corners
- Faucet handles and controls
- The shower hose and shower arm
- Shelves, niches, and soap dishes
- Bottle caps and containers
- Drain covers and surrounding areas
- Curtain rods, hooks, and tracks
- Door seals and sliding-door tracks
- Removable shower accessories
Use a disinfectant appropriate for each material and follow its label for application, contact time, rinsing, and ventilation. A product that is safe for ceramic tile may not be suitable for natural stone, painted surfaces, metal finishes, or fabric.
Remove empty containers and unnecessary accessories that trap water. Wash reusable items and allow them to dry before returning them to the shower. This eliminates damp pockets that could become bacterial breeding grounds.
Step 6: Replace Heavily Affected Curtains and Liners
A curtain or liner with extensive buildup may not be practical to restore. Replacement is often the better option when discoloration is significant, material is deteriorating, or residue remains embedded after proper washing.
Place heavily affected disposable items in a bag before carrying them through the home. Clean the rod, hooks, and surrounding shower surfaces before installing the replacement. Otherwise, the new curtain or liner may quickly become contaminated.
Choose a replacement that can be washed or wiped easily. After every shower, spread the curtain or liner out instead of leaving it bunched in folds. Better drying will help slow renewed pink growth.
Can Pink Growth in the Shower Be Harmful?
Serratia marcescens can act as an opportunistic pathogen. This means it is more likely to cause problems when it enters the body through a vulnerable route or affects someone whose defenses are already reduced.
Open wounds are one possible route of exposure. Avoid touching pink buildup with bare hands, and do not scrub contaminated surfaces when cuts are uncovered. The bacterium has been associated with infections involving the respiratory system, including pneumonia, as well as digestive and urinary problems.
These associations do not mean that every patch of pink shower residue will make someone ill. Risk depends on the person and the type of exposure. Nevertheless, the buildup should be removed promptly rather than ignored.
Seek medical advice if you are concerned about exposure, particularly if contaminated water or cleaner entered an open wound, eyes, or mouth. A healthcare professional—not the color of the shower film—should evaluate possible symptoms or infection.
Could Pink Mold Make You Ill?
Exposure may sometimes be followed by digestive symptoms that resemble food poisoning. However, nausea, vomiting, diarrhea, stomach discomfort, and similar symptoms can have many causes. Do not assume that shower buildup is responsible without medical evaluation.
People at higher risk include those with weakened immune systems and individuals with significant underlying health vulnerabilities. Extra care may also be appropriate in homes where someone has open wounds, uses medical equipment, or has been advised to limit exposure to environmental bacteria.
If symptoms are severe, persistent, or accompanied by breathing difficulties or signs of infection, contact a healthcare professional promptly. Cleaning guidance cannot diagnose or treat illness.
What Makes Pink Mold Return?
Pink growth often comes back because the underlying conditions have not changed. The shower is repeatedly exposed to water, and recessed or textured areas can stay moist even when the bathroom looks dry.
A quick rinse may make the pink color disappear temporarily while leaving film in grout lines, under bottles, around nozzle openings, or in curtain folds. Residual soap and shampoo also give airborne bacteria places to settle.
Recurring buildup commonly points to:
- Excess humidity after showering
- Weak or unused ventilation
- Wet curtains left folded together
- Shower heads and walls that are not dried
- Damp accessories stored inside the enclosure
- Soap scum that is not removed routinely
- Overlooked seams, tracks, and corners
Routine cleaning removes the residue before a thick film forms. Ventilation and drying reduce the moisture that supports regrowth. Both are necessary for long-term control.
How Can You Prevent Pink Mold in the Shower?
Prevention does not require disinfecting the entire bathroom after every use. Consistent drying, light daily maintenance, and regular inspections are usually more practical than waiting for heavy buildup.
1. Maintain the Shower Every Day
After showering, rinse away visible soap and shampoo residue. Wipe or squeegee the shower walls, door, and other broad surfaces. Use a clean cloth to dry the shower head and controls if water remains on them.
Build these habits into the daily routine:
- Spread out the curtain and liner to dry.
- Keep bottles clean, dry, and neatly spaced.
- Remove wet cloths and bath mats from the enclosure.
- Rinse soap dishes and shelves.
- Hang brushes and sponges where air can circulate.
- Wipe around shower-head nozzles when film first appears.
Wash cleaning cloths after use and let brushes dry completely. A dirty, damp cleaning tool can spread residue instead of removing it.
2. Improve Airflow and Humidity Control
Run the bathroom exhaust fan while showering and afterward to move humid air out of the room. If there is a window and outdoor conditions permit, open it to increase airflow.
A dehumidifier can also help in bathrooms or adjoining areas that remain humid. Use it according to its instructions and empty or clean it regularly.
Keep the shower door or curtain positioned so the enclosure can dry once the bathroom is no longer in use. Do not allow wet towels, bath mats, or clothing to pile up nearby. The goal is to shorten the amount of time that shower surfaces remain damp.
3. Inspect Regularly for Early Warning Signs
Check the shower head, grout, caulk, drain, curtain edges, door tracks, and shelves regularly. Early buildup is easier to remove than a thick, widespread film.
Watch for:
- Pink, coral, red, or orange discoloration
- A slippery film around fixtures
- New staining along grout or caulk
- Buildup around shower-head openings
- Persistent dampness in corners or folds
- Unusual or musty odors
Clean small spots as soon as they appear, using a surface-compatible product and appropriate protection. If discoloration repeatedly returns despite thorough cleaning and good ventilation—or if it appears to come from inaccessible plumbing components—consider asking a qualified cleaning or plumbing professional to inspect the area.