How to Remove Shower Enclosure: Step-by-Step Guide
Removing an old enclosure can refresh a bathroom, make repairs easier, or prepare the shower for a replacement. Learning how to remove shower enclosure components in the correct order helps protect the walls, floor, and shower base while keeping the project under control.
The exact fixings vary between framed, semi-frameless, and panel-style enclosures. Before starting, inspect how the doors, rails, wall channels, panels, tray, and sealant connect. If any part is unclear—or plumbing or structural changes are involved—consult a qualified professional.
Gather the Tools and Protective Equipment
Collect everything you need before dismantling the enclosure. This avoids leaving a loose door or panel unsupported while searching for a tool.
The basic equipment includes:
- Safety glasses to protect your eyes from sealant, fragments, and debris
- Protective gloves for handling metal edges, glass, and removed materials
- Utility knife or sharp cutter for slicing through silicone sealant
- Screwdrivers or a drill with bits that match the enclosure fixings
- Small pry bar for carefully releasing bonded channels and panels
- Chisel for controlled removal of stubborn material
- Protective sheets or plastic for the shower base, floor, and nearby fixtures
- Containers or labelled bags for screws, brackets, caps, and reusable fittings
You may also need a sealant scraper and basic cleaning materials after removal. Check that your tools are in good condition, and do not use a pry bar directly against an unprotected finished surface.
Before handling glass doors or large panels, arrange for another person to help. Even when a component is manageable by weight, its size can make it difficult to control in a confined bathroom.
Follow the Enclosure Removal Process
A successful removal depends on following a logical sequence. In most cases, the doors come out first, followed by rails, wall channels, and panels. The shower tray is removed only if it is part of the planned renovation.
Take photographs before and during the work. They can help you identify how components were assembled and show where the original fixings entered the wall.
Clear the Shower Area and Shut Off the Water
Remove toiletries, shower mats, storage racks, and other loose items from the enclosure. Clear enough floor space to carry doors and panels out of the bathroom without striking a wall or fixture.
Cover the following areas with protective sheets or plastic:
- The shower tray or base
- The bathroom floor
- Nearby tiles and sanitary fixtures
- Any surfaces where removed components may be placed temporarily
Turn off the relevant water supply before beginning. Although removing the screen or enclosure frame may not require opening a water connection, shutting off the supply is a sensible precaution when the work could extend to the shower fittings, tray, or concealed plumbing.
Examine the complete enclosure before removing screws. Look for decorative caps covering fixings, sealant along both sides of wall channels, brackets at the top and bottom, and rails that may support the doors.
Take Out the Shower Doors Carefully
Remove the doors before releasing the main frame. This reduces the amount of weight attached to the wall channels and makes the remaining structure easier to handle.
The removal method depends on the door design:
- Support the door. Ask a helper to hold it securely while you work.
- Remove caps or covers. These may conceal screws, hinges, or brackets.
- Undo the hinges, brackets, or retaining pieces. Keep control of the door as the final fixing is released.
- Lift the door carefully. Some doors lift out of their tracks after their retainers are removed, while hinged doors separate at their hinge fixings.
- Move it to a safe storage area. Keep reusable doors upright and protected from impact.
Do not force a door that remains attached. Stop and check for hidden retainers or sealant before pulling harder. If the enclosure has multiple sliding panels, note their order so they can be stored or reassembled correctly.
Keep screws and fittings together if you intend to reuse or donate the enclosure. Labelled bags make it easier to match each part with its original location.
Slice Through the Enclosure Sealant
Silicone sealant commonly bonds the enclosure frame or channels to the wall and shower base. Removing screws alone may not release these components.
Use a utility knife to score the sealant along the visible edges of:
- Wall channels
- Bottom rails
- Fixed panels
- Frame joints
- The connection between the enclosure and shower tray
Hold the blade at a controlled angle and make several light passes rather than one aggressive cut. The aim is to separate the sealant without cutting into wall finishes, scratching the tray, or damaging surrounding surfaces.
Check both the inside and outside edges of the frame. If a channel remains firmly attached after the visible sealant has been cut, there may be another sealed edge or a concealed fixing. Avoid twisting the frame until you know why it is still secure.
Release the Wall Panels from Their Fixings
Once the doors and accessible sealant are removed, locate the fixings holding the wall channels, support rails, or fixed panels in place. Screws may sit behind caps, trim pieces, or removable covers.
Proceed in a controlled order:
- Support the panel or frame section.
- Remove visible screws with a screwdriver or drill.
- Place the screws and brackets in a container.
- Check again for concealed fixings.
- Insert a protected pry bar carefully behind the loosened edge.
- Apply gradual pressure to release the remaining sealant.
- Lift the panel or channel away from the wall.
Do not lever against an unprotected tile edge or plaster surface. A thin protective piece between the tool and wall can help spread the pressure. Alternate between different points along the channel rather than forcing one location.
Large fixed panels should be handled by two people. Once removed, place them in a stable location away from the working area.
Separate the Shower Tray When Necessary
The shower tray is not always part of the enclosure. If the replacement project only involves new doors, screens, or framing, an intact tray can often remain in place.
If the tray must be removed, first confirm how it connects to the drainage system. The drainage pipe or waste fitting must be disconnected before the tray is lifted. Access arrangements vary, so stop and obtain professional help if the connection is concealed or difficult to reach.
After disconnecting the drainage:
- Cut through the seal around the tray perimeter.
- Check for accessible fasteners or other restraints.
- Release the tray gradually rather than forcing one corner.
- Lift it with assistance if it is large or heavy.
- Protect the open drainage connection while the area is being prepared.
Trying to lift a tray while the waste is still connected can damage the drainage components. If you are uncertain about the plumbing connection, use a qualified plumber.
How to Preserve Your Shower Base During an Enclosure Update
A frequent concern is whether the enclosure and shower base form one inseparable unit. Start by identifying the boundary between them.
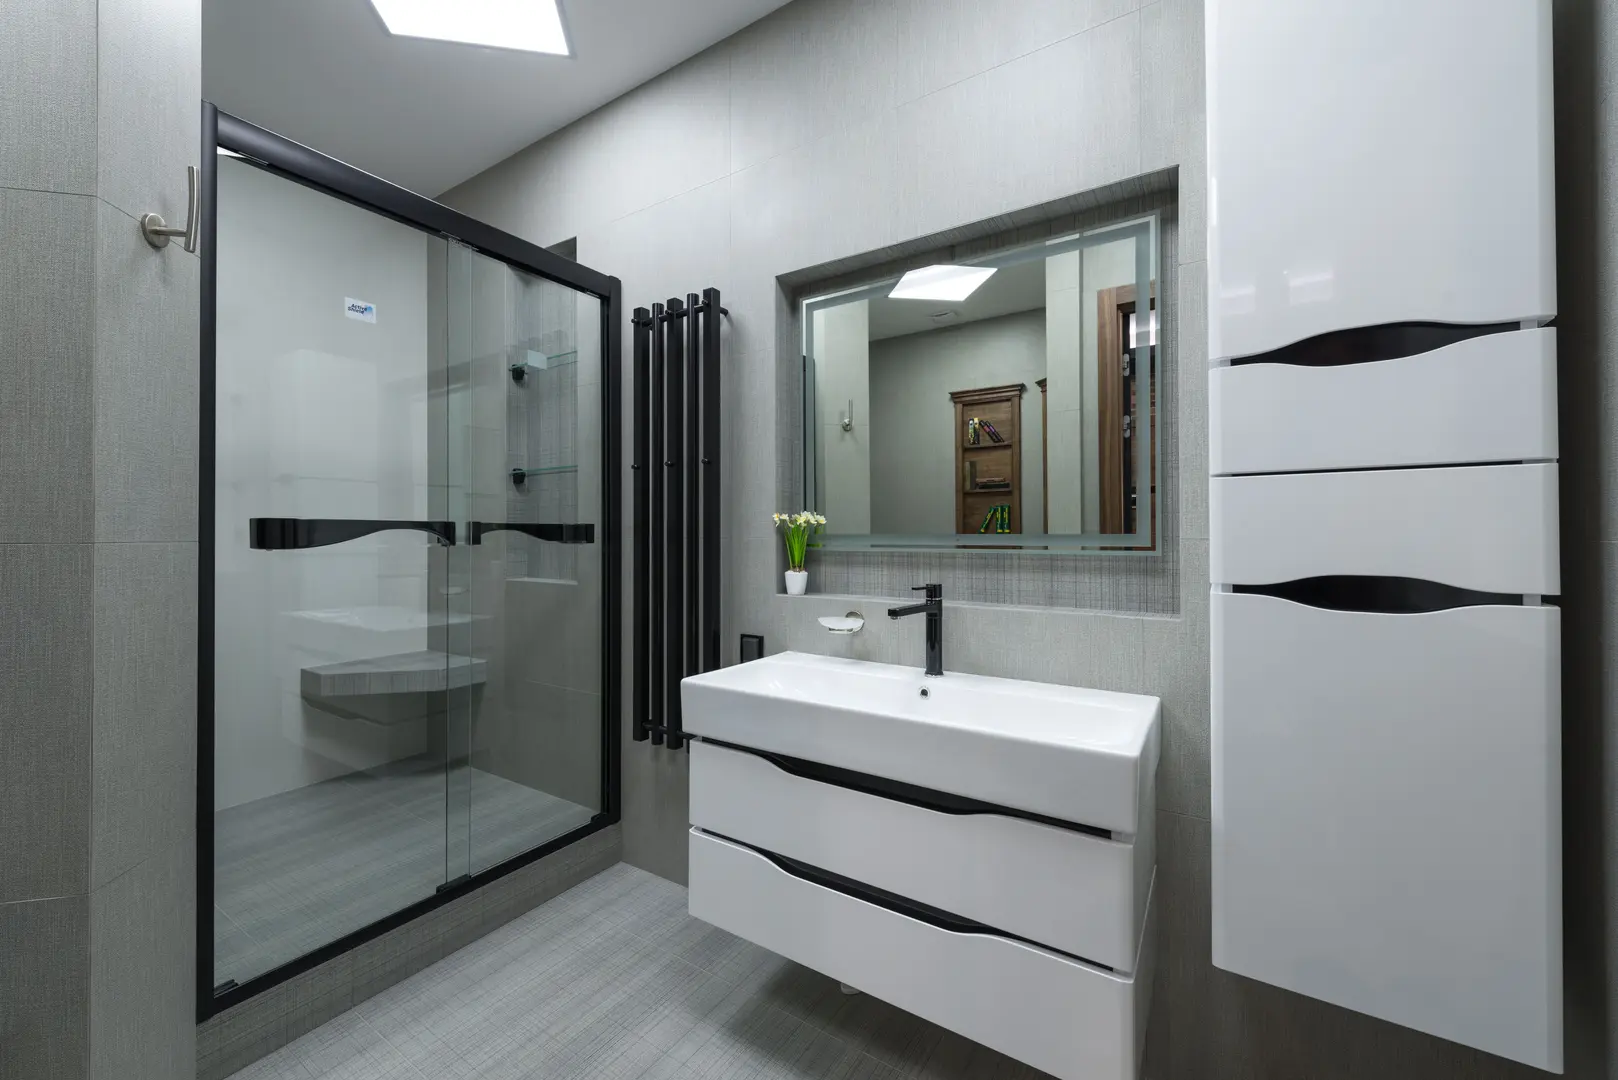
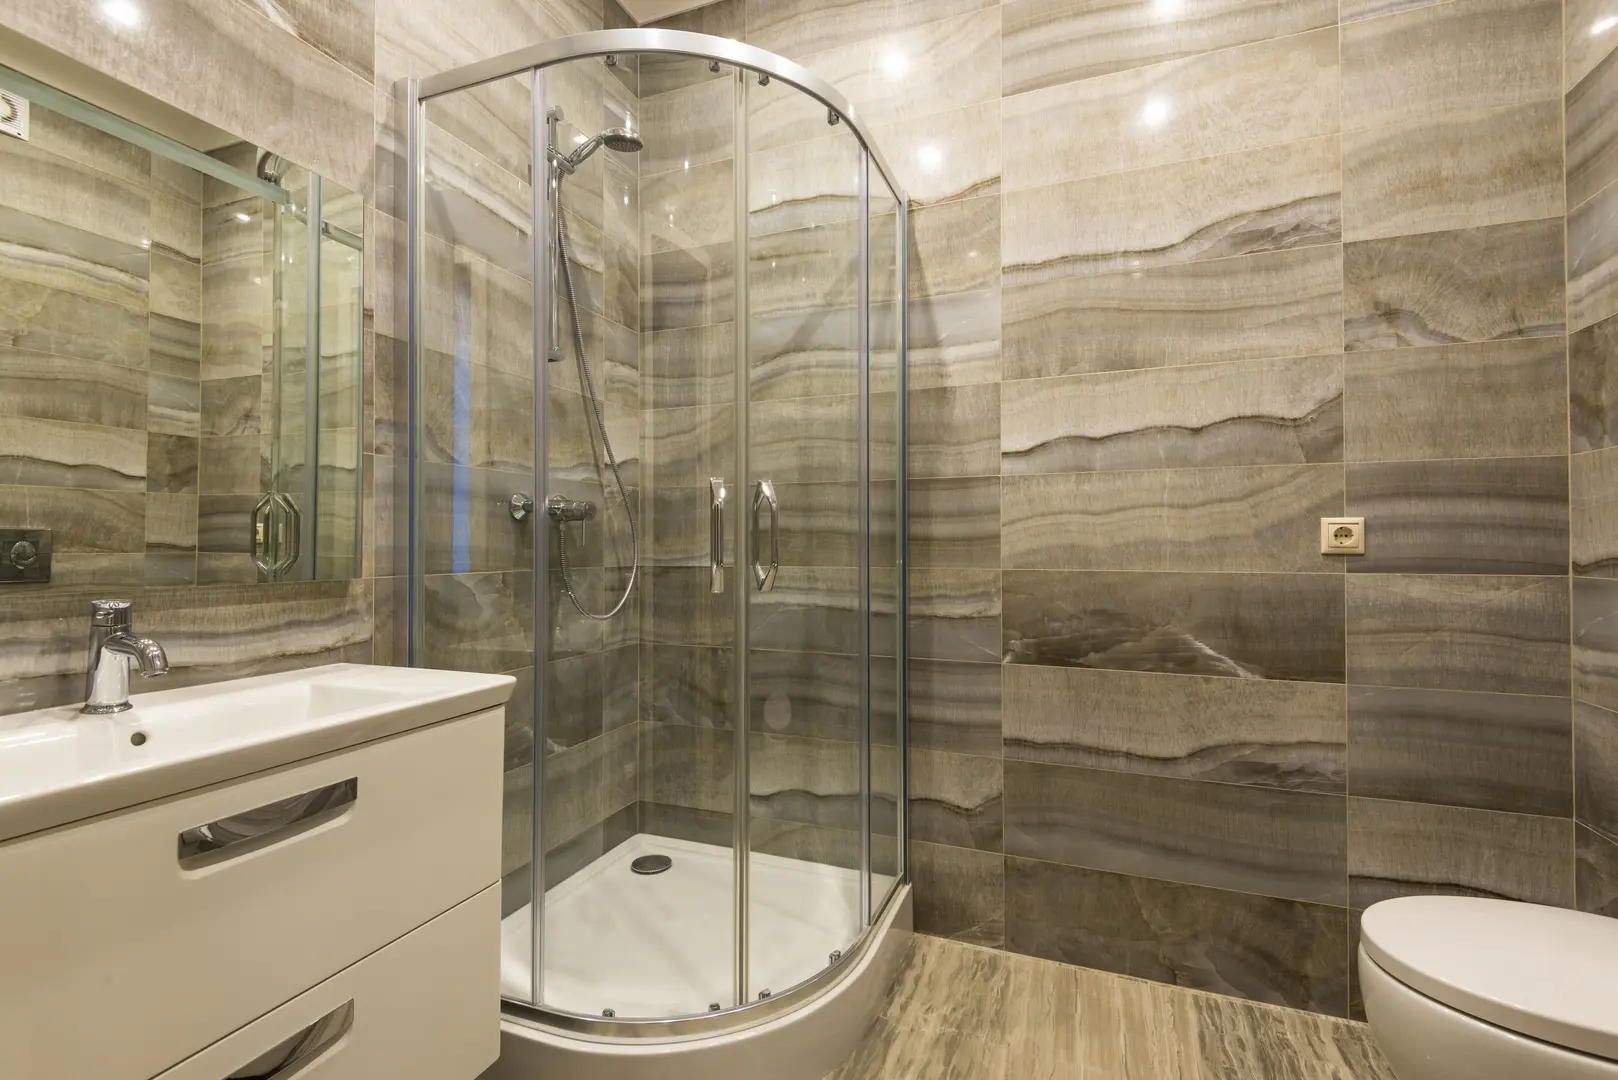
The enclosure generally consists of the doors, glass or other panels, tracks, brackets, frames, and wall channels. The base or tray is the lower surface that collects water and directs it towards the drain. Sealant may make the bottom frame appear integrated with the base even when the parts are separate.
To preserve an existing base:
- Inspect where the bottom rail or panel meets the tray.
- Look for screws or brackets before cutting or prying.
- Remove the doors to reduce pressure on the lower frame.
- Slice through the silicone between the enclosure and tray with light, controlled cuts.
- Release wall-mounted components before attempting to lift the bottom rail.
- Pry only against a protected surface, using minimal force.
- Remove residual sealant with a scraper rather than a harsh impact tool.
- Inspect the exposed base for chips, cracks, loose areas, or other damage.
Do not disconnect the drain or try to lift the base if it is staying in place. If the enclosure appears moulded into the base or there is no clear joint between them, pause before proceeding. Professional advice can confirm whether the assembly is designed as a combined unit and help prevent unnecessary replacement costs.
Clean and Prepare the Area After Removal
After the enclosure has been dismantled, remove tools and loose components from the shower area. Vacuum or collect debris, then clean the exposed wall and base surfaces.
A clean area makes it easier to find old fixings, damaged finishes, and remaining sealant. It also provides a better starting point for measuring and installing the replacement enclosure.
Clear Away Remaining Sealant
Old silicone can leave raised strips or thin residue on tiles, wall panels, and the shower base. Carefully scrape away the larger sections, keeping the tool flat enough to avoid gouging the surface.
Work gradually around:
- The tray perimeter
- Former wall-channel positions
- Screw holes
- Corners and joints
- Areas hidden beneath the old bottom rail
Remove loose residue and clean the surface appropriately for its finish. The goal is a smooth, stable working area without old sealant interfering with the next installation.
Avoid applying a new enclosure or fresh sealant over material that is loose, uneven, or contaminated. Follow the instructions for the replacement enclosure and any cleaning or sealing products used.
Check the Walls and Floor for Damage
With the old frame removed, inspect areas that were previously concealed. Look for:
- Cracked or loose finishes
- Damaged screw holes
- Deteriorated plaster
- Signs of water damage
- Uneven areas around the former channels
- Damage to the shower base or floor
- Loose surfaces that may not hold new fixings securely
Resolve these problems before installing another enclosure. Simply covering damaged material can make it harder to create a secure, neat replacement.
If water damage extends into the wall or floor, or the surface no longer appears structurally sound, seek professional assessment. The cause should be addressed before the area is closed behind new panels or channels.
Dispose of the Old Enclosure Materials
Separate reusable parts from waste as you work. Doors, panels, metal channels, brackets, and packaging may need different disposal arrangements.
Check your local council’s guidance for disposing of bathroom renovation materials. Do not assume that large glass panels, metal frames, or a shower tray can go into ordinary household waste.
Plan safe temporary storage until collection or transport. Keep glass and sharp-edged materials away from walkways, children, and pets. If the enclosure is in usable condition, consider whether it can be reused or donated, subject to local options and safe handling.
Prepare Plaster Walls for a Replacement Enclosure
Removing wall channels may expose holes, missing plaster, or weak sections that are unsuitable for immediate installation. Preparation depends on the wall construction and the fixing requirements of the new enclosure.
Begin by removing loose material and checking whether the wall is stable and reasonably even. Repair superficial holes and restore the finished surface where appropriate. If plaster has been removed over a larger area, the wall may require more extensive rebuilding before it can support new channels or panels.
Pay particular attention to the planned fixing positions. Cosmetic filler alone should not be treated as structural support. The replacement enclosure must be mounted to a suitable substrate using a method compatible with both the wall and the manufacturer’s instructions.
Fiberglass patching may be appropriate for certain holes or damaged fiberglass surfaces, allowing existing fittings or surrounding sections to remain. However, it requires careful preparation and application to produce a durable, tidy result. It should not be used as a substitute for necessary structural wall repairs.
Consult a bathroom installer, builder, or other suitable professional when:
- Large areas of plaster are missing
- The new fixing positions lack adequate support
- The wall is uneven or deteriorated
- Concealed water damage is present
- You are changing the enclosure layout
- You are unsure whether a patch will carry a fixing
Professional input at this stage can prevent poor mounting decisions, design problems, and expensive corrective work later.
Follow These Safety Tips for a Successful Removal
Safe removal is based on preparation, controlled handling, and knowing when to stop. Wear gloves and safety glasses throughout the work, keep the floor clear, and support every door or panel before releasing its final fixing.
Never rely on sealant to hold a panel after its screws have been removed. Likewise, do not assume a component is free simply because its visible fixings are gone.
Take a Slow and Methodical Approach
Rushing increases the chance of damaging the enclosure, shower base, or wall finish. Complete one stage at a time:
- Inspect the component.
- Support it securely.
- Remove its fixings.
- Cut the surrounding sealant.
- Test it gently.
- Check for hidden attachments if it does not move.
- Carry it out of the room before continuing.
A stubborn part usually has a reason for remaining in place. Recheck the assembly instead of applying uncontrolled force.
Shield Nearby Fixtures and Surfaces
Protect the tray, bathroom floor, tiles, and nearby fixtures before using tools. Plastic coverings or protective sheets can reduce scratches, chips, and mess.
Do not stack removed metal parts directly on the tray or lean panels against unprotected fixtures. Establish a separate storage area where each component can remain stable until it is reused, transported, or discarded.
Arrange Disposal Before You Start
Decide how the old materials will leave the property before dismantling begins. Confirm local disposal requirements and make sure your vehicle, collection service, or waste facility can accept the items.
Arrange help for awkward or heavy components. Having a second person available makes it easier to control doors, panels, frames, and trays without striking surrounding surfaces. With the disposal route, tools, and assistance organised in advance, the removal can proceed safely and methodically.