How to Remove a Shower Tray Safely: A Practical Step-by-Step Guide
Removing a shower tray is manageable with careful preparation, suitable tools, and patience. The main challenge is releasing the tray from sealant, adhesive, and plumbing connections without damaging the surrounding walls, floor, or tray itself.
This guide explains how to remove a shower tray safely, including what to do with a glued tray, how to handle stubborn sealant, and how to prepare the exposed area for a replacement.
Gather the Tools and Protective Materials
Collect everything you need before beginning. Having the right tools within reach reduces interruptions and makes it less tempting to force the tray with unsuitable equipment.
You may need:
- Flat-head and Phillips screwdrivers
- An adjustable wrench
- Pliers
- A utility knife, sealant scraper, or silicone remover
- Protective gloves
- Safety goggles
- Drop cloths or protective floor coverings
- A hairdryer for stubborn sealant
- A suitable container or cloth for any residual water
- A second person to help with a large or heavy tray
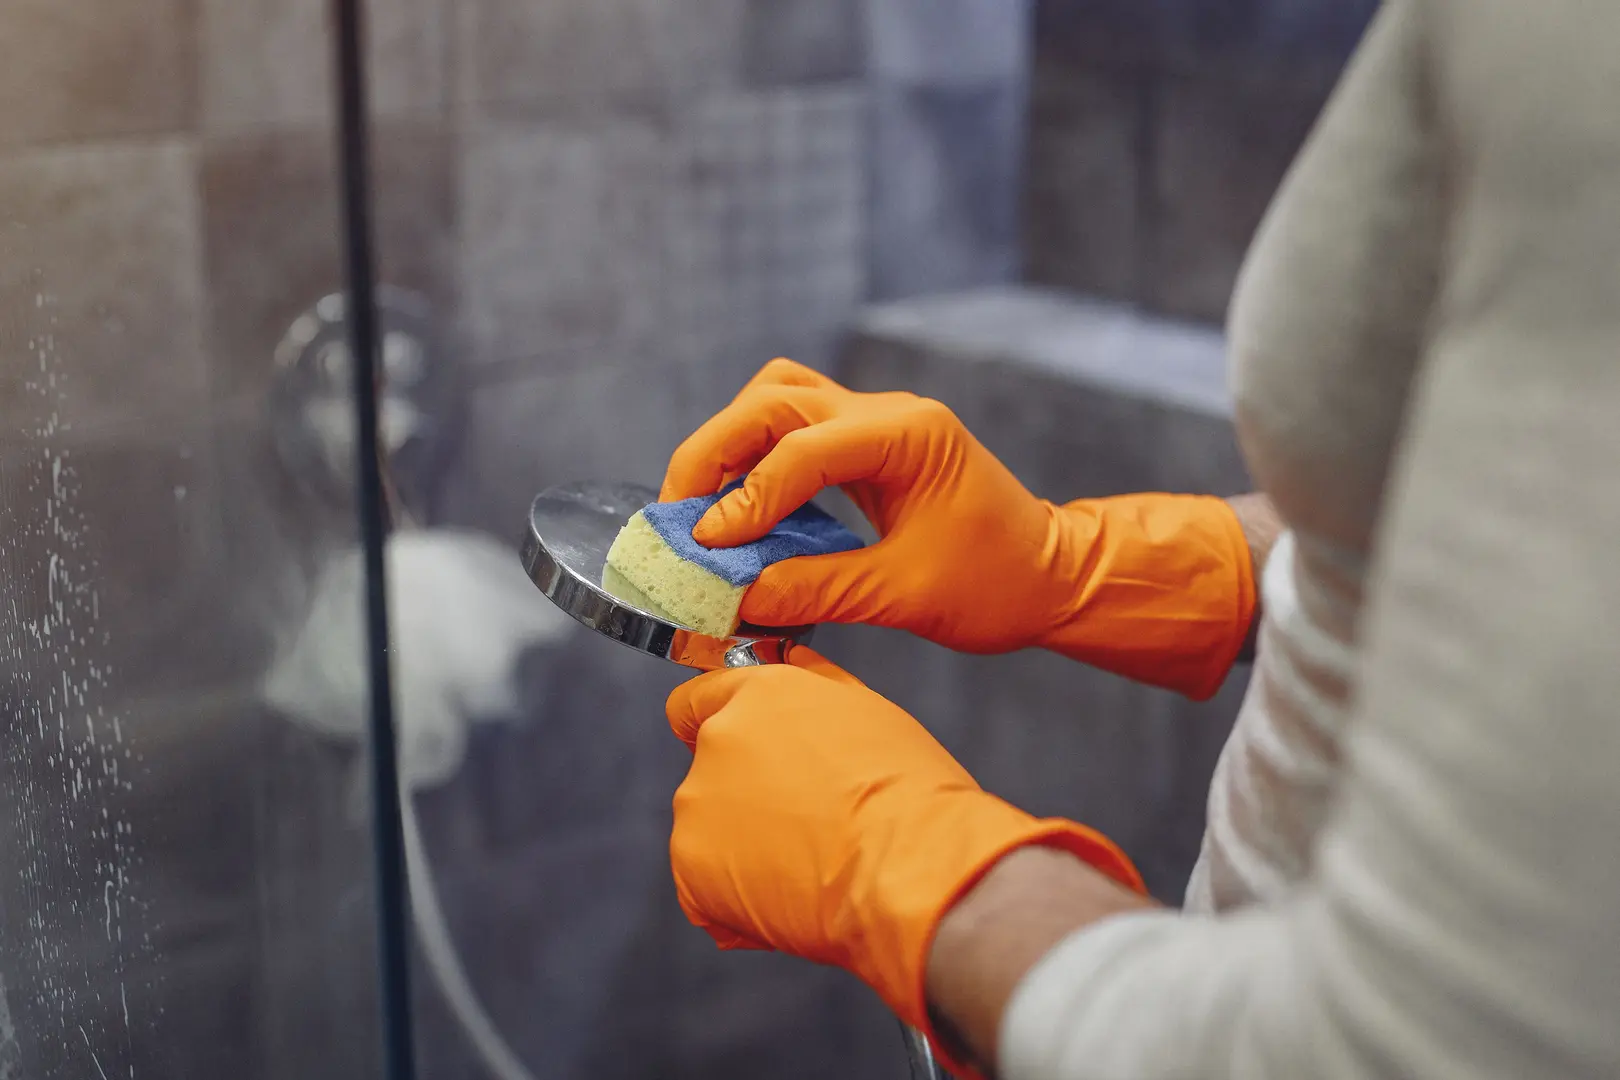
Wear gloves to protect your hands from sharp tools, old sealant, and rough edges. Goggles are useful when scraping adhesive or working beneath the tray. Place drop cloths around the shower to protect nearby flooring and to collect sealant fragments and debris.
Choose tools that fit the visible fixings and plumbing connections. An adjustable wrench is useful for threaded fittings, while pliers can help grip smaller components. Avoid relying on excessive force, as this may damage the waste connection or the surrounding structure.
Prepare the Shower Area Before Starting
Preparation is essential when learning how to remove a shower tray. The tray must be disconnected from the plumbing and cleared of surrounding obstacles before you attempt to lift it.
Start by examining the entire installation. Look for:
- Sealant along the wall and floor junctions
- Screws, clips, brackets, or retaining trim
- Removable access panels
- The location of the waste connection
- Shower doors or screens attached close to the tray
- Decorative panels that may conceal fixings
Do not assume that the visible silicone is the only thing holding the tray in place. It may also be fixed with adhesive or supported by a frame. Understanding the installation first will help you avoid pulling against a hidden connection.
Isolate the Shower’s Water Supply
Shut off the shower’s water supply before starting. Although the tray itself does not normally contain a water-supply connection, isolating the shower reduces the chance of accidental water flow while fittings and surrounding components are being handled.
Use the appropriate local isolation valves where available. If you cannot isolate the shower independently, you may need to shut off the main water supply. Confirm that the shower no longer runs before continuing.
Remove standing water from the tray and make sure the working area is as dry as possible. Keep cloths or a container nearby for any water left in the waste connection.
Separate the Waste Pipe Connection
The tray must be fully separated from the waste plumbing before it is lifted. Locate the waste outlet and determine how it connects to the pipe beneath or behind the tray.
Access may be available through:
- A removable front or side panel
- An opening in an adjacent room
- A ceiling or floor access point
- The area beneath a raised tray
Remove any cover or access panel carefully. Use a wrench or pliers as appropriate to release the waste fitting. Support the pipe while loosening the connection rather than allowing it to twist or carry the force from the tool.
Some waste fittings can be released from above once the waste cover or strainer has been removed. Others must be disconnected below the tray. The exact arrangement varies, so inspect the connection rather than pulling the tray to find out whether it is free.
If the pipe cannot be reached, do not lift the tray forcibly. Doing so could damage the waste fitting or hidden pipework. Create suitable access or seek professional help before proceeding.
Remove Obstacles Around the Tray
Create enough room to work safely and to lift the tray without striking nearby fittings. Remove the shower door, screen, or enclosure parts that obstruct the tray.
Keep track of screws, caps, brackets, and other small components. Grouping them in labelled containers can make reassembly easier if they will be reused.
You may also need to remove:
- Detachable trim
- Removable side panels
- Nearby storage items
- Bath mats and loose accessories
- Fixings that connect an enclosure frame to the tray
Do not attempt to lift the tray through an opening that is too narrow. Plan where it will go once removed, and clear that route in advance.
Remove the Existing Sealant Around the Tray
Old sealant creates a strong bond between the tray and adjoining walls, panels, or floor surfaces. It must be cut away before the tray can move freely.
Inspect every edge, including less visible corners and the area behind enclosure profiles. Missing even a short sealed section can make the tray appear to be permanently stuck. Pulling against uncut silicone may damage finishes or place unnecessary stress on the tray.
Cut Through Sealant with a Knife or Scraper
Use a utility knife, silicone remover, or suitable scraper to cut through the sealant. Work slowly along the full perimeter of the tray.
For safer and more controlled cutting:
- Put on gloves and goggles.
- Hold the tool firmly.
- Keep your free hand away from the cutting path.
- Make several light passes rather than one forceful cut.
- Cut along both sides of the sealant bead where possible.
- Pull away loosened strips as you work.
Take extra care near wall panels, tiles, and decorative finishes. The objective is to separate the sealant, not to dig into the surrounding surface.
If a shower enclosure profile sits directly over the sealed joint, it may need to be loosened or removed before all the silicone can be reached.
Soften Stubborn Sealant with Gentle Heat
If the sealant remains difficult to cut, gentle heat from a hairdryer may help soften it. Warm a small section at a time, then try the scraper or knife again.
Use only enough heat to make the sealant easier to work with. Keep the hairdryer moving rather than concentrating heat on one spot. The area should be dry before using an electrical appliance.
Heat is optional. If it does not make the sealant easier to release, stop and inspect the joint for hidden trim, adhesive, or mechanical fixings instead of increasing the force.
Clear Away the Remaining Sealant
Once the main bead has been removed, scrape away the remaining residue. Check both the tray edge and the adjoining wall or floor.
Residual silicone can hide areas that are still bonded. It can also interfere with a future replacement seal, so remove as much as possible without damaging the underlying surfaces.
Collect loose pieces as you work. Run a scraper gently around the entire perimeter again to confirm that there are no remaining sealed sections.
Remove the Shower Tray Step by Step
With the water isolated, waste disconnected, obstacles removed, and sealant cut away, you can begin releasing the tray itself.
Work methodically. A tray may still be attached to adhesive, a support frame, concealed brackets, or debris around its edges. Do not assume it is ready to lift simply because the visible silicone has gone.
Carefully Break the Tray Free
Test the tray by applying gentle, controlled movement. Try to wiggle it slightly rather than pulling hard from one corner.
Watch the surrounding joints while you do this. A small gap may reveal where the tray is free and where it remains attached. Work around the perimeter, gradually loosening each section.
Avoid aggressive rocking. Uneven force can damage the tray or nearby wall finishes. If one edge moves but another does not, stop and inspect the fixed area before continuing.
A second person can be helpful here. One person can apply light movement while the other watches for hidden connections or remaining sealant.
Release a Tray That Will Not Move
If the tray remains stuck, do not immediately increase the pulling force. Check for:
- Sealant hidden behind trim or wall panels
- Adhesive between the tray and floor
- Debris packed around the edges
- Screws, clips, or brackets
- A waste connection that has not been fully released
- Contact with a wall or enclosure component
Cut through any remaining sealant and remove accessible debris. If the tray is bonded to the floor or wall, separate the adhesive gradually from an accessible edge.
Use tools carefully to avoid damaging the floor, wall, or tray. Concentrated leverage at one point can cause harm before the rest of the bond releases. Instead, work along the joint in small sections.
If the installation cannot be accessed without opening part of the surrounding structure, consider whether preserving the tray is realistic. A professional may be the safer choice when hidden plumbing or finishes are at risk.
Best Practices for Preserving a Glued Shower Tray
Removing a glue-fixed tray without destroying it requires patience. This is a common concern with trays such as the Roltechnik Hawaii-P, especially when the goal is to reuse the tray after plumbing or leak repairs.
To improve the chance of preserving it:
- Confirm that all plumbing connections are detached.
- Remove every accessible strip of silicone.
- Look for mechanical fixings before addressing the adhesive.
- Begin at an edge that already shows slight movement.
- Separate the bond gradually rather than lifting one corner sharply.
- Spread movement across the tray instead of concentrating force in one area.
- Stop whenever the tray begins to resist unexpectedly.
Do not assume that a glued tray can always be removed intact. The outcome depends on how it was installed and how accessible the adhesive is. If preservation is important, avoid destructive cutting or forceful levering until you understand the full fixing method.
Take photographs during disassembly, particularly around the waste and supports. These can help identify the original arrangement if the tray is to be reinstalled.
Lift the Tray Out Once It Is Free
Lift the tray only when it is completely loose. Check the waste opening and all four sides one final time before raising it.
Use a steady, balanced grip. Large trays are awkward even when they are not especially heavy, so ask another person to help. Coordinate the lift and keep the tray level enough to avoid catching it on pipework or wall edges.
Move it directly to the cleared storage or disposal area. If it will be reused, set it down on a protected, stable surface and inspect it for damage.
Steps to Take After the Tray Is Removed
Do not install a replacement immediately. The exposed area should first be inspected, repaired where necessary, and cleaned thoroughly.
This stage is particularly important if the tray was removed because of a recurring leak. Replacing sealant alone will not resolve damage or an underlying problem with the waste connection, support, or surrounding panels.
Check for Damage Beneath and Around the Tray
Inspect the floor, walls, supports, and plumbing around the former tray position. Look for structural, cosmetic, and water-related damage.
Pay particular attention to:
- Areas around the waste outlet
- Wall-to-floor junctions
- Panel edges and previous sealant lines
- Supports beneath the tray
- Surfaces showing signs of repeated water exposure
- Damaged or loose finishes
Recurring leaks can result from more than one issue. For example, incorrectly sealed shower panels may continue to direct water behind the tray even after the visible joint has been resealed.
Identify and repair the cause of the problem before installing another tray. Covering damaged or damp areas with a new installation can make future diagnosis more difficult.
Clean the Exposed Floor and Walls
Remove old silicone, adhesive fragments, dust, and loose debris from the exposed floor and walls. A clean surface is essential for a reliable replacement seal.
Work carefully around plumbing connections and avoid pushing debris into the waste pipe. Clean the previous sealant lines until the surfaces are suitable for the new installation.
Allow the area to become clean and dry before proceeding. If repairs are required, complete them before positioning the replacement tray.
Get Ready for the Replacement Tray
Inspect the replacement tray for visible damage before installation. Confirm that its shape, orientation, supports, and waste position are compatible with the prepared area.
Check that the plumbing is ready and verify all drain measurements yourself. Do not rely solely on a product listing where a precise fit is required. Users sometimes find that a stated drain dimension does not appear to match the opening they measure—for example, a listed 60 mm dimension may be compared with an apparent 50 mm opening.
Such a discrepancy may occur because the specification refers to a different part of the assembly, such as the outside of the strainer rather than the opening itself. Confirm which component the measurement describes, check the fitting instructions, and compare the actual mating parts before installation.
Practical Advice for a Smoother Removal
A few working habits can make the process safer and less frustrating:
- Take your time and avoid treating resistance as a signal to pull harder.
- Use tools designed for the fixing or material in front of you.
- Keep removed fittings organised if they may be reused.
- Protect nearby floors and finishes with drop cloths.
- Inspect repeatedly for concealed sealant, adhesive, or brackets.
- Have another person help with a large or awkward tray.
- Stop if the waste pipe or surrounding structure begins to move.
- Resolve existing leaks and damage before fitting a replacement.
The key to understanding how to remove a shower tray is recognising that it must be released in stages: isolate the water, disconnect the waste, remove obstacles, cut the sealant, separate any remaining fixings, and only then lift. Careful preparation protects the bathroom and gives you the best chance of removing the tray intact.