Shower Curtain Rod Height: How High Should You Hang It?
Getting the height of your shower curtain rod right can make a surprising difference in how your bathroom looks and functions. A rod that is too low may create a cramped feel and let water escape, while one that is too high can look awkward and waste curtain material. Finding the sweet spot takes a bit of planning, but the payoff is a neat, balanced space that works well for everyone.
Whether you are installing a new rod or adjusting an existing one, understanding the standard measurements and the factors that influence a custom height will help you make a confident decision. This guide covers everything from the recommended range to step-by-step installation tips, common mistakes to avoid, and simple ways to test your chosen height before you drill any holes.
By the end, you will know exactly how to set the ideal shower curtain rod height for your bathroom, and you’ll also have practical advice for maintaining the rod over time.
Understanding Standard Measurements
The typical height range for a shower curtain rod is between 72 and 78 inches from the floor. This range works for most standard-sized shower curtains and provides enough coverage to keep water from splashing out of the shower area. Within this range, you can adjust based on the type of curtain you use. Fabric shower curtains may need a bit more length to drape properly, so you might lean toward the upper end of the range. Similarly, heavy-duty curtains made of thicker materials can benefit from a slightly higher placement to prevent dragging or bunching.
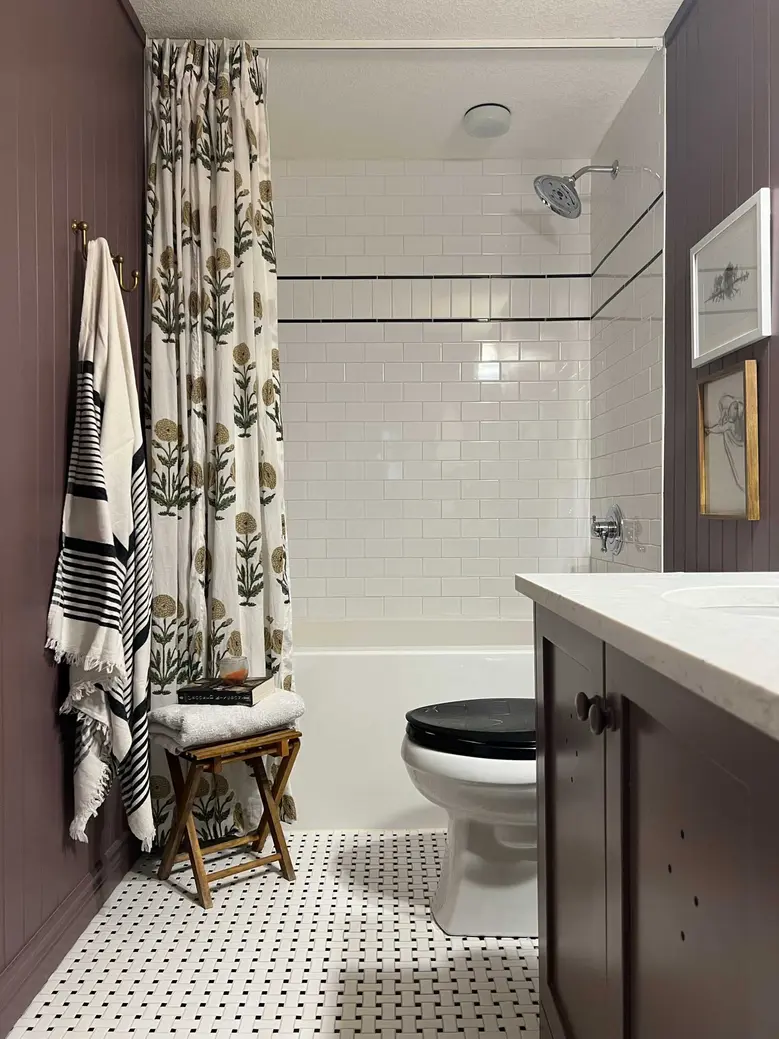
When choosing a height within the standard range, pay attention to the visual balance it creates in your bathroom. A rod positioned too low can make the ceiling feel lower and the space cramped. A rod placed too high might look disproportionate and leave gaps at the bottom of the curtain. Aim for a height that provides adequate coverage while also complementing the overall design of your bathroom.
Curtain Bottom Clearance: How Much Space to Leave?
One common question is how much space to leave between the bottom of the shower curtain and the floor. A typical target is about 6 inches of clearance. This gap helps prevent water splashing out while also keeping the curtain from dragging on the floor, which can cause water pooling and make the curtain harder to move. To measure correctly, start from the floor (not the tub rim if you have a tub‑shower combo) and mark the desired clearance on the wall. If your floor is uneven, use the highest point as a reference to avoid a curtain that hangs too low in one spot. Adjust slightly if your tub or shower floor is higher or lower, but staying near this number usually gives good results.
One user expressed uncertainty about whether a 6‑inch gap is appropriate, indicating a need for clear guidance. Another asked how high the bottom of the curtain should be from the floor, wanting to avoid water escaping or the curtain dragging. Based on these concerns, a clearance of roughly 6 inches is a practical goal for most standard setups.
Factors Influencing Custom Heights
While the standard measurements serve as a helpful guideline, several factors may prompt you to customize the height of your shower curtain rod. One primary consideration is the ceiling height in your bathroom. If you have tall ceilings, you can hang the rod higher to create a more spacious and open feel in the shower area. On the other hand, low ceilings may require a lower rod placement to avoid crowding the space.
Another factor is the type of shower enclosure you have. For a traditional tub‑shower combo, a standard‑height rod may suffice. However, if you have a walk‑in shower with a bench or seating area, you might opt for a higher rod placement to accommodate the additional space and ensure full coverage of the shower opening.
Personal preferences also play a role. Taller individuals may prefer a higher rod to prevent the curtain from brushing against them while showering. Shorter individuals or children may benefit from a lower rod placement for easier access to the curtain.
Matching Rod Height to Shower Head for a Natural Look
If you are unsure about exact numbers, a simple visual guideline is to set the rod height approximately level with the shower head. This can help you avoid extreme heights that look out of place. One user reported being told that a rod height of 91 inches was much too high, likely leading to a visually unbalanced or non‑functional curtain setup. That mistake highlights the value of a reference point like the shower head. Compared to aiming for a random number, aligning the rod with the shower head creates a natural sightline that feels intentional.
While the shower‑head rule works for many setups, it may not suit every tub or shower configuration. For example, if your shower head is unusually high or low, you might still need to adjust within the standard range. As a starting point, however, aligning the rod with the shower head often produces a pleasing look that also keeps the curtain at a practical height.
Installation Tips for Optimal Height
Once you have decided on the ideal height, the installation process is straightforward. The following steps will help you hang the rod securely and at the correct level.
Gather Your Tools
Before you begin, make sure you have all the necessary tools on hand:
- A drill with appropriate bits (for tile or drywall)
- Screws or mounting hardware that match your wall type
- A level (at least 24 inches long for accuracy)
- A measuring tape (preferably metal for durability)
Having these tools ready avoids mid‑project interruptions. A level is especially critical—without it, the rod may slope, causing the curtain to slide to one side.
Locate Studs or Use Anchors
If possible, locate studs in the wall to provide secure support for the curtain rod. Use a stud finder or tap the wall to listen for a solid sound. If studs are not available at your desired height, use wall anchors or toggle bolts for a sturdy installation. For tile walls, use masonry anchors or a diamond‑tip drill bit to prevent cracking. Never rely on drywall alone to hold the weight of a heavy fabric curtain.
Measure and Mark
Use a measuring tape to determine the exact height at which you want to hang the rod. Mark this height with a pencil on both walls where the rod will be mounted. Measure from the floor rather than the ceiling to avoid errors from an uneven ceiling. Double‑check that the marks are at the same level by using a level across the wall or taking a measurement from a nearby reference point.
Install Mounting Hardware
Following the manufacturer’s instructions, install the mounting brackets at the marked height on each wall. Use a level to ensure the brackets are perfectly aligned. If you are drilling into tile, start with a small pilot hole and gradually increase the bit size to reduce the risk of cracking. After the brackets are installed, check alignment again before proceeding.
Attach the Rod
Once the brackets are securely in place, insert the shower curtain rod into the brackets and adjust its length as needed. Double‑check that the rod is level before tightening any screws or fasteners. For telescopic rods, ensure the overlap is sufficient to prevent slipping. For curved rods, adjust the curvature to match the brackets.
Test for Stability
Give the rod a gentle tug to ensure it is securely anchored and can support the weight of the curtain without sagging or coming loose. Hang the curtain and test by pulling it across the rod. If you notice any sagging or movement, reinforce the mounting or choose heavier‑duty anchors.
Using a Tension Rod to Pre-Test Your Height
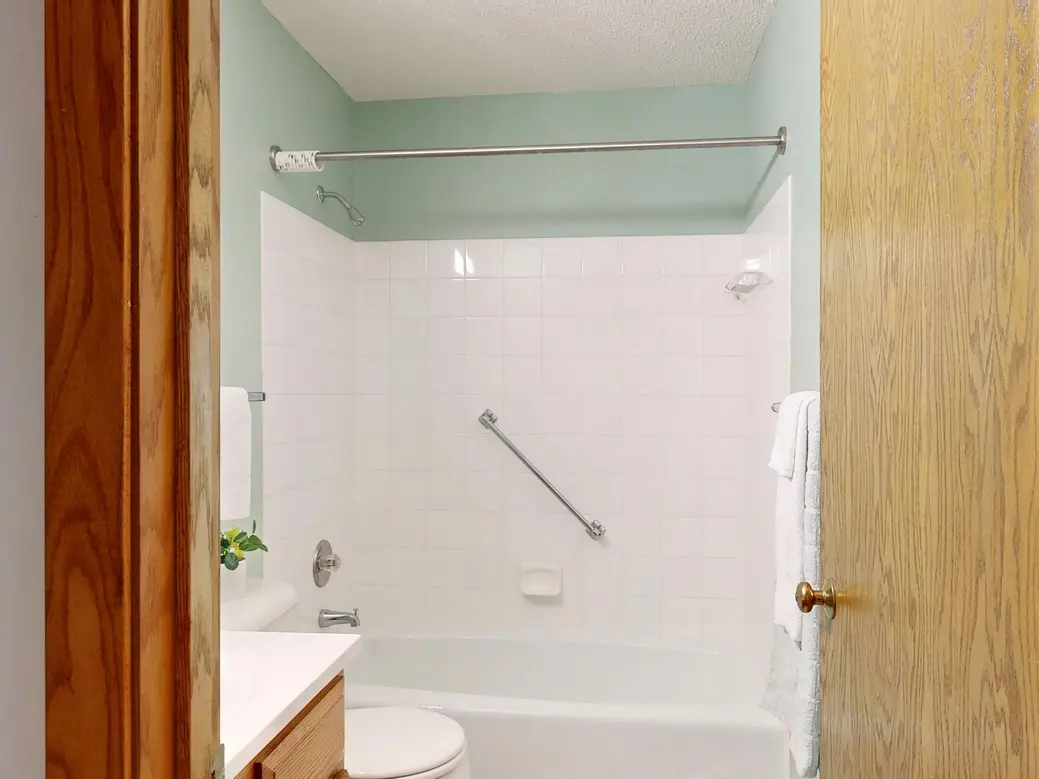
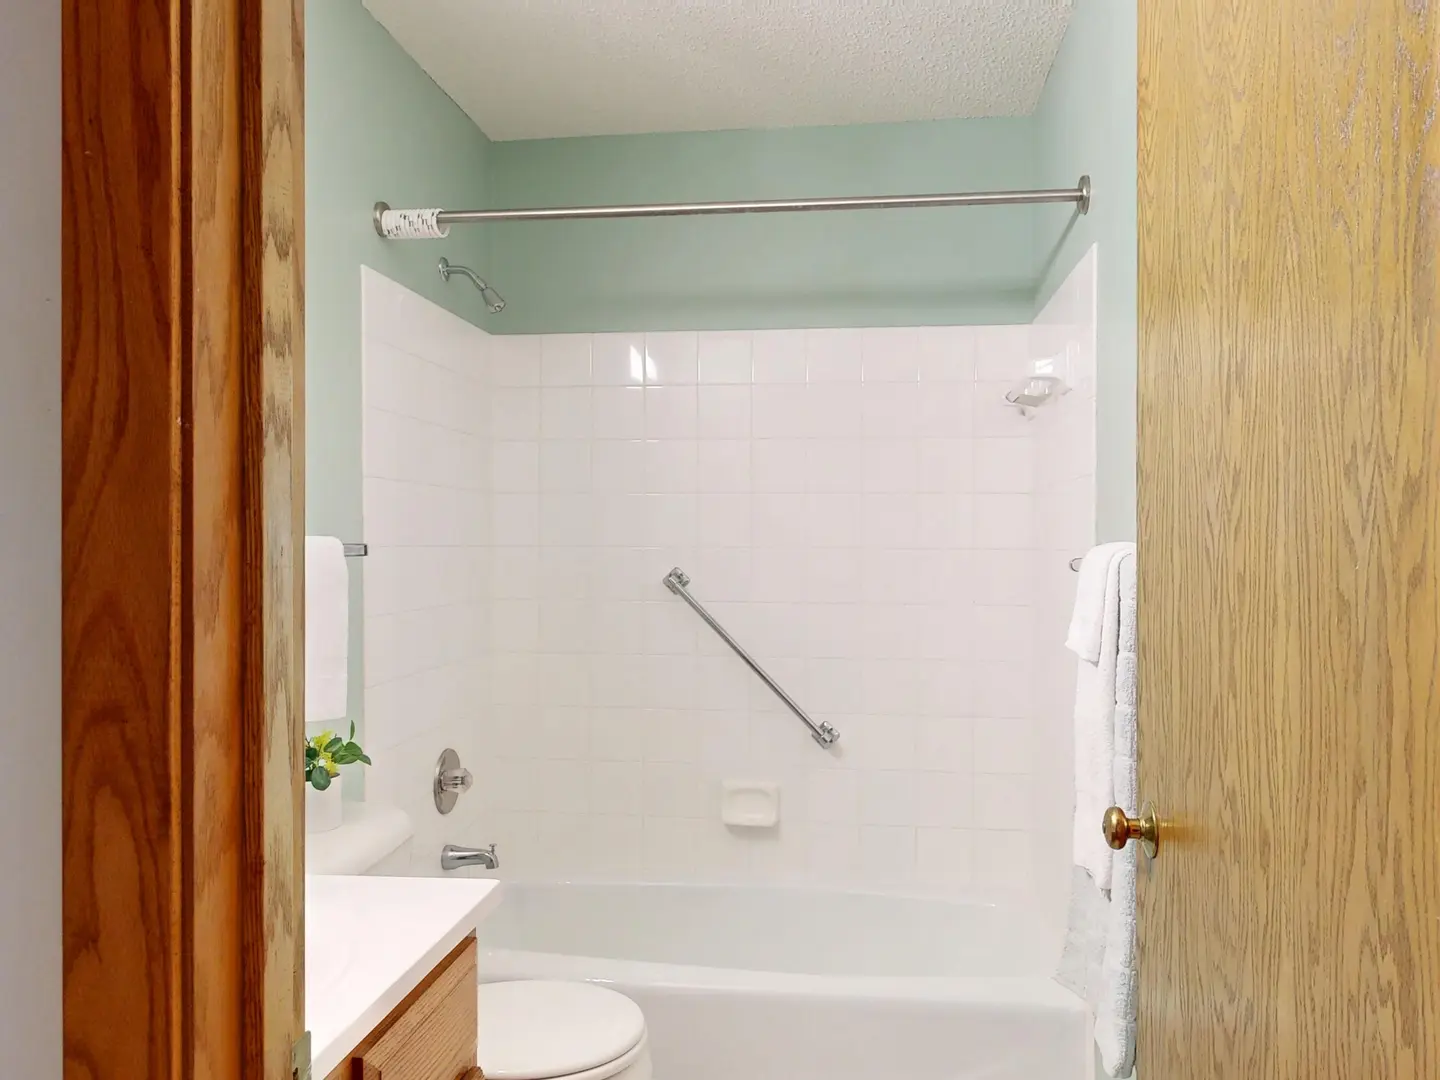
If you want to avoid drilling holes before you are sure about the height, a tension rod can be a helpful temporary solution. You can install it at different heights to visually evaluate how the curtain hangs and how the space feels. This allows you to test various positions without committing to permanent hardware.
One user successfully used this method to experiment with different heights and find the best result. Keep in mind that tension rods may not support heavy fabric curtains, so this approach works best for lightweight or temporary setups. Once you settle on a height, you can proceed with the permanent installation.
Common Mistakes to Avoid
Being aware of frequent pitfalls can save you time and frustration. Here are the most common errors and how to steer clear of them.
Placing the Rod Too High or Too Low
As mentioned earlier, placing the rod too high can make the ceiling feel lower and the space cramped, while placing it too low can lead to water splashing out. A user who installed a rod at 91 inches found it looked unbalanced and non‑functional, serving as a warning against extreme heights. Stick to the recommended range and adjust based on your specific setup. Use the shower‑head guideline or test with a tension rod to confirm the height before drilling.
Ignoring Ceiling Slope
If your bathroom has a sloped ceiling, take this into account when determining the rod height. Adjustments may be needed to ensure the curtain hangs straight and does not bunch up at one end. Measure from the floor at both ends and set the rod parallel to the floor rather than the ceiling. If the slope is severe, consider a custom‑length curtain or a curved rod to maintain even coverage.
Using Incorrect Mounting Hardware
Make sure to use the appropriate mounting hardware for your wall type (drywall, tile, etc.) and ensure it can support the weight of the rod and curtain without causing damage or instability. For drywall, use toggle bolts or heavy‑duty anchors rated for at least 20 pounds. For tile, use masonry anchors or drill directly into a stud. Using lightweight plastic anchors on tile often leads to cracking or pull‑out.
Maintenance and Care Tips
Once your shower curtain rod is installed at the perfect height, a little routine care will keep it looking good and functioning well for years.
Regular Cleaning
Clean the shower curtain rod regularly to remove any buildup of soap scum, mildew, or dirt. Use a mild cleaner and a soft cloth to avoid scratching the surface. For metal rods, avoid abrasive sponges that can strip the finish. A monthly wipe‑down usually suffices, but humid bathrooms may require more frequent attention.
Check for Rust or Corrosion
If your shower curtain rod is made of metal, periodically check for signs of rust or corrosion. Pay special attention to the ends where the rod contacts the brackets. Address any issues promptly by sanding the affected area and applying a rust‑inhibiting paint or replacing the rod if damage is extensive.
Adjustments as Needed
As your needs or preferences change, do not hesitate to adjust the height of the shower curtain rod. Follow the same installation steps outlined earlier to make any modifications. If you move to a new home or change your shower setup, re‑evaluate the height using the guidelines in this article.
Frequently Asked Questions
How high do you put a shower curtain rod? Aim for a height between 72 to 78 inches from the floor, within the standard range for most shower curtain rods. This accommodates standard curtains and prevents water from escaping.
Where should a shower curtain rod be placed? The rod should be mounted securely on the walls at a height that provides adequate coverage for your shower or tub area. Typically, it spans the width of the opening, with brackets placed a few inches outside the shower edge to keep the curtain clear.
What height should a shower curtain be from the ceiling? Typically, the curtain should hang about 1 to 2 inches above the floor, allowing for proper draping and preventing water from escaping. The distance from the ceiling is less important than the floor clearance—just ensure the rod is not so high that it touches the ceiling.
Should you hang your shower curtain high? The height depends on factors like ceiling height and personal preference. Higher placement can create a spacious feel, while lower placement may be more accessible for shorter users or children. Test both options with a tension rod to see what works best in your space.
Conclusion
The best shower curtain rod height balances water containment, floor clearance, accessibility, and the proportions of the room. Measure the actual curtain and rings before drilling, then test the position with a tension rod when possible.