How to Stop a Shower Curtain Rod From Scratching Your Walls
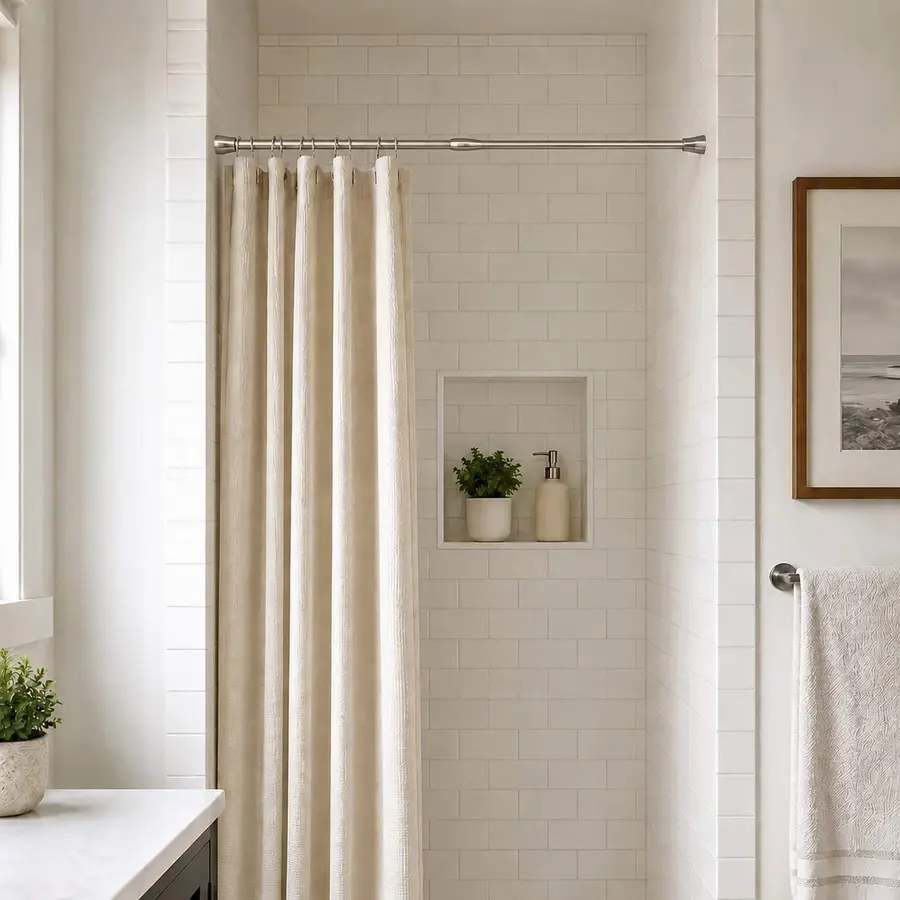
If a shower curtain rod is scratching your walls, the usual cause is too much outward pressure, damaged end caps, an uneven contact surface, or a rod that shifts and rubs in the same spot. Start by taking the rod down, checking both end caps and the wall finish, then reinstalling it with only enough tension to hold the curtain and liner securely.
A tension rod should press firmly against the walls, not dig into them. If the wall is freshly painted, soft drywall, textured, peeling, or otherwise delicate, even a properly installed tension rod may not be a good long-term choice. In that case, a protective contact pad or a fixed rod can be the more reliable solution.
Find Out What Kind of Damage You Have
The mark left behind helps identify the problem. Clean the area gently before deciding that the rod has permanently damaged it; some apparent scratches are simply rubber residue, dust, or moisture-related grime.
| What you see | Likely cause | Practical response |
|---|---|---|
| Gray or dark ring-shaped mark | Rubber transfer, dirt, or repeated rubbing | Clean gently, then inspect and replace worn end caps if needed |
| Small dent or indentation | Rod was tightened too far against drywall or soft paint | Reduce tension; use a suitable contact pad or change mounting method |
| Scraped or peeling paint | Rod slipped, was repeatedly repositioned, or pressed on weak paint | Repair loose paint before reinstalling; avoid tension on that area |
| Marks on tile | Hard, dirty, or damaged end caps; rod movement | Clean tile and end caps; confirm both ends sit flat |
| Repeated marks in one location | End cap is shifting or wall surface is uneven | Reposition only if the new surface is sound, or use a fixed mounting option |
Do not keep tightening a rod to solve slipping. That approach can increase wall damage without addressing the actual reason the rod is moving.
Check the End Caps First
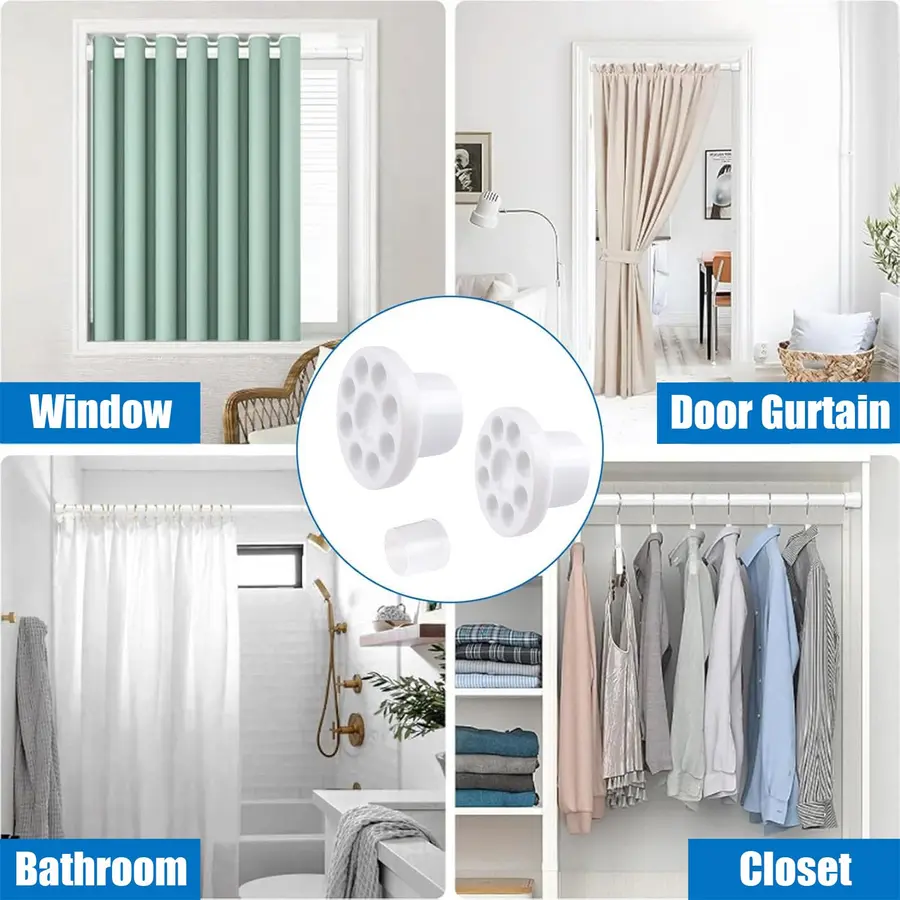
Shower rod rubber end caps are the rod’s only cushion between metal and wall. When they become hard, split, flattened, loose, or dirty, they can leave marks and create less reliable grip.
Take the rod down and inspect both ends in good light. Look for cracks, a missing rubber cover, sharp edges beneath the cover, and grime embedded in the contact surface. Wipe the caps with a damp cloth and dry them thoroughly. Also clean the wall where they rest. Soap residue or bathroom cleaner left on tile can make a rod more likely to slide.
Replace the rod or its end caps if the caps are no longer soft, intact, and securely fitted. Do not place a bare metal rod end against painted wall, drywall, wallpaper, or tile. It may scratch a hard surface and can concentrate pressure enough to dent a softer one.
Source: m.media-amazon
Use Less Tension, Not More
A tension rod needs enough pressure to support the weight hanging from it, but it does not need maximum force. Overtightening is a common source of tension shower rod wall damage, especially when a curtain is light but the rod has been extended aggressively.
Use this approach when reinstalling it:
- Set the rod at its intended height with each end centered on a clean, solid area.
- Expand or twist it according to its design until it is snug and stable.
- Hang the curtain and liner, then test the rod with a light downward pull near the center.
- If it holds without shifting, stop. Do not add more tension simply because the mechanism allows it.
- Check that the curtain rings move freely. Tugging a snagging curtain can pull the rod sideways and cause scuffs over time.
The rod should sit level. A rod installed at an angle can put uneven pressure on one end, making that side more likely to dent paint or slide across tile.
Match the Rod to the Wall Surface
Not every wall handles tension equally well. Smooth, sound tile and solid, clean painted surfaces generally give a rubber end cap a flatter contact area. But condition matters as much as material.
Tile and other hard, smooth surfaces
Shower rod marks on tile often come from abrasive dirt on the end cap or movement rather than pressure damage to the tile itself. Clean and dry both contact points. Make sure the end cap is fully on the flat face of a tile rather than partly on a grout line, tile edge, or decorative ridge.
Avoid placing the rod where one end touches tile and the other end touches an uneven wall surface. The mismatch can make the rod twist or creep.
Painted drywall
Painted drywall is more vulnerable to dents, scuffs, and peeling. A tension rod is a poor fit if the paint is fresh, already bubbling, chipped, loosely bonded, or repeatedly marked by the rod. Moving the rod to a sound area may help, but only if the new placement still gives both ends a flat, stable surface.
A protective pad can spread contact pressure, but it will not strengthen failing paint. If paint comes off with the rod or contact pad, stop using tension in that location until the surface is repaired and fully cured.
Textured walls, wallpaper, and uneven trim
Textured surfaces can prevent the cap from making full contact. Wallpaper can tear or discolor under pressure and humidity. Trim, narrow ledges, and uneven tile edges are also poor resting places because the rod cannot sit flat.
For these surfaces, a tension rod may continue to slip or leave marks even after adjustment. A mounted rod is usually a better answer.
Add Protection Carefully
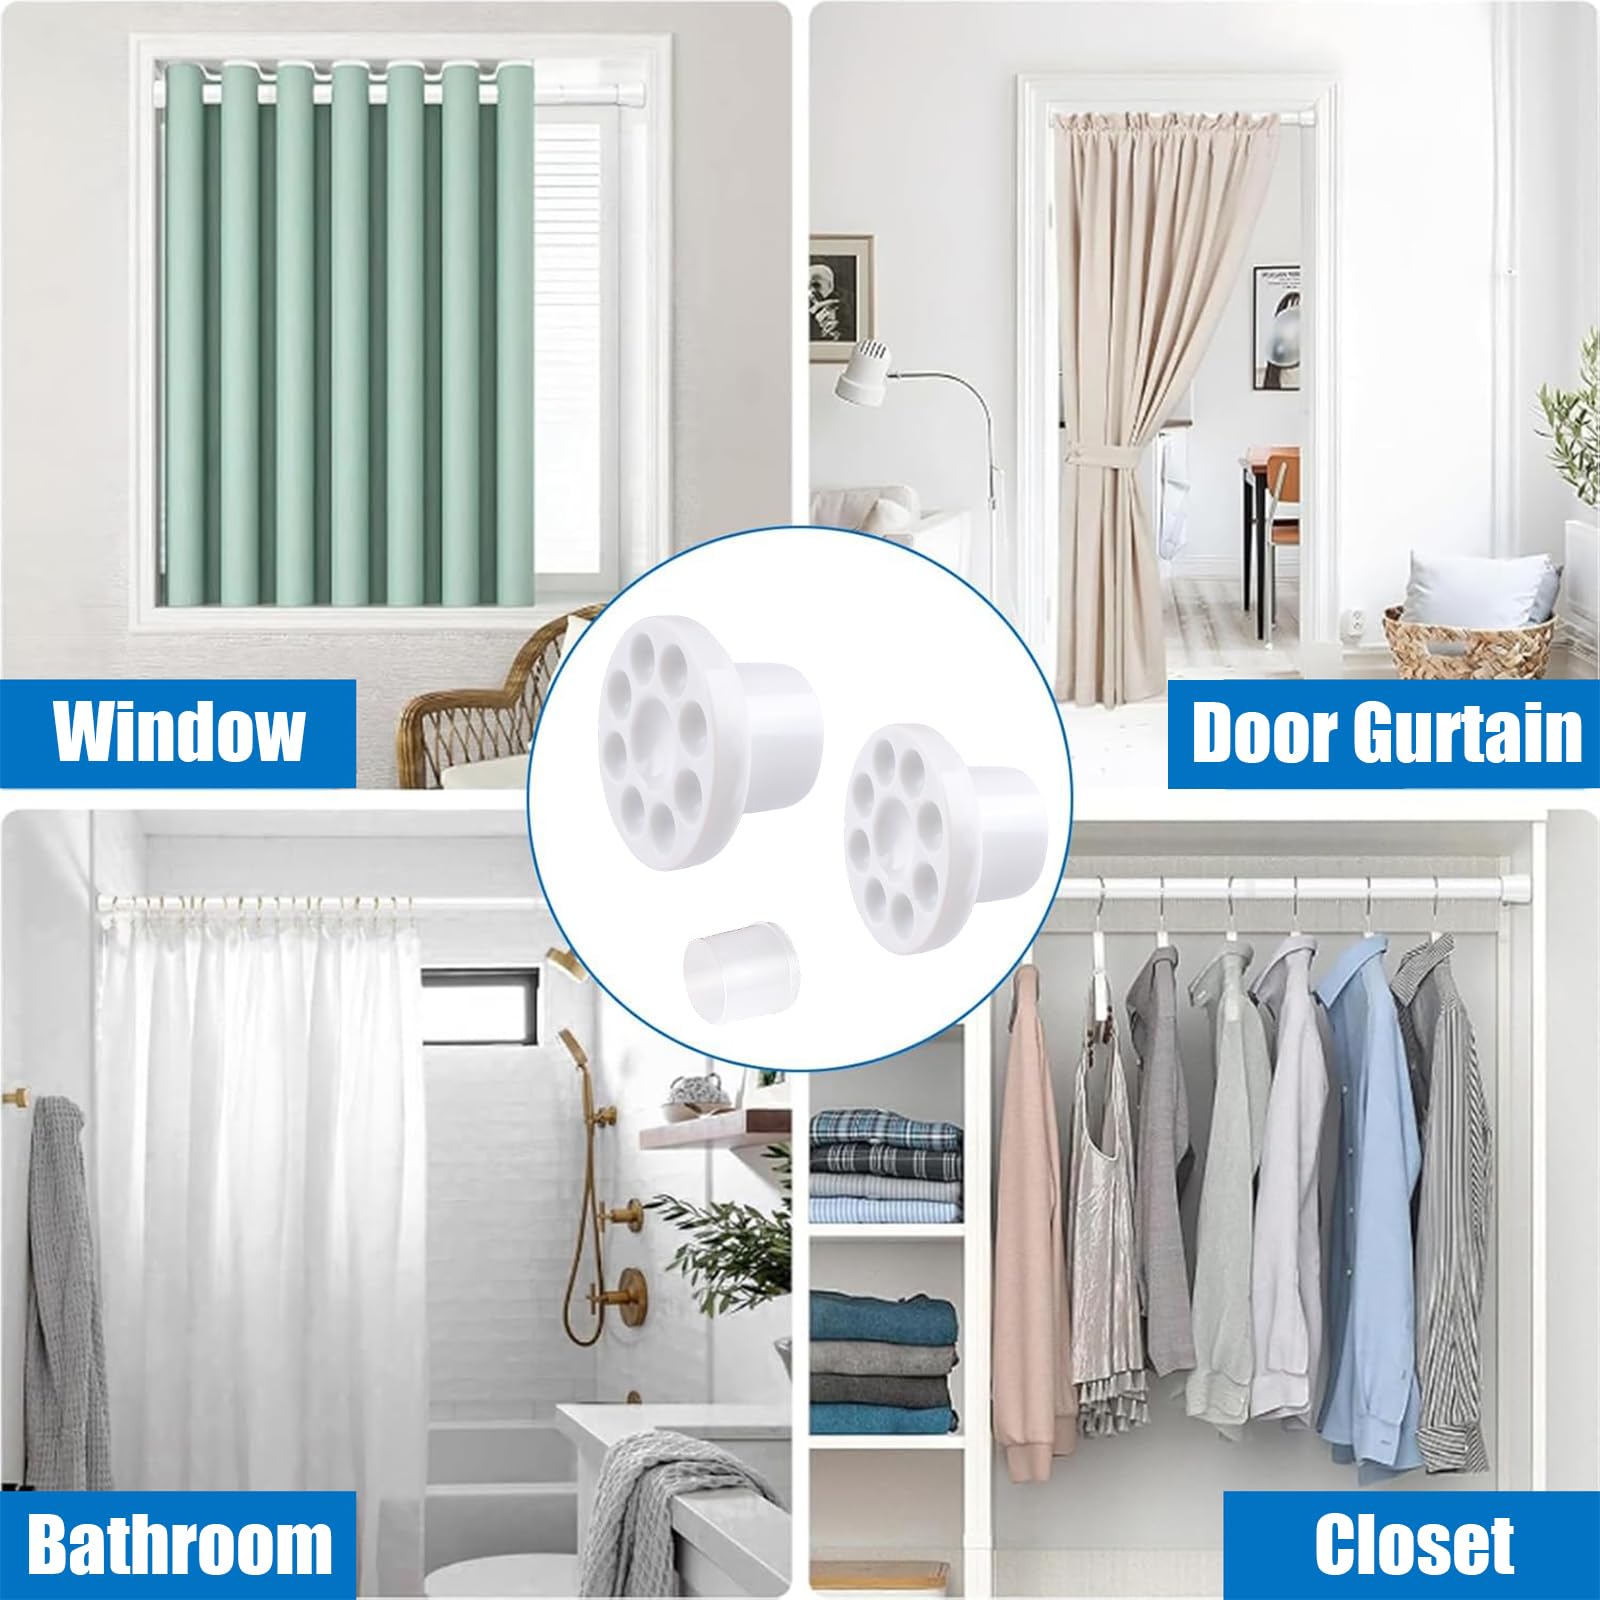
If the wall is sound but you want to reduce rubbing and pressure, use protective contact pads designed to sit behind tension-rod ends. Soft rubber-backed protectors can create a broader, more forgiving contact point between the rod and the wall.
Choose pads that are large enough for the rod end and suitable for a humid bathroom. Install them on a clean, dry surface, following the product directions. Before relying on them, verify that the curtain and liner will not pull the rod downward or sideways.
Be cautious with adhesive pads on rental walls, delicate paint, wallpaper, or newly painted surfaces. Adhesive can sometimes lift paint during removal. If preserving a fragile finish is the priority, a no-pressure mounting system or a conventional screw-mounted rod may be less risky than attaching anything directly to the wall.
Do not improvise with folded paper, cardboard, loose fabric, or slippery plastic behind the rod. These materials can compress, absorb moisture, shift, or make the rod less stable.
Stop the Side-to-Side Movement
A rod can be properly tensioned yet still scratch walls if the curtain or liner repeatedly pulls it sideways. Common causes include heavy wet fabric, too many items hanging from the rod, tight or snagging hooks, and an outer curtain that catches on nearby cabinetry or a towel bar.
Reduce that stress by keeping the rod’s load simple: one liner and one curtain designed for shower use. Avoid hanging wet towels, clothing, organizers, or laundry from a tension rod. Check that hooks glide without catching and that the curtain width is not so excessive that it bunches and drags heavily at the ends.
If the rod falls or rotates often, inspect the rod mechanism as well. A worn spring, a poorly fitting telescoping section, or an overly long extension can make a rod unreliable. Reinstalling the same unstable rod with more force is unlikely to solve the issue.
Repair the Wall Before Reinstalling the Rod
For minor scuffs, begin with the least aggressive cleaning method appropriate for the surface. Use a soft damp cloth first, then dry the area. Avoid abrasive scrubbers on painted walls and avoid harsh cleaners that may dull a finish or weaken remaining paint.
If paint is peeling, remove only loose material, repair the damaged area using a method suitable for the wall, and allow the repair and paint to cure fully before applying pressure again. Do not set a tension rod over soft filler, fresh paint, or a patch that has not fully hardened.
A deep dent, cracked tile, loose tile, or extensive paint failure is a sign to stop relying on that contact point. Move to a sound location only if the rod can still sit level and secure.
When to Replace the Tension Rod With a Fixed Rod
A tension rod is convenient for many bathrooms, but it is not the right choice for every opening. Consider a fixed rod with brackets when the rod repeatedly slips, the wall finish is too delicate for pressure, the shower curtain setup is heavy, or there is no pair of flat, stable opposing surfaces.
A fixed rod transfers the load through mounting brackets rather than constant outward pressure. It does require a more permanent installation and should be mounted with hardware appropriate to the wall material. For a rental, check the lease or ask the property manager before drilling.
An adhesive holder system may also work in some shower spaces, particularly on smooth tile, because the rod rests in holders instead of pressing outward. However, adhesive performance and removal risk depend heavily on the surface, moisture exposure, and the specific product instructions.
Quick Prevention Checklist
To protect walls from a shower curtain rod over time:
- Clean the end caps and wall contact points regularly.
- Replace hardened, cracked, missing, or loose rubber end caps.
- Tighten the rod only until it is stable under the actual curtain and liner load.
- Keep both ends on flat, clean, sound surfaces.
- Avoid grout lines, trim edges, damaged paint, loose tile, and wallpaper.
- Do not hang towels or other heavy items from the rod.
- Use protective pads only when they suit both the wall finish and the bathroom environment.
- Switch to a fixed mounting method if the tension rod keeps slipping or leaving damage.
The goal is not to make a tension rod as tight as possible. It is to create steady, even contact with clean, cushioned ends while keeping the rod’s load and wall surface within what that mounting method can reasonably handle.
References
- Best Black Tension Shower Curtain Rod Adjustable 34-66 …. (n.d.). https://www.youtube.com/watch?v=KGPPo22FHU0
- Wall Nanny - Shower Curtain Rod Wall Protector & Holder …. (n.d.). https://www.amazon.com/Wall-Nanny-Pack-Protector-Spindles/dp/B06Y5T7JYD
- r/paint - How can I repair this wall damage after tension rods?. (n.d.). https://www.reddit.com/r/paint/comments/1cisgaf/how_can_i_repair_this_wall_damage_after_tension
- 6 Best No-Drill Apartment Shower Curtain Rods. (n.d.). https://www.habitatista.com/118553/best-shower-curtain-rods-for-apartments
- How to Fix a Falling Shower or Curtain Rod - Expert Q&A. (n.d.). https://www.justanswer.com/home-improvement/hir4j-curtain-rod-bathroom-out-how-fix.html
- TEECK Shower Curtain Rod, 32-79 inch Adjustable Tension Spring, 1 Inch Shower Curtain Rod Tension, Anti-Slip, Rust-Proof, No Drilling, for Bathroom, Nickel for sale | North Las Vegas, NV | Nellis Auction. (n.d.). https://nellisauction.com/p/TEECK-Shower-Curtain-Rod-32-79-inch-Adjustable-Tension-Spring-1/107031994
- How do I get a tension shower curtain rod to stay up?. (n.d.). https://www.quora.com/How-do-I-get-a-tension-shower-curtain-rod-to-stay-up
- Watch Shower Tension Rod Installation on Amazon Live. (n.d.). https://www.amazon.com/live/video/08e212d4f7a4491f9622102a65b6366a