A Practical Guide to Shower Pump Care and Maintenance
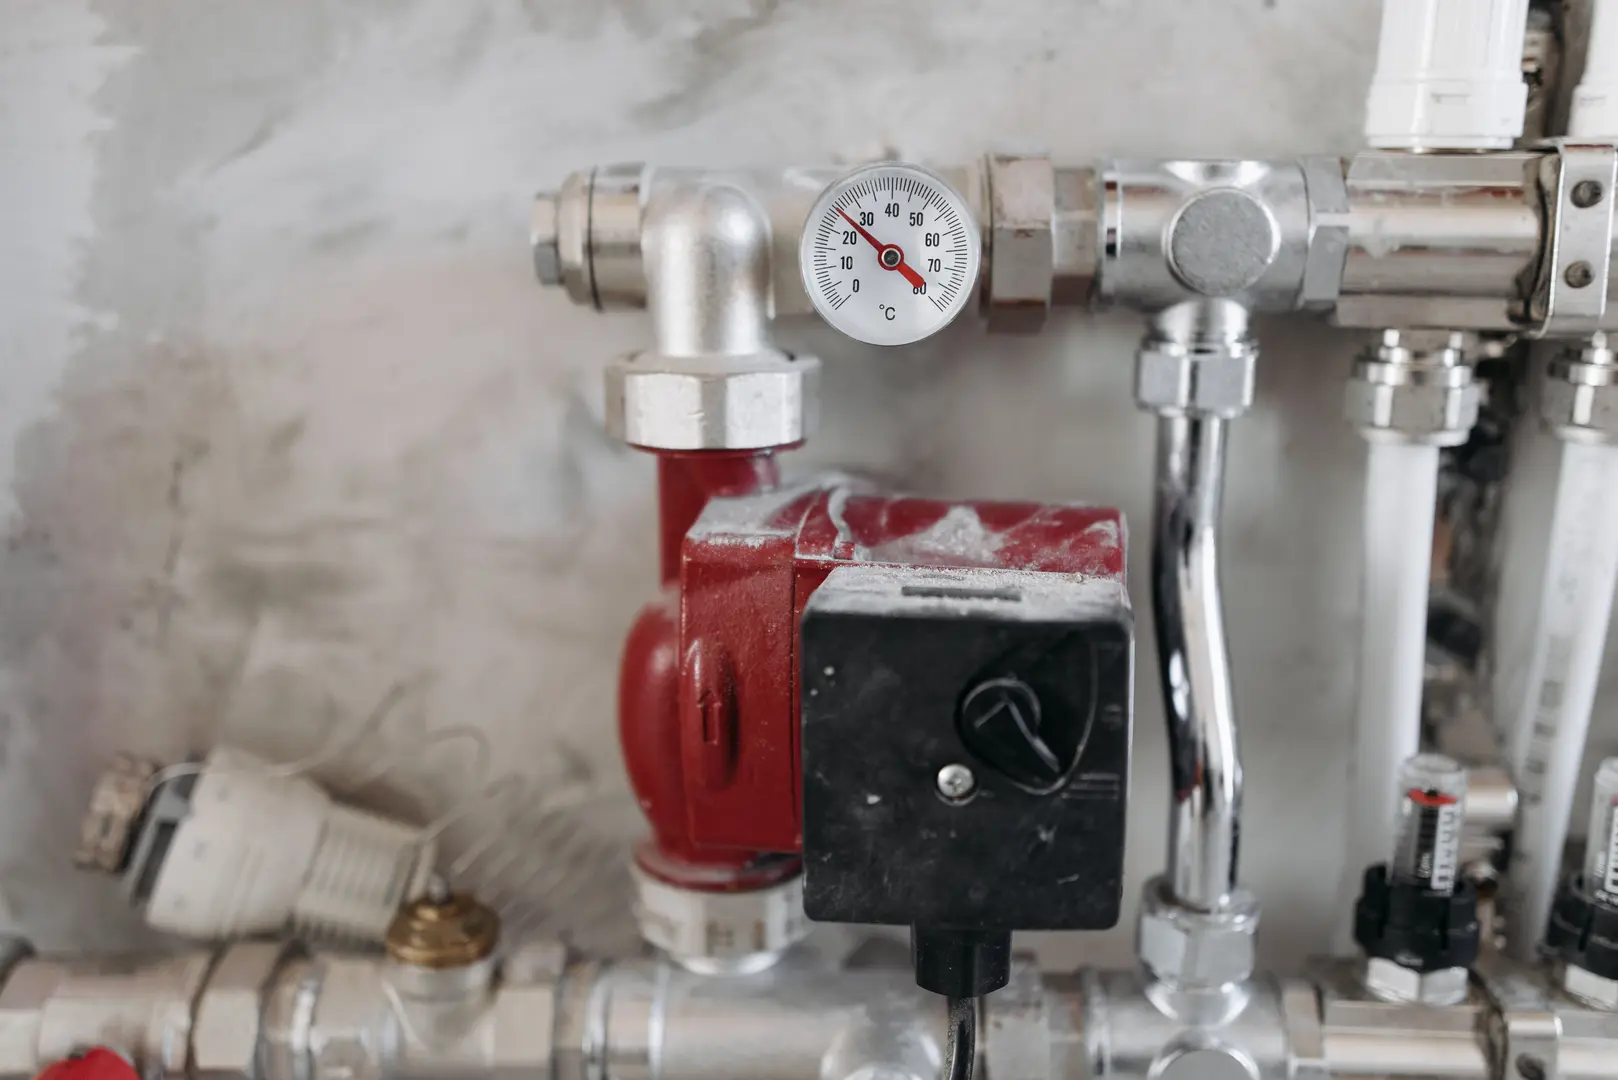
A shower pump can improve water flow, but it needs routine attention to remain reliable. Effective shower pump care and maintenance starts with checking simple problems at the shower itself before opening or adjusting the pump. Regular cleaning, safe isolation and prompt action when you notice changes in flow, noise or leakage can help extend the pump’s working life and support trouble-free operation.
Always follow the pump manufacturer’s instructions. Before handling filters, connections or internal parts, isolate the relevant water and electrical supplies. If you cannot identify the isolation points or are unsure how to work safely, contact a qualified plumber or electrician.
Inspect the Shower Before the Pump
When shower flow becomes weak or uneven, do not immediately assume the pump has failed. The shower head and hose are easier to inspect and are often the best place to begin.
Minerals in hard water can accumulate around the shower-head nozzles and inside its waterways. Over time, this limescale restricts the openings through which water passes. The result may be reduced flow, an uneven spray pattern or water spraying in unexpected directions. These symptoms can resemble a pump problem even when the pump is operating correctly.
Clean the shower head regularly rather than waiting for the spray to become noticeably poor. Remove visible deposits from the nozzles and descale the head using a method suitable for its material and finish. Follow the shower manufacturer’s cleaning guidance, as unsuitable cleaners may damage plated or decorative surfaces.
A practical initial inspection includes the following:
- Look for white or chalky deposits around the spray nozzles.
- Check whether some nozzles are producing less water than others.
- Inspect the hose for twisting, kinking or visible damage.
- Make sure adjustable spray settings are not partially closed.
- Clean and descale the shower head before reassessing the flow.
After cleaning, run the shower and compare the flow. If performance returns to normal, the restriction was likely at the shower head rather than in the pump. If poor flow continues, the pump filters may need attention.
It is also useful to distinguish between poor water delivery and poor drainage. A pump affects the supply of water to the shower, while a slow drain concerns how quickly used water leaves the shower tray or enclosure. If water arrives with good pressure but collects around your feet, the waste pipe or drain requires attention rather than the shower pump.
Potential Risks of Ignoring Slow Drains
A slow drain should not be dismissed simply because the shower still works. Water that takes longer than usual to clear indicates that the drainage route may be becoming restricted. Addressing the issue promptly can prevent the obstruction from worsening and developing into a more significant plumbing problem.
Common warning signs include:
- Water pooling in the shower tray during use
- Drainage taking longer than it previously did
- Water remaining after the shower has been turned off
- A recurring reduction in drainage after temporary improvement
Begin with accessible areas. Remove hair and visible debris from the drain cover, then clean the removable components in accordance with the shower waste manufacturer’s instructions. Avoid dismantling inaccessible pipework if you do not know how it is connected.
Do not confuse standing water with weak pump output. Increasing or adjusting the water supply will not clear a restricted drain and may cause the tray to fill faster. If basic cleaning does not restore drainage, arrange for the waste system to be inspected. Prompt attention is preferable to waiting until the drain becomes severely restricted or stops clearing water altogether.
Clean and Inspect the Pump Filters
Shower pump filters prevent debris from reaching parts of the pump. These filters can gradually become blocked by limescale or particles carried in the water. If you have cleaned the shower head and poor flow persists, filter inspection is a sensible next step.
Before beginning, switch off the shower and turn off the water valves supplying the pump. This isolation step is essential. Removing a filter while the water remains on can release water unexpectedly and cause flooding or water damage. If the pump’s instructions also require electrical isolation for filter maintenance, switch off its electrical supply as directed.
Use the following general sequence, while giving priority to the manufacturer’s instructions for your model:
- Turn off the pump’s water-supply valves.
- Isolate the electrical supply where required.
- Confirm that the shower cannot be operated accidentally.
- Locate the filters using the installation or maintenance guide.
- Remove them carefully, accounting for any residual water.
- Inspect for limescale and trapped debris.
- Clean the filters without damaging the mesh or housing.
- Refit them correctly and secure the filter covers.
- Reopen the valves in the recommended manner.
- Check the area for leaks before returning the pump to normal use.
A filter should not be forced into or out of its housing. If it will not move easily, check the instructions rather than using excessive pressure. Damaged filter components may no longer sit or seal correctly.
Once the filters have been cleaned and refitted, inspect every connection you disturbed. Plumbing connections need to be tightened adequately so that they do not leak, but they should not be forced beyond the manufacturer’s guidance. If water appears when the supply is restored, close the valves again and correct the problem before operating the pump.
Regular filter checks are particularly useful where hard water causes frequent limescale accumulation. The appropriate maintenance frequency depends on the installation, water conditions and pump instructions. Rather than relying on an arbitrary schedule, monitor shower performance and follow the manufacturer’s recommended service intervals.
Release Airlocks Safely
Air trapped inside a shower pump or its pipework can interfere with normal water movement. Bleeding or venting the pump may clear this airlock, but the process must be approached carefully.
Switch off the pump’s electrical supply before attempting to release trapped air. A pump should not be allowed to run while it lacks an adequate water supply, and electrical isolation reduces the risk of unexpected operation while valves are being adjusted.
The general process is:
- Turn off the electrical supply to the pump.
- Check the pump instructions for the correct venting procedure.
- Open the appropriate valves or outlets to allow trapped air to escape.
- Wait until water can pass without the interruption caused by trapped air.
- Close or reset anything opened specifically for bleeding.
- Check the surrounding connections for leakage.
- Restore the electrical supply only after the pump is properly vented.
Valve arrangements differ between installations, so avoid guessing which fittings to open. Do not loosen electrical components or dismantle the pump casing in an attempt to release air. If normal flow does not return after the approved bleeding procedure, stop and seek professional assistance. Repeated airlocks may indicate that the installation itself needs to be examined.
Proper installation plays an important role in reliable operation. Pipe arrangements, water supplies and the pump’s position should conform to its installation requirements. Routine bleeding should not be used to compensate for an installation problem.
Diagnose and Reduce Pump Noise
A shower pump naturally produces some operating sound, but a new or unusual humming noise deserves attention. Changes in noise can indicate that the pump is struggling or that a component needs inspection.
First, switch the system off and check for straightforward restrictions. Limescale or debris may be affecting water movement, so inspect the shower head and filters using the safe procedures described above. A restriction can sometimes make the pump sound different because normal flow has been disrupted.
A jammed impeller is another possible cause of humming. The impeller is an internal moving part, so checking it may require more access than routine filter cleaning. Do not open the pump or attempt an internal repair unless the manufacturer’s instructions specifically allow it and you are competent to do so. Keep the electrical supply isolated during any permitted inspection.
Noise may also come from vibration being transferred from the pump into its supporting surface or nearby pipework. Anti-vibration feet can help reduce this transmission when they are suitable for the pump and fitted correctly. They should support the unit securely rather than leaving it unstable or placing strain on its connections.
When investigating noise, consider:
- Whether the sound began suddenly or developed gradually
- Whether it occurs only while the shower is running
- Whether flow has weakened at the same time
- Whether the pump or attached pipes are vibrating
- Whether recent maintenance disturbed a mounting or connection
- Whether limescale or debris is restricting the system
Do not repeatedly run a pump that only hums without delivering water normally. Turn it off and investigate the lack of flow. If cleaning the shower head and filters, bleeding an airlock and checking accessible mounting points do not resolve the issue, arrange for the pump to be assessed.
Prevent Cold-Weather Damage
Cold conditions can damage a shower pump installation if the pump or its water supply is exposed to freezing temperatures. Protection is especially important when equipment or pipework is located in a cold part of the property.
Lag the cold-feed pipe with suitable pipe insulation. Lagging helps protect the pipe from freezing and reduces the chance that the pump will be left without its normal water supply. Fit the insulation continuously where practical and pay attention to exposed sections rather than covering only the easiest straight lengths.
The pump itself should also be installed in a position that follows the manufacturer’s environmental requirements. Do not place insulation directly around the unit unless the instructions permit it, as the pump may need ventilation and access for maintenance. The aim is to protect the water supply and installation without obstructing the equipment.
Before cold weather, make a simple visual check:
- Confirm that lagging remains in place.
- Look for exposed sections of the cold-feed pipe.
- Replace insulation that is damaged or no longer secure.
- Check that the pump’s location remains adequately protected.
- Make sure valves and filters are still accessible.
If you suspect that a pipe or the pump has frozen, switch off the system and do not operate it until the installation has been checked and normal water movement has returned. Running the pump without a reliable water supply may compound the problem.
Respond to Shower Pump Leaks
A leak requires prompt action. As soon as water is found around the shower pump, turn off its isolating valves to stop the water supply. If water is near electrical equipment or the pump casing, isolate the electrical supply as well, provided this can be done safely without approaching wet electrical components.
Do not continue using the shower to see whether a leak will stop on its own. Wipe up accessible water only after the relevant supplies are isolated, then inspect the area to identify where the moisture is appearing.
Leaks may come from:
- A plumbing connection that is not adequately tightened
- A connection disturbed during filter cleaning
- A filter cover that has not been refitted correctly
- A worn pump seal
- A damaged or deteriorated fitting
Check accessible connections against the installation instructions. They should be secure enough to form a proper seal, as insufficient tightening can lead to leakage and potentially costly water damage. However, avoid excessive force, which may damage threads, fittings or seals.
Worn seals may need to be replaced. Use the correct replacement specified for the pump rather than attempting to reuse a visibly damaged seal. If seal replacement involves opening the pump body or working near electrical components, leave the repair to an appropriately qualified professional.
After any permitted adjustment or repair, restore the water supply cautiously and inspect the area before switching the pump back on. If water continues to appear, close the isolating valves again. A persistent leak, cracked component or leak from within the pump casing requires professional attention.
Consistent shower pump care and maintenance depends on noticing changes early. Keep the shower head descaled, address slow drains separately, clean blocked filters safely, bleed air only with the electricity switched off, investigate unusual noise, protect the cold-feed pipe and isolate leaks immediately. Combined with correct installation and manufacturer-approved servicing, these habits can support dependable operation and a longer pump lifespan.