Shower Tray Crack Repair: A Step-by-Step Guide
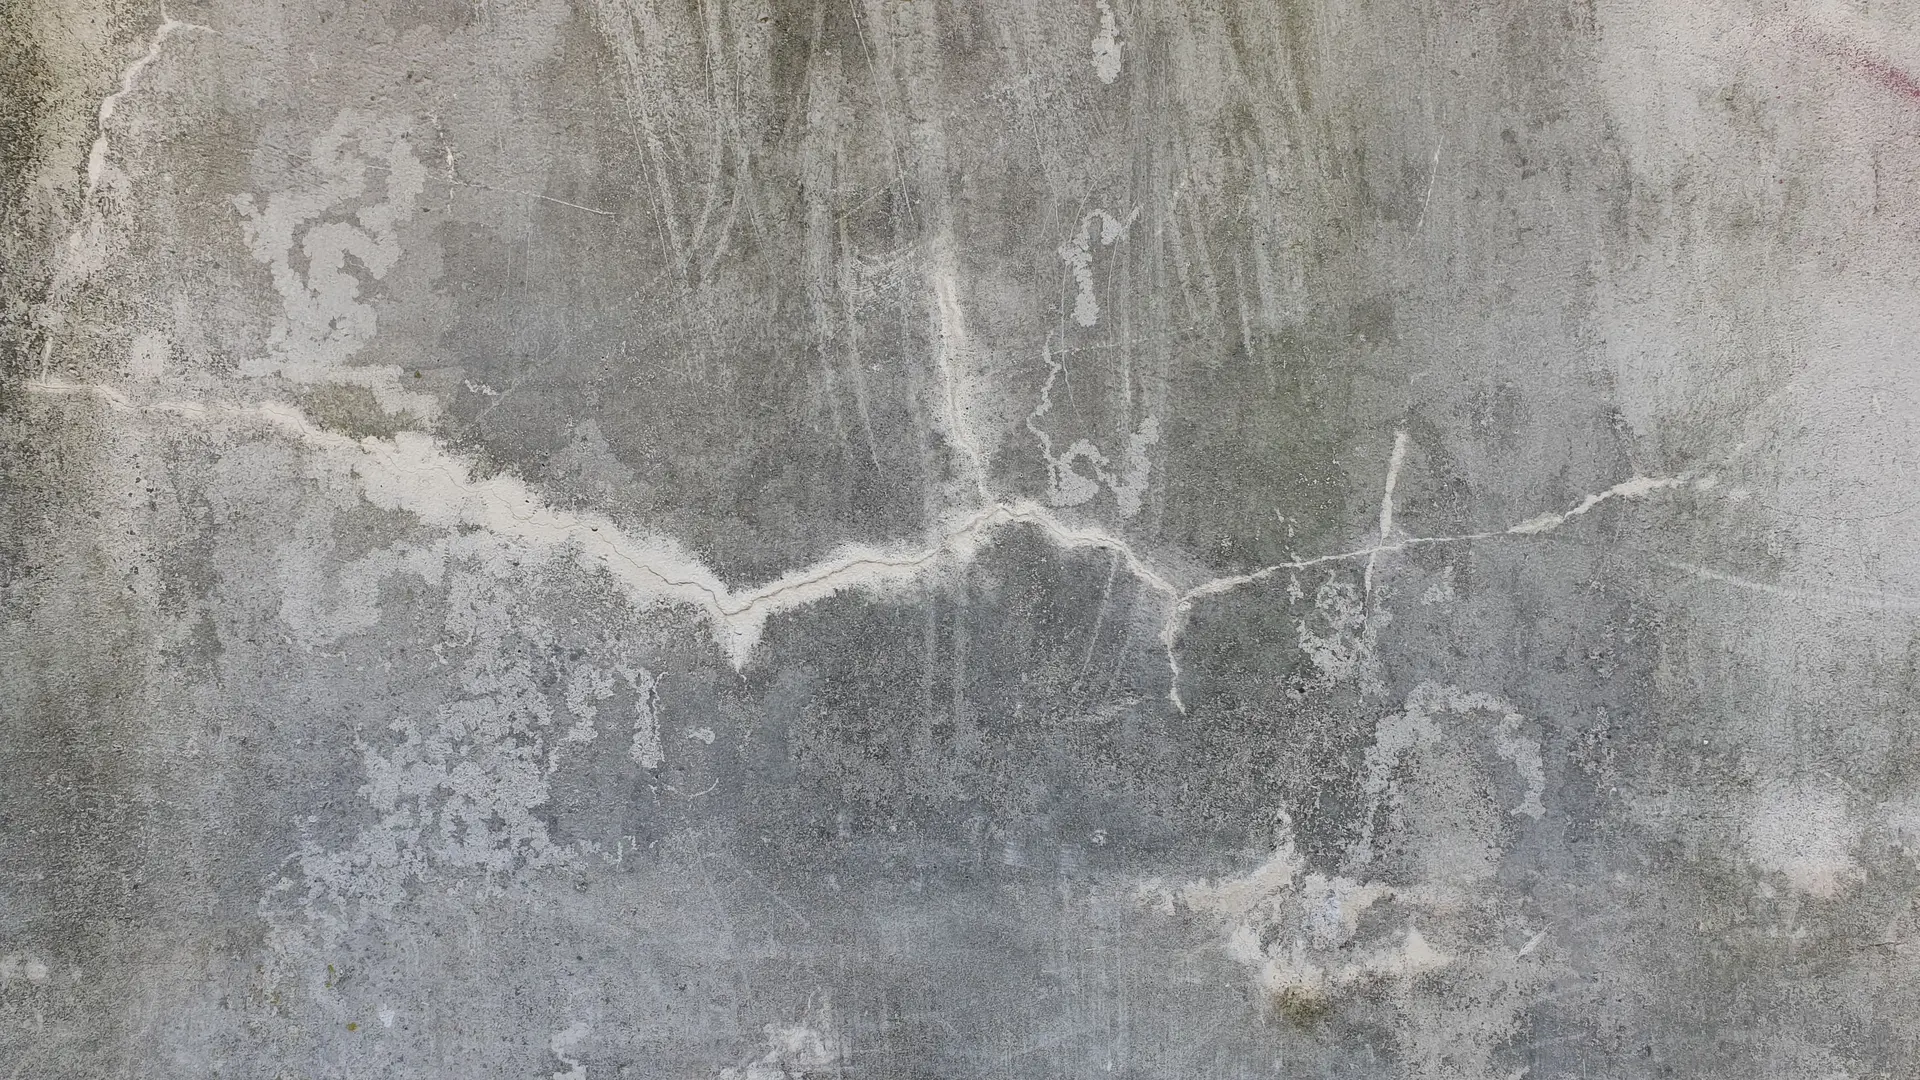
A cracked shower tray is more than a cosmetic problem. Water can pass through the damaged area and affect the floor, supports, or surrounding structure. Stop using the shower until the crack has been assessed and repaired.
Effective shower tray crack repair depends on the size of the damage, the tray material, and—most importantly—whether the tray is properly supported. A fine surface crack may respond well to epoxy filler, while a larger or recurring crack may require fiberglass reinforcement or complete tray replacement.
Why Shower Trays Develop Cracks
Shower trays can crack because of age, installation defects, excessive pressure, or sudden impact. Identifying the cause matters because filling the visible opening will not provide a reliable solution if the tray continues to flex underneath.
Age-Related Material Weakening
Tray materials gradually weaken through normal use. Repeated loading, temperature changes, cleaning, and general wear can make an older tray more vulnerable to cracking.
Material fatigue may be more noticeable in lower-quality trays. A fine crack can appear in a frequently used area even without an obvious impact. Once the surface has weakened, the damage may spread if it is ignored.
Problems Caused by Poor Installation
A shower tray needs adequate, even support. If part of the tray is unsupported or the base is uneven, the surface may flex when someone stands on it. This places uneven stress on the material and can eventually produce cracks.
Common warning signs of an installation-related problem include:
- Movement or flexing underfoot
- Creaking when the tray is used
- Cracks that return after being filled
- Damage concentrated around an unsupported section
A surface repair alone is unlikely to last if movement continues. The base or support structure should be corrected before, or as part of, the repair.
Damage from Excessive Weight or Impact
Heavy pressure can crack a tray, particularly if the load is concentrated in one area. Dropping a heavy object can also chip or split the surface.
Simultaneous use by multiple people may place more pressure on the tray than it can safely support. The risk is greater when the tray has already weakened with age or lacks adequate support underneath.
Repair Tools, Materials, and Safety Equipment
The tools required will depend on the type and size of the crack. A typical repair may call for:
- Utility knife
- Fine and medium sandpaper
- Epoxy repair kit
- Fiberglass mesh or a fiberglass repair kit
- Shower-tray-compatible repair filler
- Clean cloths
- Suitable cleaning supplies
- Mixing and application tools supplied with the repair kit
Wear gloves, safety goggles, and a mask while sanding or working with resin. Keep the room ventilated and follow all safety directions supplied by the repair material manufacturer.
Use a utility knife cautiously. It may help remove loose material or carefully prepare damaged edges, but cutting too deeply can make the crack worse.
How to Choose Materials for a Durable Repair
Epoxy resin can bond and fill a small crack, creating a hard repair once cured. It is a practical choice when the product is compatible with the tray material and the damage is limited.
A resin filler made specifically for shower trays may offer better adhesion and a smoother, more visually consistent finish. These kits are often easier to match to the intended application because they are formulated for sanitary surfaces. However, results still depend on surface preparation, structural support, and correct curing.
For larger cracks, filler alone may not be enough. Fiberglass mesh and resin can reinforce the damaged section before a finishing layer is applied.
Do not treat silicone sealant as a lasting crack repair. It may temporarily cover an opening, but it does not restore structural strength and can degrade or separate over time. Leaks may then return.
No filler guarantees a permanent result. A well-prepared repair may remain serviceable, but a tray that flexes, has extensive damage, or continues to deteriorate can crack again.
Repairing a Fine Crack in a Shower Tray
A small hairline crack may be repairable if it is limited to one area and the tray remains stable. Before starting, inspect the tray for movement and look for signs of leakage. If water has already reached the underlying structure, that damage may also need professional attention.
Do not use the shower during the repair or before the material has completed its required curing period.
Step 1: Wash and Dry the Damaged Area
Remove soap scum, dirt, oils, and other residue from the crack and the surrounding surface. Repair resin cannot form a strong bond over contamination.
Rinse away cleaning residue and dry the tray completely. Pay close attention to the crack itself, where moisture can remain after the surrounding surface appears dry. Use only cleaning methods that are compatible with the tray and repair kit.
Step 2: Open and Roughen the Crack
Lightly sand the area around the crack to remove the glossy finish and create a slightly rough surface. This gives the repair material a better surface to grip.
If the kit instructions require the crack to be opened slightly, carefully remove loose or weak material with a utility knife. Do not aggressively enlarge the damage. The objective is to create a clean, stable repair area rather than cut deeply into the tray.
Remove all sanding dust before moving on. Any particles left behind may interfere with adhesion or create an uneven finish.
Step 3: Work Epoxy Filler into the Crack
Prepare the epoxy or resin filler exactly as directed by its manufacturer. If components must be mixed, follow the stated proportions and working instructions rather than estimating.
Press the filler into the crack so it reaches the damaged area instead of merely covering the surface. Spread it evenly across the prepared section, avoiding unnecessary ridges or thick edges. Aim for a smooth finish that can be levelled after curing.
Work within the application time specified for the product. Do not add other substances to change the consistency unless the manufacturer expressly allows it.
Step 4: Level, Cure, and Clean the Repair
Leave the filler undisturbed for the full recommended curing period. A surface that feels dry may not yet be ready for sanding or contact with water.
Once the material has cured, gently sand or level the repair according to the kit instructions. Blend the edges into the surrounding tray without removing so much material that the crack is exposed again.
Wipe away dust with a clean cloth. Inspect the finish for gaps, loose edges, or areas that did not bond. Do not use the shower until every repair layer has cured fully.
Repairing Larger Cracks and More Serious Damage
A long, open, or deeper crack requires more than a surface coating. Fiberglass reinforcement may be needed to restore strength across the damaged section.
Access can be a major consideration. Some repairs need reinforcement around or behind the crack, which may not be practical without removing panels or the tray itself. If the tray moves significantly, has several cracks, or is leaking into the floor structure, professional assessment is the safer option.
Step 1: Examine the Extent and Cause
Assess the crack’s length, width, depth, and location. Check for nearby hairline damage, soft areas, movement, and evidence of water escaping below the tray.
Try to determine why the crack formed:
- Is the tray flexing under pressure?
- Is the base uneven?
- Is part of the tray unsupported?
- Did a heavy object strike the surface?
- Is the material generally worn or brittle?
Correcting the cause reduces the chance of another failure. Reinforcing the visible crack without dealing with an unstable base may only delay re-cracking.
Step 2: Add Structural Fiberglass Support
Clean and prepare the damaged area as required by the fiberglass repair kit. Cut or position the fiberglass mesh so it reinforces the crack and the surrounding weakened section.
Apply the resin and fiberglass in the sequence specified by the manufacturer. The mesh should be fully integrated into the repair rather than left loose or partially bonded. Avoid trapping debris or leaving unsupported edges.
After curing, check that the repaired section feels stable and does not separate from the tray. Fiberglass can add strength, but it cannot compensate indefinitely for serious movement or a failing base.
Step 3: Fill, Flatten, and Allow the Repair to Set
Cover the reinforced area with a compatible repair filler. Spread the material smoothly, fill low points, and feather the edges into the surrounding surface.
Allow the filler to cure for the entire period stated by the manufacturer. Once cured, sand the area carefully to create a flat, comfortable finish. Clean away the resulting dust and inspect the repair before exposing it to water.
Practical Advice for a Reliable Tray Repair
Preparation often determines whether a repair bonds properly. The surface must be clean, dry, and free from soap, loose material, and sanding dust.
For the best available result:
- Confirm that the kit is compatible with the tray material.
- Read all directions before mixing resin or filler.
- Prepare only as much material as instructed.
- Keep the tray out of use throughout application and curing.
- Allow every layer to cure for the recommended period.
- Address movement or poor support before relying on a surface repair.
- Examine nearby seals and surrounding areas for signs of leakage.
Avoid rushing because the repair looks dry. Premature exposure to water or pressure can weaken the bond.
Even a carefully applied filler or reinforced patch may not prevent every future leak. Repairs can fail if the tray keeps flexing, the crack extends beyond the treated area, or the surrounding material continues to weaken. Sealants and temporary coatings are particularly unlikely to resolve structural damage.
Signs That Replacing the Shower Tray Is Better
Replacement may be more sensible when the tray has extensive cracking or several damaged areas. Multiple cracks can indicate wider material deterioration or a serious support problem rather than an isolated defect.
Consider replacement if you notice:
- Persistent leaks beneath or around the tray
- Ongoing damage to the floor or supporting structure
- Cracks that continue to spread
- Significant movement underfoot
- Several previous repairs that have failed
- Repeated cracking in the same location
- A tray surface that appears broadly weakened
Replacement also provides an opportunity to correct an uneven base or inadequate support. This may be more effective than repeatedly repairing symptoms caused by the original installation.
Shower Tray Repair or Replacement: Comparing Cost and Durability
Repair is generally the less disruptive option when the crack is small, isolated, and accessible. It uses fewer materials and may avoid removing surrounding panels, screens, or finishes. However, the repair’s durability depends heavily on tray condition and support.
Replacement requires more work and a greater initial expense, especially if access is difficult or surrounding finishes must be disturbed. In return, it removes the damaged tray and allows the installer to address problems beneath it.
| Consideration | Repair | Replacement |
|---|---|---|
| Best suited to | Small, isolated damage on a stable tray | Extensive, recurring, or multiple cracks |
| Initial cost | Usually lower | Usually higher |
| Disruption | Often limited | More substantial |
| Durability | Varies with preparation, material, and support | Typically more dependable when installed correctly |
| Leak risk | May recur if damage or movement continues | Reduced when the new tray and base are installed properly |
| Structural issues | Must be corrected separately | Can be addressed during installation |
Repair is practical when the tray is otherwise sound and the cause can be eliminated. Replacement is often more effective when repairs have repeatedly failed or water is continuing to escape.
The cheapest immediate option is not always the lowest-cost long-term choice. Repeated filling and refinishing can become poor value if leaks continue and damage the area below.
Ways to Prevent New Shower Tray Cracks
Crack prevention begins with correct installation, careful use, and regular inspection. The goal is to avoid uneven stress and identify minor damage before water reaches the structure underneath.
Make Sure the Tray Is Installed Correctly
The tray should sit level and have the support required for its design. Correct installation helps distribute weight evenly and limits flexing.
Professional installation is recommended, particularly when the base needs adjustment or plumbing and waterproofing must be coordinated. Inexperienced homeowners should avoid treating tray installation as a simple DIY task. Mistakes in support or levelling may remain hidden until cracking or leakage develops.
Limit Heavy Loads and Sudden Impacts
Do not leave heavy items on the tray for prolonged periods, and avoid dropping rigid objects onto its surface. Concentrated pressure can damage an already weakened area.
Warm water may increase the risk of cracking when the tray is under heavy load or stress. Avoid combining excessive loading with sudden impacts or other conditions that could strain the material. A tray should also not be used by multiple people at once if doing so places excessive pressure on it.
Inspect the Tray and Act on Early Damage
Include the tray in routine bathroom maintenance. Look for:
- Fine lines or surface splits
- Chips and worn patches
- Movement or creaking
- Discoloration around a crack
- Dampness or water marks outside the shower
- Repairs or sealant edges beginning to separate
Address early cracking before it opens further. Stop using the shower if water may be passing through the tray, then determine whether a proper shower tray crack repair or replacement is the more dependable solution.