Small Wet Room Ideas for Maximising Space
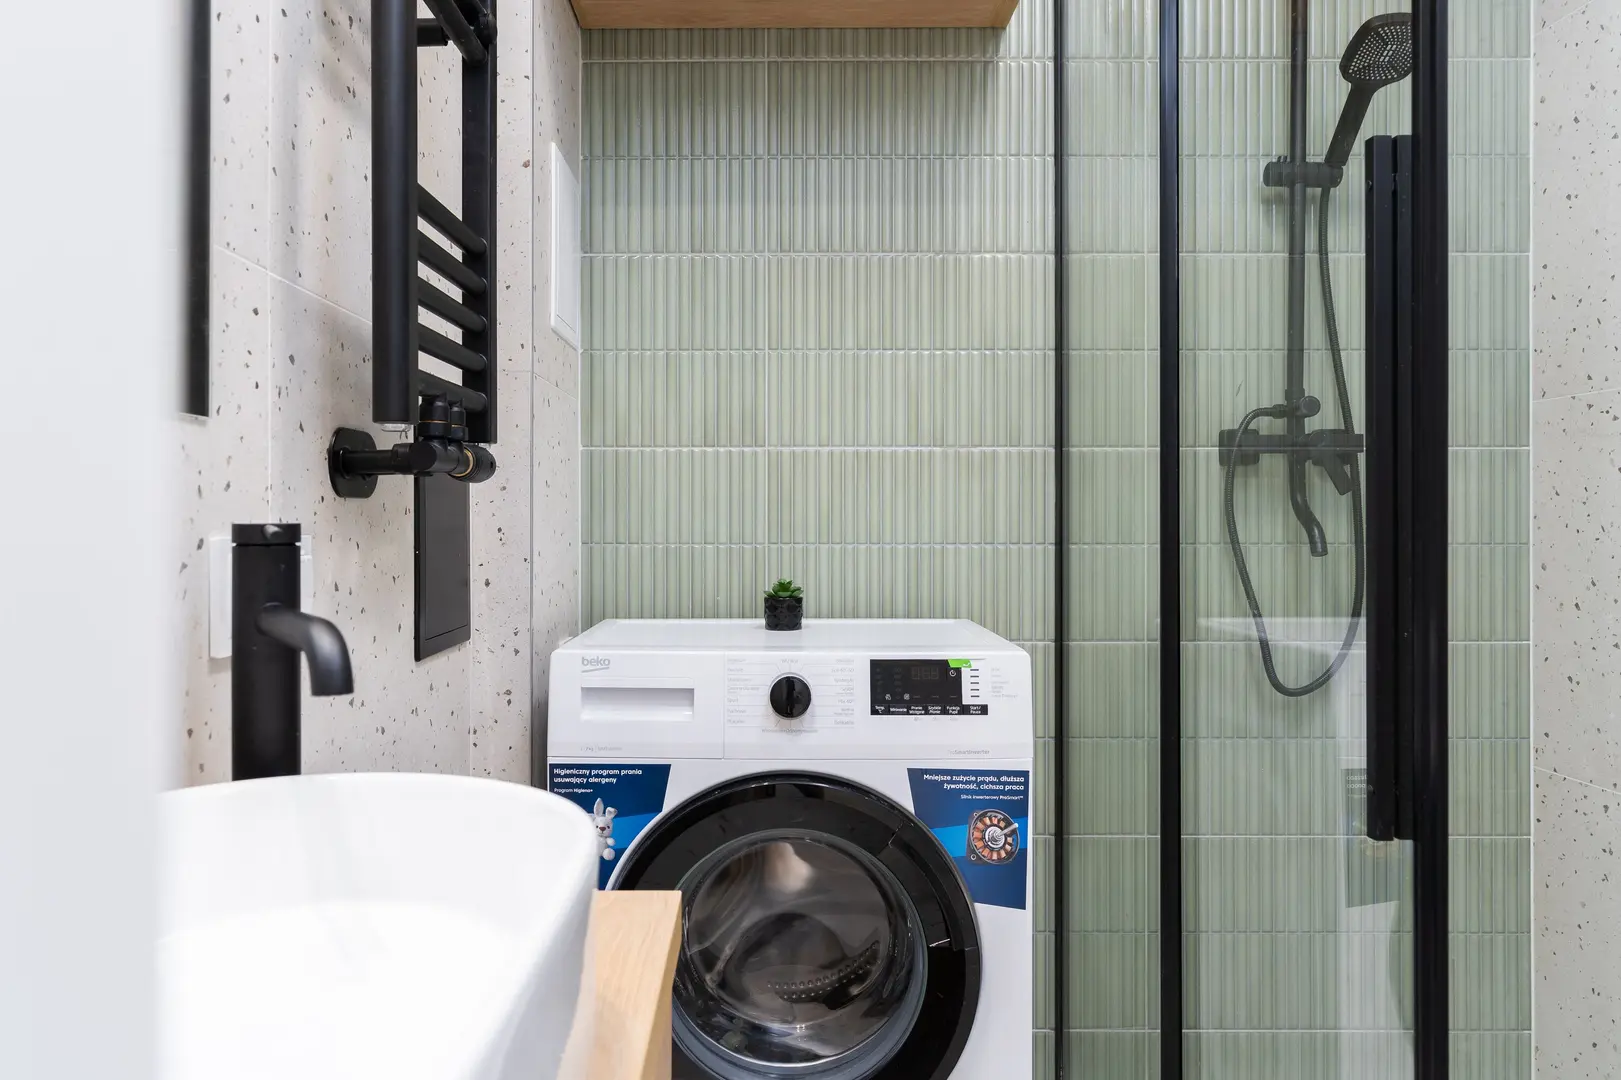
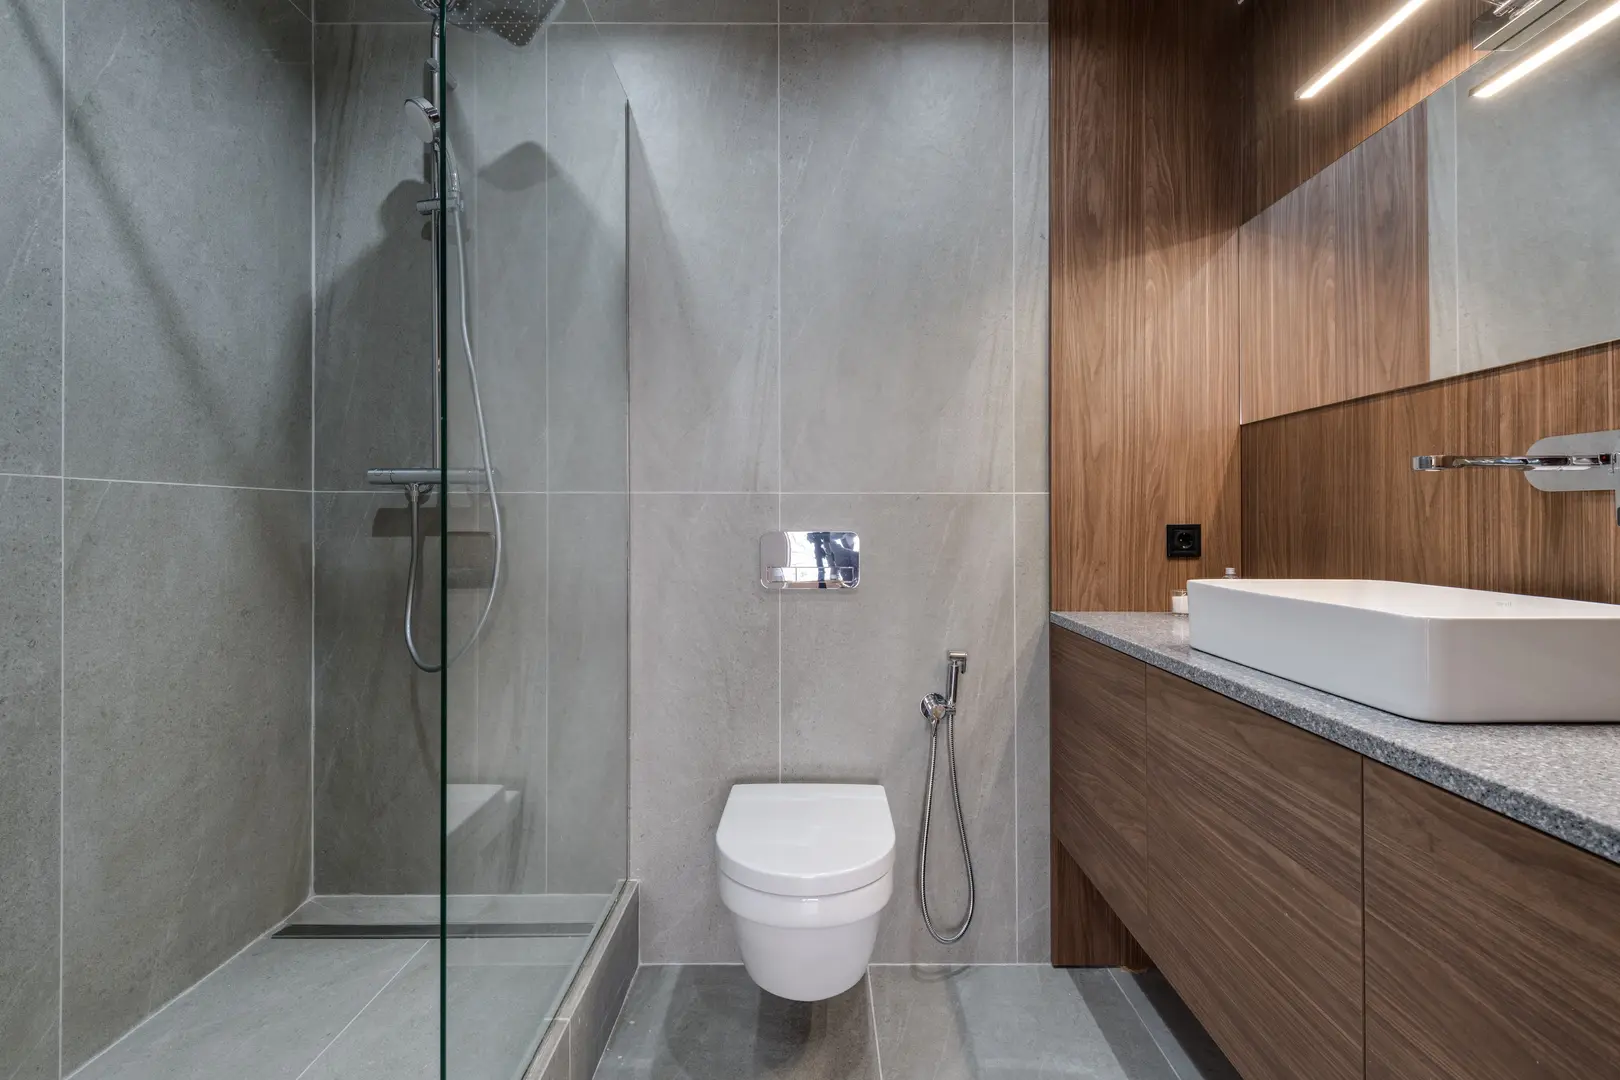
A compact bathroom does not have to feel cramped or impractical. By removing the visual and physical bulk of a conventional shower enclosure, a wet room can create a more open layout while making everyday cleaning and access easier.
The most effective small wet room ideas balance water management, accessibility and visual simplicity. From selecting a suitable wet room former to using large wall tiles, every decision should help the available floor area work harder.
Understanding the Basics of a Wet Room
A wet room is an alternative to a conventional bathroom with a separate shower tray and enclosed cubicle. Instead of stepping into a raised tray, you shower directly on a specially prepared section of the bathroom floor.
The floor is designed so that water flows towards a drain. This drain replaces the waste outlet found in a standard shower tray, while the surrounding floor provides a continuous or near-continuous surface.
This simple arrangement is particularly useful in a small bathroom. A conventional shower enclosure can divide the room into separate zones and make the available area feel restricted. A wet room creates a more open appearance because there is no bulky tray or full cubicle dominating the layout.
However, an open design does not mean that every fitting should regularly become soaked. The position of the shower, drain, screen, toilet and basin still needs careful consideration. Good planning directs water towards the drainage area and limits splashes around furnishings and bathroom essentials.
When considering a conversion, start by identifying what currently wastes space. A large enclosure, awkward door swing or poorly positioned basin may be making the bathroom feel smaller than it really is. The wet room layout can then be planned around a clearer and more efficient use of the floor.
Key Benefits of Choosing a Wet Room
One of the main attractions of a wet room is easier cleaning. Traditional shower enclosures often include tracks, corners, raised edges and multiple panels. These features can take time to wipe down and may be difficult to reach. A wet room usually has fewer obstructions, particularly when it uses one simple glass screen.
Wet rooms are also well suited to compact spaces. Without the fixed footprint of a conventional shower tray and cubicle, the shower area can become part of the wider bathroom layout. This helps the room feel less divided and allows movement through the space to be planned more effectively.
Other useful benefits include:
- A more open appearance: Clear floors and minimal screening reduce visual clutter.
- Flexible layout options: The shower area can be adapted to the shape of the room.
- Straightforward cleaning: Fewer enclosure components mean fewer surfaces and corners to clean.
- Improved accessibility: A flat, trip-free shower area can be easier for elderly or disabled users.
- Efficient use of limited space: The shower does not always need to occupy a separate enclosed zone.
Accessibility is especially important when future needs are being considered. Removing the step into a shower tray can make entry more convenient, while an uncluttered layout may provide more room for assistance or mobility equipment. Accessibility should nevertheless be planned from the beginning rather than treated as an extra feature once the main design has been chosen.
Planning a Space-Saving Wet Room Layout
Before choosing tiles or fittings, measure the room carefully. Record its length and width, but also note the positions of the door, windows, existing drainage, toilet, basin and any fixed furniture. These details determine where the shower can sit without making another part of the bathroom difficult to use.
Aim to keep the main route into the room as clear as possible. Consider whether the bathroom door opens into valuable floor space and whether users can reach the toilet and basin without walking directly through the wettest part of the shower area.
A useful planning process is to:
- Mark the full dimensions of the room.
- Add the position and opening direction of the door.
- Plot the footprint of the toilet, basin and storage.
- Choose a shower position that supports effective drainage.
- Allow space for a screen where one is needed.
- Check that each fitting can be approached and used comfortably.
For an accessible wet room, take additional measurements rather than relying on the room’s total floor area. Check the clear doorway width, the unobstructed route into the shower and the space around each fitting. If turning or assisted movement is required, measure the clear floor area with the screen, basin and toilet all shown in their final positions.
Also consider how far taps, controls and storage are from the intended showering position. A layout can look open on paper while still being awkward for someone with limited reach or mobility. Required clearances vary according to the user, property and applicable building requirements, so seek professional guidance where the room is being designed for specific accessibility needs.
In a very small wet room, avoid adding furniture simply because there is an empty section of wall. Every projection affects movement. Compact fittings and wall-mounted storage can preserve more usable floor area, but the priority should remain a safe, logical route through the room.
Choosing Screens for a Compact Wet Room
A wet room can be open, but a screen is often helpful in a small bathroom. It controls splashes and helps protect nearby fittings, towels, storage and furnishings from repeated contact with water.
There are several screen configurations available, from single fixed panels to designs with additional hinged or folding sections. The right style depends on the shower position and the amount of protection needed.
A single glass screen is often a practical space-saving choice. It creates a barrier beside the shower without forming a full enclosure, maintaining the open character of the room. Clear glass also allows the eye to travel across the space rather than stopping at an opaque partition.
When deciding where to place a screen, consider:
- The direction of the shower spray
- The location of the basin and toilet
- The route between the doorway and bathroom fittings
- Whether the screen would narrow an important access point
- How easily both sides can be cleaned
- Whether a moving panel would clash with another fitting
More screening is not always better. In a compact room, an oversized or poorly positioned panel may make movement awkward. The goal is to protect the rest of the bathroom while retaining enough open space for comfortable use.
Selecting the Right Wet Room Former
A wet room former creates the shaped base beneath the shower area. It supports effective drainage by forming the necessary fall towards the drain, helping shower water move in the intended direction rather than sitting across the floor.
Unlike a traditional raised shower tray, a correctly integrated former provides a flat, trip-free finish. This supports the open appearance of a wet room and can improve access for people who find steps difficult.
Wet room formers are available to suit different room shapes and shower positions. They can be selected or adapted according to the available area, making them useful for compact bathrooms where a standard enclosure would be difficult to accommodate.
Before choosing one, establish:
- The available showering area
- The intended drain position
- The direction from which users will enter
- The position of the screen
- The final floor finish
- Any specific accessibility requirements
The former should work with the complete layout rather than being treated as an isolated component. Its dimensions affect the showering area, screen placement and the amount of clear floor left for other fittings. Professional installation is advisable where alterations are needed to create the correct drainage arrangement and a level final surface.
Safe and Stylish Flooring Choices
Wet room flooring must remain practical when exposed to water. A non-slip finish is essential because the shower area and surrounding floor may become wet during use.
Matt tiles are worth considering for the floor. Compared with highly polished finishes, they provide a more suitable surface for a bathroom where splashes are expected. They can also support a calm, understated design that does not overwhelm a small space.
Appearance still matters, but it should not take priority over safe footing. When comparing flooring, check that the chosen material is intended for wet room floors rather than assuming that any bathroom tile will be appropriate.
Using one consistent floor colour can help the room look less fragmented. If contrasting tiles are preferred, use them deliberately—for example, to define the shower area without visually shrinking it. Too many abrupt changes in colour or pattern may make a compact floor feel busier.
The floor must also work with the wet room former and drain. Tile format, joints and the position of the drainage point all need to support the required slope. Discuss the complete floor build-up with the installer before purchasing finishes.
How Underfloor Heating Can Help
Underfloor heating can be a useful addition to a wet room. As the floor warms, it helps dry residual splashes after the shower has been used. Reducing the amount of time that water remains on the surface can help limit slip risks while making the room more comfortable.
This benefit is particularly valuable in a small wet room, where the route to the toilet or basin may be close to the shower area. Faster drying helps return more of the floor to a dry condition between uses.
Compatibility must be checked before installation. Not every floor covering or installation system is suitable for use with underfloor heating. The former, floor finish and heating system need to be considered together so that one component does not compromise another.
Underfloor heating should not replace the basic requirements for effective drainage and non-slip flooring. It is an additional feature that supports drying; water must still be directed correctly towards the drain.
Using Wall Tiles to Enhance a Small Room
Wall tiles have a strong influence on how spacious a compact wet room feels. Larger tiles can make the walls appear broader and less busy because there are fewer visible grout lines breaking up the surfaces.
This does not mean that every tile must be identical. A limited feature area can add interest, but covering several small walls in competing colours and patterns may make the room feel visually crowded.
Tile direction also affects perception. Horizontal patterns can draw attention across a wall, while vertical arrangements encourage the eye to move upwards. Choose the orientation according to the part of the room you want to emphasise.
For a balanced result:
- Keep the main wall treatment relatively simple.
- Use bold patterns selectively rather than on every surface.
- Consider larger tiles to reduce visual interruption.
- Coordinate wall and floor colours without requiring an exact match.
- Avoid dividing already-small walls into too many separate sections.
The best choice will depend on the room’s proportions. A narrow wet room may benefit from a design that emphasises width, while a low or enclosed room may feel more open with a pattern that leads the eye upwards.
When to Consider Wall Panels Instead
Wall panels are an alternative to tiling and can be especially practical during a bathroom update. Suitable panels may be installed over existing tiles, reducing the need to remove the old wall finish first.
Their main cleaning advantage is the absence of grout. Grout lines add detail to tiled walls but also create more joints to maintain. Panels form larger, uninterrupted surfaces that are straightforward to wipe down.
This can suit a small wet room where simplicity is the goal. Fewer visible lines help create a cleaner appearance, while the broad panel surfaces may make the walls feel less cluttered.
Panels are worth considering when:
- Existing tiles are difficult or time-consuming to remove.
- Easy cleaning is a priority.
- You prefer a smooth, low-detail finish.
- Large-format tiles would be awkward for the project.
- You want to reduce the number of grout joints in the shower area.
Before fitting panels over tiles, check that the existing surface is suitable and that the chosen panel system is intended for wet areas. The final design still needs careful treatment around corners, fittings and the shower controls.
Whether you choose wall panels or tiles, successful small wet room ideas depend on the same principles: plan the layout carefully, keep access routes clear, manage splashes and use finishes that are safe and easy to maintain. A simple combination of a suitable former, well-positioned screen, non-slip floor and visually calm walls can turn a restricted bathroom into a more open and practical space.