Thermostatic Shower Buying Guide: How to Choose the Right System
A thermostatic shower is designed to keep showering comfortable even when water conditions elsewhere in the home change. However, the right model must suit your plumbing system, available water pressure, preferred valve style and installation layout.
This thermostatic shower buying guide explains how these showers work, how they differ from mixer and electric showers, what to consider when selecting a valve, and the basic stages involved in installation.
Understanding Thermostatic Shower Temperature Control
A thermostatic shower combines hot and cold water inside a valve to deliver water at the temperature selected on the control. A temperature-sensitive component continually monitors the mixed water and adjusts the balance of the incoming supplies.
If the cold supply becomes weaker—for example, because another outlet is being used—the valve reduces the amount of hot water entering the mix. If the hot supply drops, it adjusts the flow in the opposite direction. This automatic response helps maintain a steadier outlet temperature.
The main benefits are:
- More consistent shower temperatures: The valve compensates for changes in the hot and cold supplies.
- Reduced scalding risk: The shower is less likely to produce a sudden burst of excessively hot water.
- Protection against cold shocks: Rapid changes that would otherwise make the shower uncomfortably cold are reduced.
- Simpler everyday control: Once the preferred temperature is selected, there is less need for repeated manual adjustment.
These features make thermostatic showers particularly useful in family homes and bathrooms designed with accessibility in mind. However, temperature stability still depends on selecting a valve that is compatible with the property’s plumbing and available water supply.
Thermostatic Showers Compared with Standard Mixer Showers
A standard mixer shower blends hot and cold water, but it does not necessarily react automatically when either supply changes. If someone opens a tap or another appliance draws water, the balance entering the shower may be disturbed. The person showering may then need to adjust the control manually.
A thermostatic shower also mixes the two supplies, but its valve reacts quickly to temperature changes. It automatically alters the hot-to-cold ratio to bring the mixed water back towards the selected setting.
| Feature | Thermostatic shower | Standard mixer shower |
|---|---|---|
| Hot and cold water mixing | Automatic temperature-sensitive regulation | Basic mixing controlled by the user |
| Response to supply changes | Adjusts the incoming flow | May require manual adjustment |
| Temperature consistency | Designed to maintain the selected temperature | Can vary when supply conditions change |
| Protection from sudden changes | Reduces scalding and cold shock | More dependent on stable supplies |
A mixer shower may be adequate where the water supply is consistently balanced. A thermostatic system offers an additional level of control when temperature stability and protection from sudden fluctuations are priorities.
Thermostatic and Electric Showers: Supply and Heating Differences
Thermostatic showers use the home’s existing hot and cold water supplies. They mix water that has already been heated by the household’s water-heating system rather than heating it within the shower itself.
Their performance therefore depends on factors including:
- The temperature of the incoming hot water
- The pressure available from the hot and cold supplies
- Whether both supplies can deliver water in the way required by the valve
- The flow available when other outlets are operating
An electric shower works differently. It takes a cold water supply and heats the water separately inside the shower unit. This means it does not depend on the home’s stored or centrally produced hot water in the same way.
The better option depends on the property. A thermostatic shower can provide effective temperature-controlled mixing when suitable hot and cold supplies are available. An electric shower provides its own water heating, but its operation and installation requirements differ. Before buying either type, confirm that the household supply and proposed installation position meet the manufacturer’s instructions.
The Mechanism Behind Thermostatic Shower Operation
Inside a thermostatic shower valve, hot and cold water enter through separate inlets. The water is combined automatically in an internal mixing area before travelling to the shower outlet. This should not be confused with a large hot-water storage tank inside the shower; the valve holds and blends only the water involved in its immediate operation.
A temperature-sensitive element responds to the temperature of the mixed water. When that temperature begins to move away from the selected setting, the element expands or contracts. This movement alters the amount of hot or cold water entering the valve.
A piston helps control the inlet flow. Its position changes in response to the temperature-sensitive element, restricting one supply while allowing more of the other where necessary. This continuous balancing action preserves the chosen temperature more effectively than manual mixing alone.
For example, if the cold water flow falls, the internal mechanism limits the hot supply so that the outlet does not suddenly become much hotter. The speed and effectiveness of this response depend on the valve functioning correctly and receiving compatible water supplies.
Choosing the Right Thermostatic Shower Valve
The valve is the central component of a thermostatic shower. It must react reliably to changes in the incoming water and regulate the hot and cold flows before the mixed water reaches the shower head.
Many thermostatic valves also have a safety function that shuts off or restricts the flow if the valve cannot maintain safe mixing conditions. This provides added protection if one supply fails, although the exact operation will depend on the selected model.
There are three common installation styles:
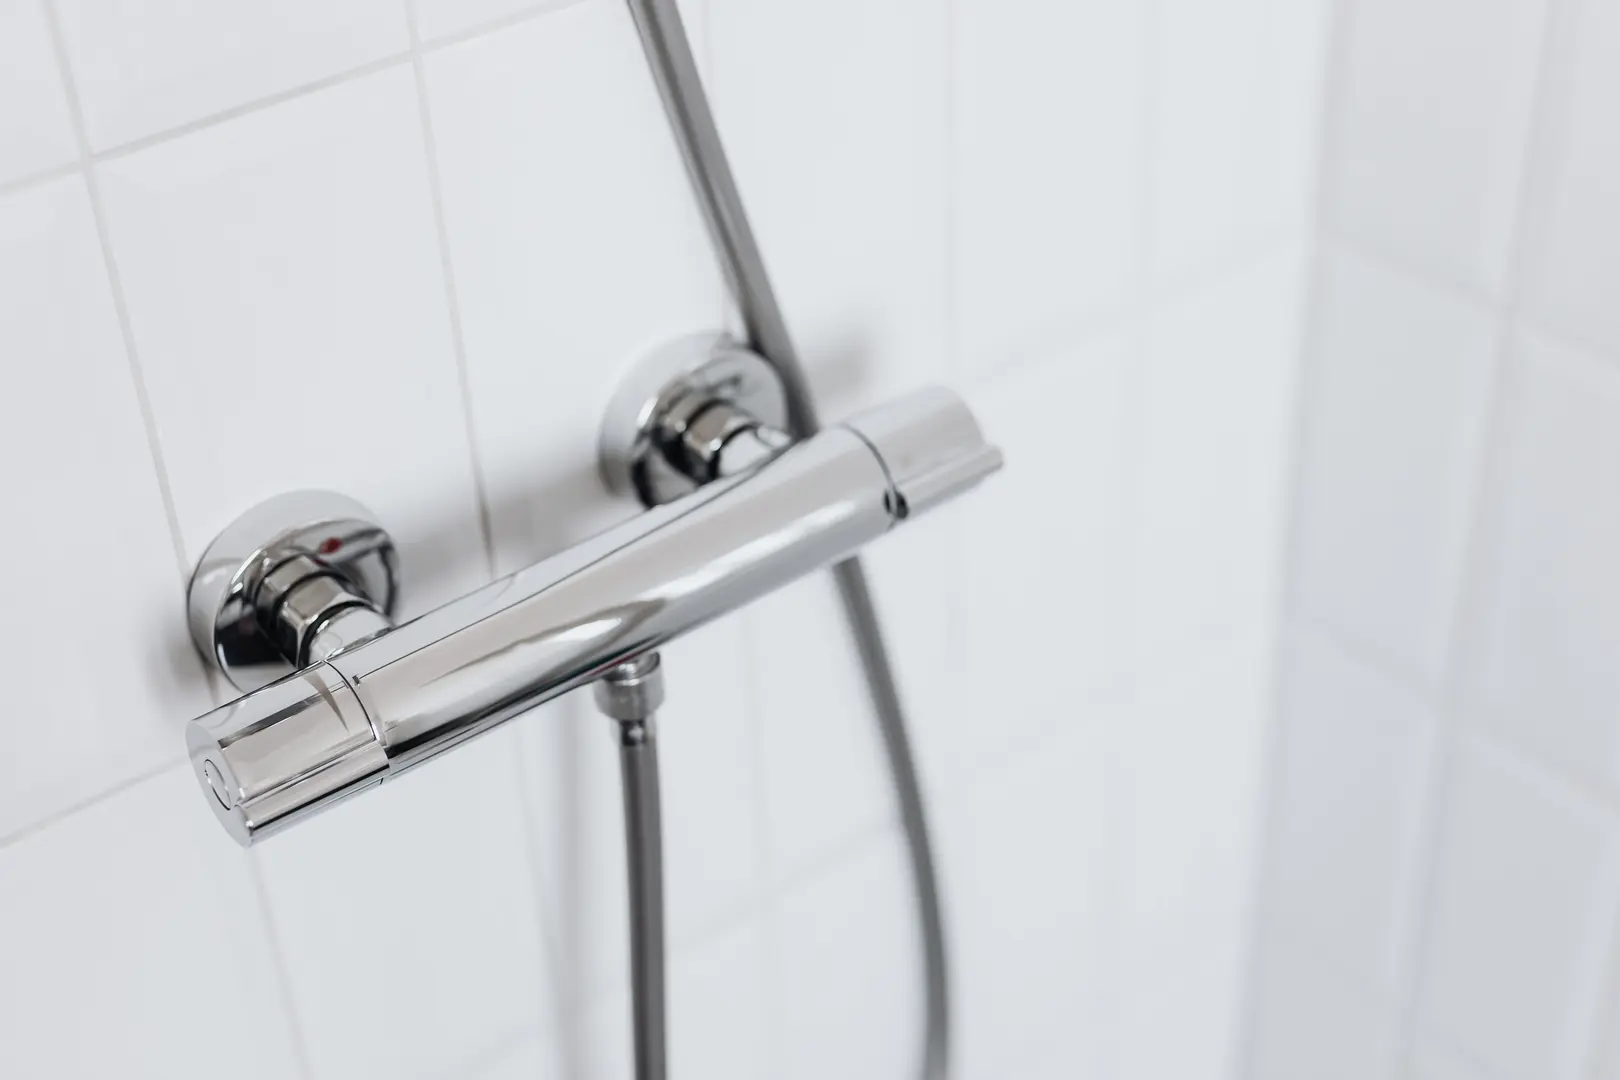
- Bar valve: A horizontal valve body remains visible on the wall. Its accessible position can make controls and connections straightforward to reach.
- Exposed valve: The working valve and controls are mounted visibly rather than hidden within the wall. Designs may differ from the familiar bar format.
- Concealed valve: Most of the valve is installed behind the finished wall, leaving the control plate and handles visible. This creates a more integrated appearance but requires suitable space and access within the wall.
Appearance is only one part of the decision. Compatibility with the home’s plumbing system is essential. A valve that does not suit the existing hot and cold supplies may mix poorly or fail to hold the set temperature.
Before purchasing, check:
- The required hot and cold inlet arrangement
- The available water pressure and temperature
- The manufacturer’s plumbing compatibility information
- Whether the valve is exposed or requires a concealed wall space
- The intended shower outlet, such as a riser and fixed or adjustable head
- Whether the installation area allows future access for servicing
Do not assume that any thermostatic valve will work with any plumbing arrangement. Confirming compatibility before installation can prevent poor performance and avoid the cost of replacing an unsuitable valve.
Troubleshooting Common Thermostatic Shower Valve Issues
Two common practical complaints are that the valve does not mix hot and cold water correctly or that it initially reaches the desired temperature but fails to maintain it.
Possible causes include incompatible supply conditions, debris inside the valve, incorrect pipe connections or a worn thermostatic cartridge. Begin by checking that the hot and cold supplies are available, connected to the correct inlets and suitable for the valve. Installation instructions may also specify checks particular to that model.
The thermostatic cartridge contains the components responsible for sensing and regulating temperature. Replacing a faulty cartridge can restore correct mixing and temperature control. However, replacement may require professional installation, and it is not a guaranteed solution in every case.
Some users find that a new cartridge resolves the problem immediately, while others continue to experience inconsistent temperatures. Persistent problems may indicate an issue elsewhere, such as unsuitable supply conditions, incorrect installation or another defective valve component. Repeatedly replacing cartridges without identifying the underlying cause may not provide a lasting repair.
Basic Steps for Installing a Thermostatic Shower
Installing a thermostatic shower involves more than fixing the valve to the wall. The hot and cold supplies must be planned, routed and flushed correctly before the valve is connected.
Always follow the instructions supplied with the shower. Valve layouts and fixing methods vary, and concealed installations can require more extensive work than exposed models. If the existing plumbing is unsuitable or you are uncertain about making secure connections, use a qualified professional.
First, Isolate the Supply at the Stopcock
Turn off the water at the main stopcock before cutting or disconnecting any pipework. Open relevant taps to release pressure and drain the remaining water from the pipes.
Check that the flow has stopped before beginning work. Do not rely only on the shower control or a nearby tap to isolate the installation area.
Choose the Hot and Cold Water Connection Points
Identify suitable points from which to take the hot and cold supplies. Existing tap supply pipes may provide practical connection locations, provided they are compatible with the valve and can be accessed safely.
For a shower cubicle, possible routes may come through an adjacent wall, below the floor or from an accessible service space. Choose a layout that allows both pipes to reach the shower position correctly without interfering with the enclosure or fittings.
Consider access as well as appearance. Connections hidden behind a finished surface can be harder to inspect or repair later.
Route the Hot and Cold Pipes to the Shower Position
Run both pipes towards the intended valve location. Follow the manufacturer’s instructions carefully, particularly the required positions of the hot and cold inlets. Reversing them can prevent the thermostatic control from working properly.
If plastic pipework is used, fit the appropriate pipe inserts where required. These support the pipe at connections and help it retain the correct shape.
Shut-off valves can also be fitted in accessible positions where appropriate. They allow the shower supplies to be isolated for servicing without necessarily shutting off the entire household supply.
Flush the Pipework Before Connecting the Valve
New or altered pipes can contain dust, fragments or other debris. Flush the hot and cold pipework before attaching the thermostatic valve so that this material does not enter the cartridge or obstruct the internal mechanism.
Allow enough water through to clear the lines, then isolate the supply again. Inspect the visible joints and connections for leakage before moving to the next stage.
Flushing is important even when the pipes appear clean. Small particles can affect the valve’s ability to mix water and maintain the selected temperature.
Measure and Trim the Pipes Precisely
Mark the required pipe projection according to the installation instructions. Measure carefully before cutting, as pipes that are too long or too short can prevent the valve from sitting correctly.
Cut the pipes cleanly and prepare the ends for the specified fittings. The finished arrangement should allow the valve and its covers to sit flush and evenly against the wall. Check the spacing and depth before making irreversible cuts.
Drill the Mounting Holes and Check Alignment
Mark the mounting-hole positions with the valve or its fixing template correctly aligned. Confirm that the marks are level and correspond with the pipe inlets.
For tiled surfaces, use a suitable diamond drill bit for the required holes. Work carefully to avoid damaging the finished wall and check for concealed pipes or services before drilling.
Test the alignment again after drilling. The valve should meet both inlets without being forced or twisted into position.
Install the Compression Olives for a Watertight Joint
Where compression connections are specified, place the nuts and olives onto the prepared pipes in the correct order. The olive compresses around the pipe as the joint is tightened, creating a watertight seal at the valve inlet.
Fit the connections squarely and secure them in accordance with the valve instructions. Misaligned fittings may not seal properly and can place strain on the valve body.
Avoid using unsuitable sealing materials or connection methods. The supplied instructions should identify how each inlet is intended to be assembled.
Secure and Align the Thermostatic Valve
Position the valve over the hot and cold inlets, ensuring they correspond with the correct sides. Tighten the inlet connections and attach the valve securely to the wall using the specified fixings.
Check that the valve is level and does not move when the controls are operated. Restore the water supply gradually, then inspect every joint for leaks. Test both flow and temperature control before fitting any covers that would restrict access.
If the valve does not mix correctly, turn off the supply and verify the connections rather than assuming the unit will correct itself.
Complete the Shower Riser and Head Installation
Fit the riser pipe and shower head according to the selected shower design. Measure and cut the riser to the required length where the model allows or requires trimming.
Align the riser with the valve and secure its wall brackets firmly. Attach the shower head and any hose or handset supplied with the system.
Finally, restore the water supply and test the complete installation. Inspect the valve, riser and head connections for leaks, and make sure the thermostatic control reaches and maintains the selected temperature. A correctly chosen and installed system should deliver stable, comfortably mixed water without repeated manual adjustment.