How to Turn a Bathroom into a Wet Room: Planning and Installation Guide
Converting a conventional bathroom into a wet room replaces the enclosed bath or shower area with an open, fully drainable space. The result can feel larger, look more contemporary, and improve accessibility. However, successful installation depends on careful drainage, floor preparation, waterproofing, and water control.
If you are researching how to turn a bathroom into a wet room, begin with the room’s structure rather than its finishes. Tiles and fittings shape the appearance, but the floor gradient and waterproof barrier determine whether the room works reliably.
Why Choose a Wet Room?
A wet room removes much of the visual and physical separation between the shower and the rest of the bathroom. Instead of stepping into a bath or raised shower tray, the user showers on a floor designed to direct water into a drain.
The main advantages include:
- A spacious, open-plan appearance
- Easier access for people with limited mobility
- Fewer enclosures, edges, and niches to clean
- Greater freedom when choosing tiles and fittings
- A potentially stronger appeal to future buyers
- A showering area that can be adapted to the room
A conversion can be particularly useful when a bathtub is rarely used or takes up too much space. Nevertheless, removing the only bath may not suit every household or property. Consider how you use the room now, who may use it in the future, and whether the proposed floor can be properly prepared and drained.
Create a Stylish, Open-Plan Look
One of the most noticeable benefits of a wet room is its clean, uninterrupted design. Removing a bulky bathtub, raised shower base, or full enclosure can make the room feel less confined. Continuous floor and wall finishes also help create a coordinated appearance.
Wet rooms provide considerable design flexibility. Depending on the space, you can choose:
- A completely open shower zone
- A simple glass screen for partial splash control
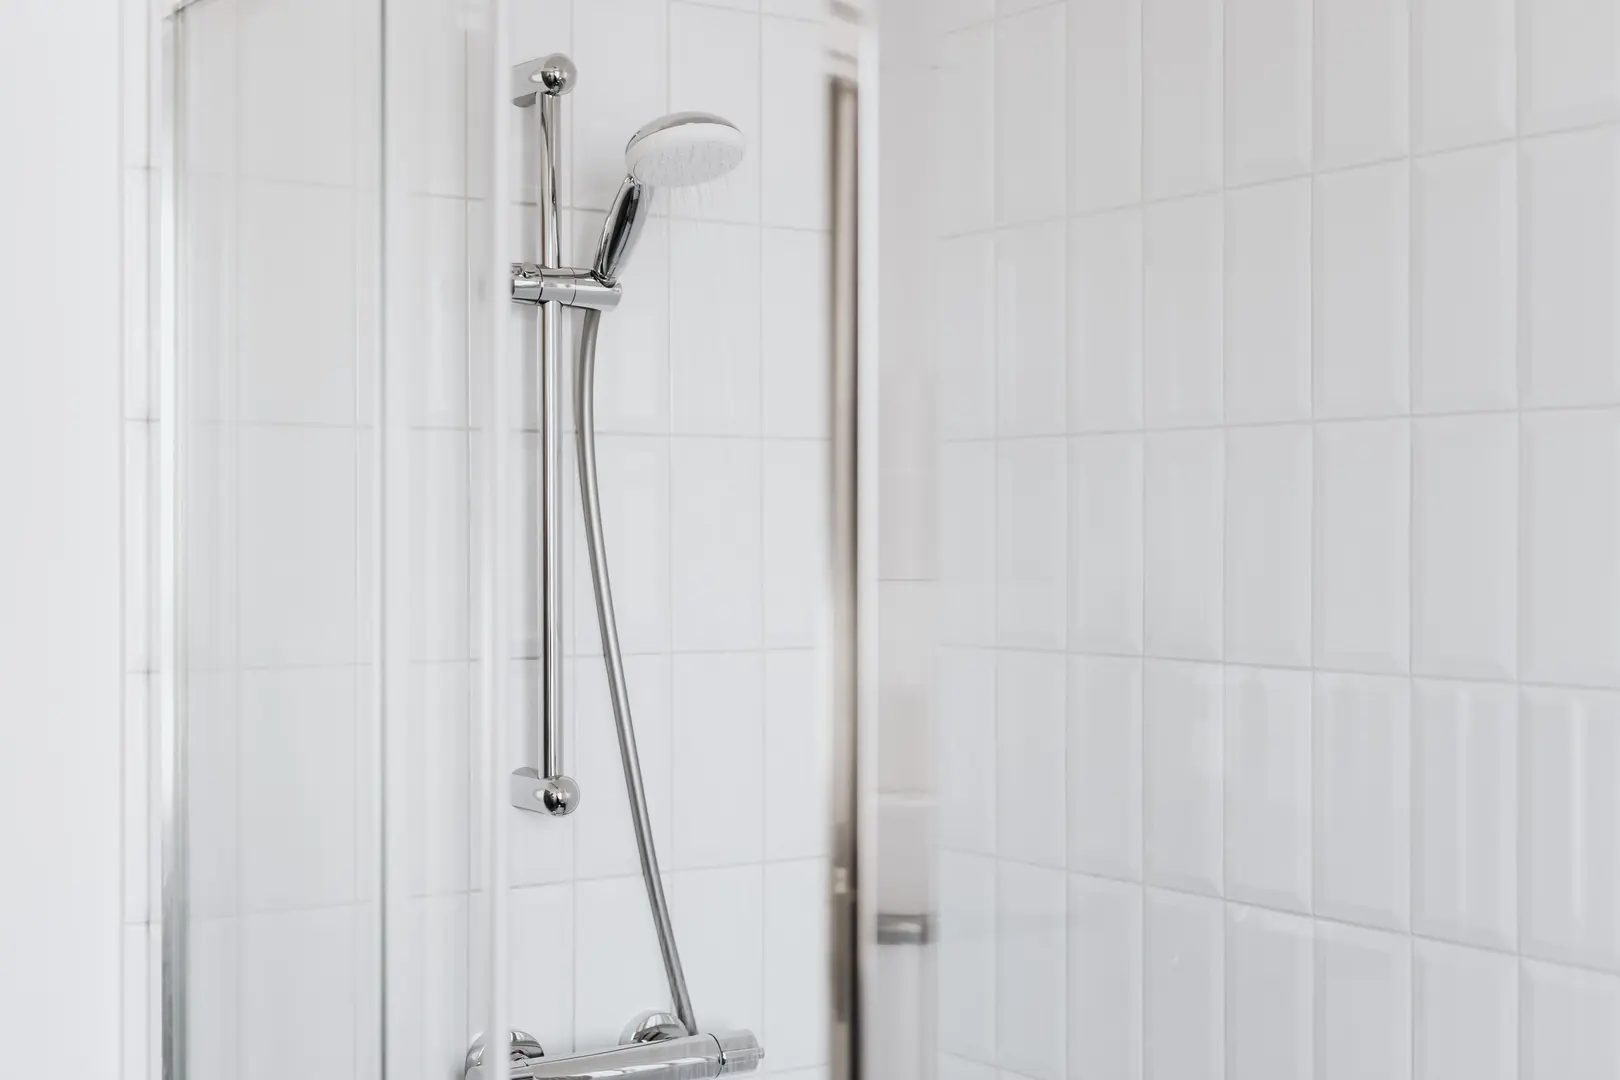
- Wall-mounted or ceiling-mounted shower fittings
- Coordinated tiles across the shower and surrounding walls
- Contrasting tiles to define the shower area visually
- Recessed storage where it can be waterproofed correctly
The humid environment can also suit bathroom plants that thrive in warm, moist conditions. Plants can soften hard tiled surfaces and introduce natural colour, although their placement should not obstruct access or drainage.
The showering experience itself may feel more open and comfortable because the user is not surrounded by a narrow enclosure. A well-planned wet room lets the shower become part of the overall design rather than a separate cubicle placed in one corner.
Openness does not mean water control can be ignored. The shower position, drainage point, floor slope, and any screen must work together so that water remains within the intended wet area.
Make the Bathroom Easier for Everyone to Use
Wet rooms can be suitable for disabled users, older occupants, and people whose mobility may change. They can also work well for families with children because there is no bathtub side or high shower tray to step over.
For genuine level access, the entrance and shower area should not have a lip or threshold. A raised edge may contain water, but it can also create an accessibility barrier. This is especially important for wheelchair users and anyone who finds changes in floor level difficult to navigate.
The layout should provide enough usable space to enter, turn, and shower without being obstructed by the toilet, basin, screen, or door. There is no single ideal shower-area size for every wet room. The functional space depends on:
- Who will use the shower
- Whether mobility equipment or assistance is needed
- The showerhead’s spray pattern and position
- The location of the floor drain
- The placement of sanitaryware and storage
- Whether a screen is needed to limit splashing
In a compact bathroom, removing a bath may create more usable showering space. However, fitting too many fixtures into the open layout can undermine that benefit. Plan the clear floor area first, then position storage and accessories where they will not restrict movement.
Accessibility also depends on details beyond the absence of a tray. Controls should be reachable, the route into the shower should be clear, and the final floor must drain without relying on a raised barrier.
Enjoy a Cleaner, Less Complicated Layout
Traditional bathrooms often contain shower-door tracks, bath edges, enclosure seals, and narrow gaps around a tray. These areas can collect residue and may be awkward to reach. A wet room usually has fewer of these cleaning niches.
A simple layout supports easier routine care. Water and loose debris can be directed toward the floor drain, while tiled surfaces can be wiped down without working around a large enclosure. Wall-mounted fittings may also preserve a clearer floor area.
This does not make a wet room maintenance-free. Grout, drainage components, screens, and shower fittings still require attention. Hard-water scale can remain visible on tiles and glass, particularly where droplets are allowed to dry.
Where hard water is a recurring concern, a suitable water-softening solution may help reduce scale build-up and the cleaning associated with it. This should complement rather than replace regular cleaning and appropriate bathroom ventilation.
Tiling all relevant surfaces and including a properly fitted floor drain can simplify cleanup. That benefit depends on sound installation: poorly laid tiles, ineffective drainage, or gaps in waterproofing can make the room harder—not easier—to maintain.
Could Increase Your Property’s Appeal and Value
A well-designed wet room may appeal to buyers looking for a modern finish, an accessible bathroom, or an open showering experience. It can also present a home as thoughtfully updated, particularly when the workmanship and materials appear coordinated and durable.
This appeal may contribute to the property’s value, but it should not be treated as guaranteed. Buyer preferences differ. Some will value level access and a spacious shower, while others will prioritise having a bathtub.
The broader layout of the home matters as well. Removing a little-used bath may be an attractive improvement for one household but a drawback for a buyer who regularly bathes children or prefers baths. When planning the conversion, balance current convenience with the likely expectations of future occupants.
Installation quality is especially important. A polished appearance cannot compensate for poor drainage or unreliable waterproofing. A wet room is most likely to enhance a property when it looks attractive and functions without leakage, pooling, or uncontrolled splashing.
Potential Drawbacks to Weigh Up
Before converting the bathroom, consider the practical disadvantages alongside the design benefits.
- Creating the gradient can be difficult. The floor must slope toward the drain while still feeling consistent underfoot. This may require floor preparation or a purpose-made tray surface.
- Water can splash beyond the shower zone. An open layout needs careful showerhead placement and, where appropriate, a glass screen.
- The floor may feel cold. Without heating, a large tiled floor can be uncomfortable in a cool room.
- Removing the bath may limit buyer appeal. Some households prefer or need a bathtub, especially if the wet room would replace the property’s only bath.
- Installation errors can be disruptive. An ineffective slope can leave water in unwanted areas, while failed waterproofing can allow moisture to damage surrounding materials.
The size of the room also affects performance. A very open design may be visually appealing, but the spray must still be controlled. In a smaller bathroom, the basin, toilet, towels, and doorway may all sit close to the shower area.
These drawbacks do not necessarily rule out a wet room. They show why planning the drainage and layout before choosing decorative finishes is essential.
Plan and Construct the Wet Room
Turning a bathroom into a wet room requires a sequence of connected tasks. The drain position affects the floor slope, the slope affects the substrate, and the substrate affects the finished tile layout. Changing one element late in the project can interfere with the rest.
A typical construction plan includes:
- Remove the existing bath or shower. Clear the room sufficiently to inspect the underlying floor and identify where plumbing and drainage will run.
- Expose and assess the floorboards or existing floor. The base must be prepared to support the wet-room system and final finish. Unsuitable or damaged areas should not simply be covered.
- Choose the shower and drain positions. Plan these together so that water falls where the floor is designed to collect it.
- Fit the waste pipe and drain. The floor drain needs to connect correctly to the waste route before the finished surface is installed.
- Create the required gradient. Use a suitable subfloor arrangement or wet-room tray surface to direct water toward the drain.
- Install the waterproof barrier. Waterproof the floor and the relevant wall areas as a continuous system.
- Apply compatible finishes. Fit tiles or other suitable waterproof materials without compromising the drainage falls.
- Install the shower and remaining fixtures. Confirm that the showerhead directs water into the intended drainage area.
- Check the completed layout. Water should travel toward the drain rather than collect elsewhere or escape through the doorway.
The chosen materials must be appropriate for a continuously wet environment. Decorative tiles alone are not the waterproofing system; they form the visible finish over the prepared and protected surfaces.
Common Challenges and Solutions in Wet Room Designs
A common design mistake is treating the showerhead and floor drain as separate decisions. If the shower sprays water far from the drainage zone, the wet room can experience excessive splashing or flooding even when it has a drain.
For a ceiling-mounted showerhead, positioning it directly above the drain can improve water control. This allows much of the water to fall into the area where the floor gradient is intended to collect it.
That solution depends on accurate alignment. The drain, showerhead, and sloped floor must be planned together. Simply adding a drain somewhere in the room does not ensure effective drainage.
Other practical measures include:
- Keep the shower spray away from the doorway.
- Avoid placing towels or moisture-sensitive items in the direct splash zone.
- Use a simple glass screen if the room is too compact for a completely open shower.
- Make sure the floor slope continues toward the drain around the edges of the shower area.
- Do not allow tile placement to flatten or interrupt the intended gradient.
The aim is not to stop every drop from leaving the shower footprint. It is to ensure that the room manages water predictably and directs it back to the drain.
Create a Reliable Waterproof Barrier
Waterproofing is the most important protective element in a wet room. Because the shower is not contained by a conventional tray and enclosure, surrounding surfaces must prevent water from reaching vulnerable parts of the building.
The barrier should be continuous across the floor and through the necessary wall areas. Particular attention is required where surfaces meet and where plumbing or drainage components pass through the waterproof layer. These transitions cannot be treated as minor finishing details.
A reliable system reduces the risk of leaks and resulting water damage. Tiles and grout should not be expected to provide the entire barrier by themselves. The waterproof layer belongs beneath the visible finish and must integrate correctly with the drain.
Before tiling, confirm that the waterproofing has not been punctured, left incomplete, or disconnected around the drainage outlet. Once covered, defects become much harder to identify and correct.
Build a Properly Sloped Floor
The wet-room floor needs a stable surface that guides water to the drain. Depending on the existing construction and design, this may involve preparing a suitable subfloor or installing a formed wet-room tray surface.
The finished slope must work across the whole shower area. If the gradient is too limited or interrupted, water may pool. If it changes unexpectedly, water may travel toward sanitaryware or the room entrance instead of the drain.
Floor preparation should therefore account for:
- The final position of the drain
- The thickness of the waterproofing and tiles
- Transitions between the shower area and the rest of the room
- The need for level access without a threshold
- The planned direction of water flow
The visible tile surface must preserve the underlying fall. Careful substrate work is ineffective if the final adhesive and tile installation create flat spots or raised edges.
Finish the Room with Coordinated Tiling
Floor-to-ceiling tiling can give a wet room a complete, unified appearance while providing practical surfaces throughout the splash zone. It also offers broad design freedom, from subtle single-colour schemes to contrasting shower areas.
Possible approaches include using one tile style throughout for visual continuity or changing colour and pattern to identify the shower zone. The floor and wall tiles do not need to match exactly, but their proportions and colours should feel coordinated.
Tile selection should also reflect the floor geometry. A design that can follow the slope cleanly will make it easier to maintain the intended route to the drain. The drain itself can be treated as part of the layout rather than an afterthought.
When all relevant surfaces are tiled and a floor drain is properly integrated, cleaning can be straightforward: surfaces can be wiped or rinsed, and water can move toward the outlet. However, this simplicity depends on correct installation. Tiles must not conceal an inadequate gradient or substitute for the waterproof barrier underneath.
A successful wet room combines appearance with water management. Plan the drain, showerhead, floor slope, waterproofing, and tiling as one system, and the finished bathroom can be open, accessible, and easier to maintain.