Under-Stairs Bathroom Ideas for a Practical, Private Cloakroom
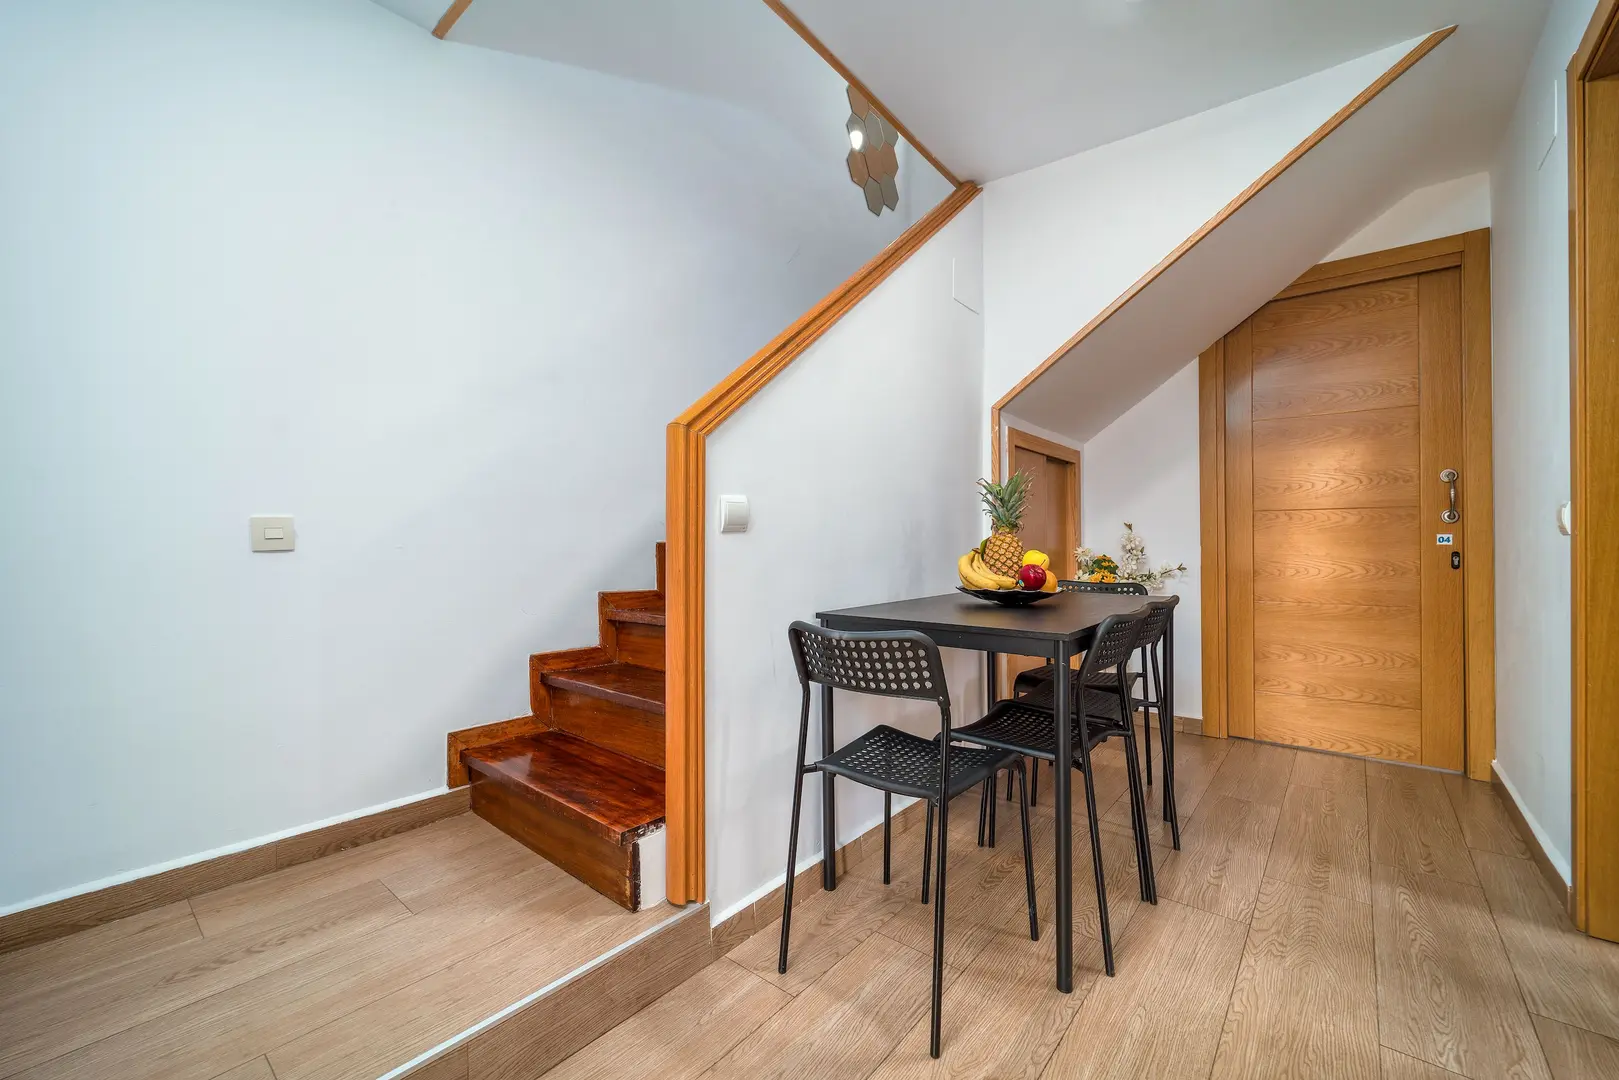
The space beneath a staircase can become far more useful than a cupboard or neglected void. With thoughtful planning, it can accommodate a practical downstairs cloakroom that is convenient for guests, visiting tradespeople, and busy households. It also helps preserve the privacy of the main bathroom upstairs.
The best under stairs bathroom ideas respond to the room’s unusual shape rather than fighting it. Compact fittings, effective ventilation, durable finishes, and carefully enclosed storage can turn even an awkward area into a comfortable, attractive cloakroom.
Make Every Inch of the Small Space Count
Begin by assessing the usable floor area and the changing ceiling height beneath the stairs. The sloping section may not be suitable for standing, but it can often accommodate a toilet cistern, low storage, or concealed pipework. Reserve the tallest part of the room for the basin and the area where users need the most headroom.
The positions of the doorway, toilet, and basin will determine whether the cloakroom feels comfortable or cramped. Check that the door does not collide with a fixture and that there is a clear route into the room. If the existing arrangement wastes space, review the door configuration as part of the overall design rather than trying to squeeze fittings around it.
A combined toilet and basin unit is one of the most practical choices for a very limited layout. Bringing both functions together reduces the amount of wall and floor area occupied by separate fittings. It can also give the room a more coordinated appearance, which is helpful when several small items would otherwise make the interior look cluttered.
A corner sink offers another possible solution. Positioning the basin in an unused corner may improve circulation and create more usable space around the toilet. However, moving or adding a basin can require plumbing alterations, so establish whether the proposed position is practical before committing to the layout.
When comparing arrangements, consider how the room will work in everyday use:
- Keep the main standing area beneath the highest part of the ceiling.
- Use the low, sloping zone for the toilet, storage, or boxed-in services where appropriate.
- Avoid fittings that project unnecessarily into the walkway.
- Leave access to any plumbing that may need inspection or maintenance.
- Plan the location of toilet-roll holders, hand towels, and other accessories before decorating.
A compact room does not have to feel improvised. A simple plan with a few appropriately sized elements will usually work better than filling every wall with fixtures and accessories.
Choose a Toilet with an Integrated Basin
A toilet with an integrated basin places the hand-washing bowl directly above the cistern. Because the two fixtures occupy a shared footprint, the unit can free valuable space in an under-stairs bathroom.
This design is particularly useful where there is no comfortable location for a separate wall-mounted or pedestal basin. It keeps the essential functions together and leaves more of the floor clear for movement. In a narrow cloakroom, removing even one projecting fixture can make the layout feel less obstructed.
An integrated unit may also suit the visual simplicity required in a small room. Instead of fitting a toilet in one area and squeezing a tiny basin onto another wall, the combined design creates one focused installation. The surrounding wall can then be used for a mirror, a hand-towel holder, or closed storage.
Before choosing a unit, look at how it will sit beneath the staircase. Make sure the basin remains convenient to use and is not pushed so far beneath the slope that access becomes uncomfortable. Its position must work for both seated and standing use.
The plumbing requirements should also be considered at the planning stage. Although an integrated unit saves physical space, it still needs suitable connections and enough access for future maintenance. Ask the installer how pipes will be routed and whether a removable panel or another access point should be included in adjacent joinery.
Open Up the Room with Wall-Mounted Fixtures
Wall-mounted fixtures help expose more of the floor, which can make a compact bathroom appear more spacious. A wall-hung toilet, floating basin, or wall-fixed vanity avoids the visually heavy effect created by multiple fittings that extend all the way to the floor.
The practical benefit is especially noticeable in an under-stairs cloakroom, where every visible surface affects the sense of space. A clearer floor creates longer sightlines and makes the layout look less crowded. It can also simplify routine floor cleaning around the fixtures.
Wall-mounted choices can include:
- A wall-hung toilet with the cistern concealed behind a neat enclosure
- A small floating basin without a pedestal
- A compact wall-fixed vanity with enclosed storage
- Wall-mounted soap dispensers and toothbrush holders
- Hooks or rails for hand towels
Do not assume that every fixture must float. The goal is to create a balanced, uncluttered layout, not to use wall-hung products everywhere. A floor-standing combined toilet and basin unit may be more suitable in one room, while a floating corner basin may work better in another.
Concealed components should remain accessible. If a cistern or pipework is hidden behind a box-out, include a discreet way to reach it. A well-planned removable panel can preserve the clean appearance without permanently sealing essential services behind the wall.
Plan Effective Ventilation
Ventilation is essential in a small bathroom. Even a cloakroom without a shower needs a way to deal with moisture and stale air, particularly when the room is enclosed beneath a staircase.
A window can provide natural ventilation where the room’s position and construction allow it. Many under-stairs conversions, however, are located in the centre of the home or against a wall where a practical window is unavailable. In that situation, include an extractor fan in the design.
Plan ventilation before walls and ceilings are finished. The fan needs a suitable location, electrical provision, and an appropriate route for extracted air. Leaving this decision until the decorating stage can lead to visible ducting or awkward alterations to newly completed surfaces.
Ventilation should be considered alongside the door and heating arrangements. The objective is to prevent the cloakroom from feeling stuffy while keeping it private and comfortable. Your installer can advise on a system appropriate to the room and the applicable building requirements.
Use Colour and Finishes to Enhance the Room
Light colours can make an under-stairs bathroom feel more open. Soft white, pale grey, warm cream, or another restrained shade will help the walls and sloping ceiling feel less visually imposing. Using a similar colour across several surfaces can also reduce the number of abrupt transitions in an already irregular room.
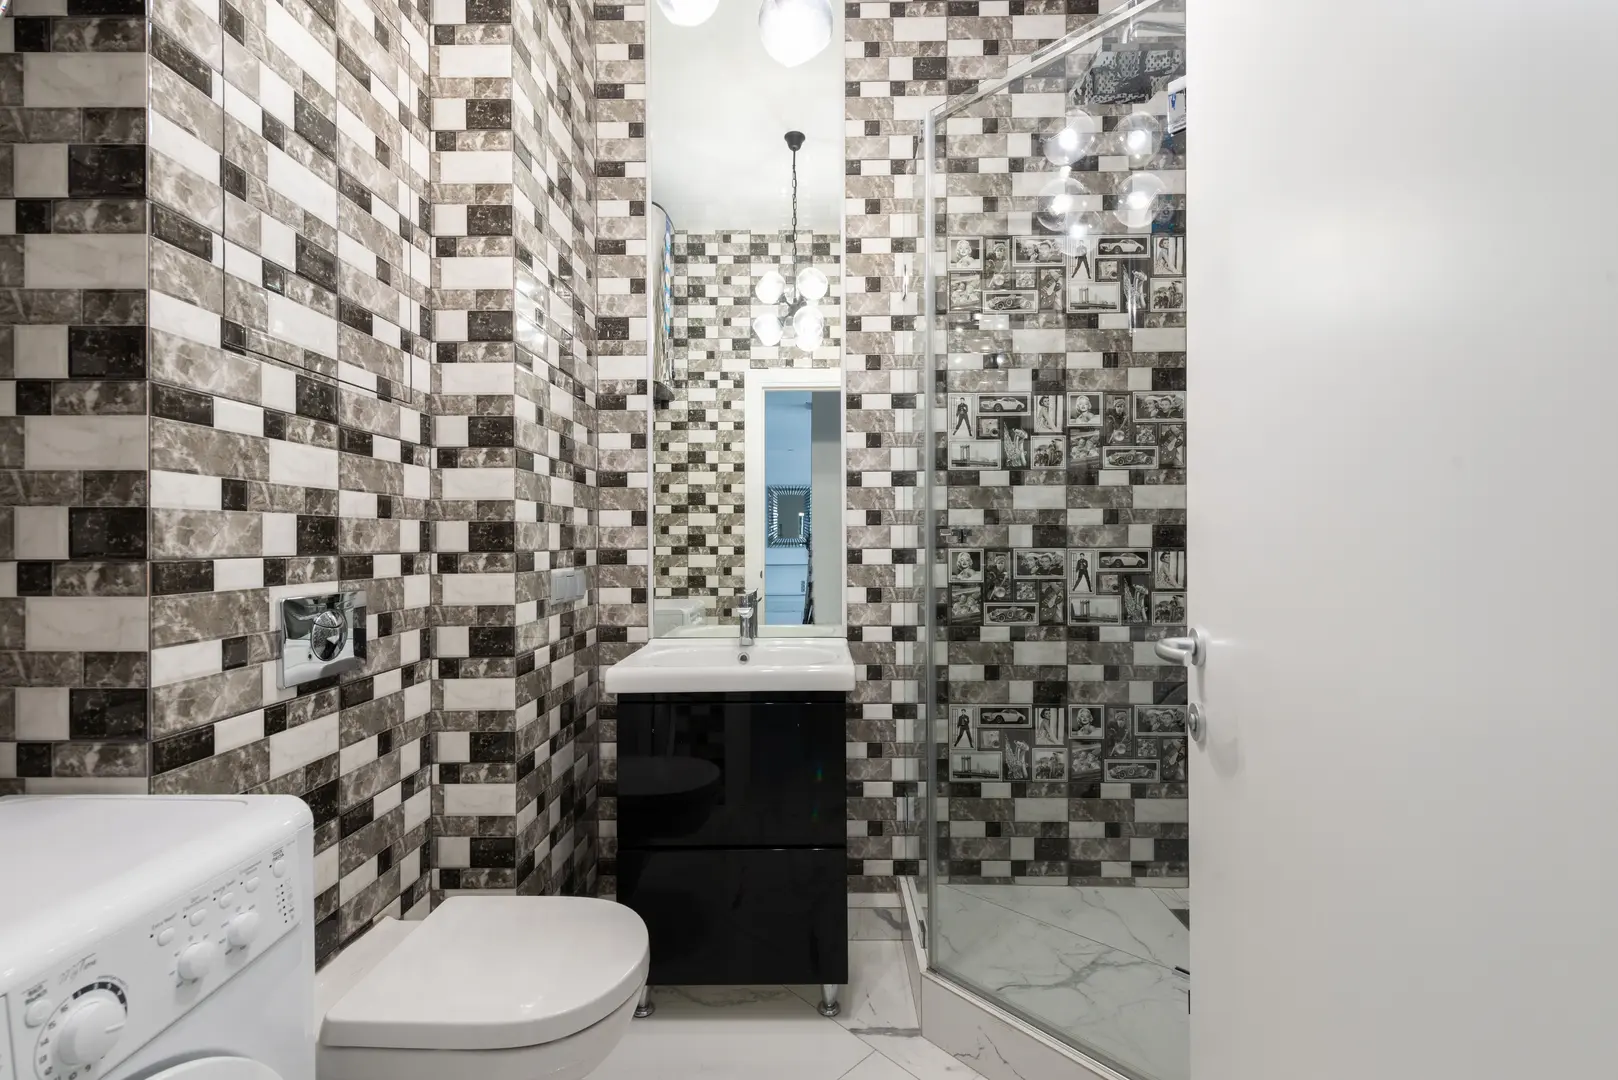
That does not mean the cloakroom must be plain. Tiles are a practical way to add colour, texture, or pattern without overwhelming the space. A tiled splashback behind the basin can provide a focal point, while a more continuous finish may create a cleaner, calmer look.
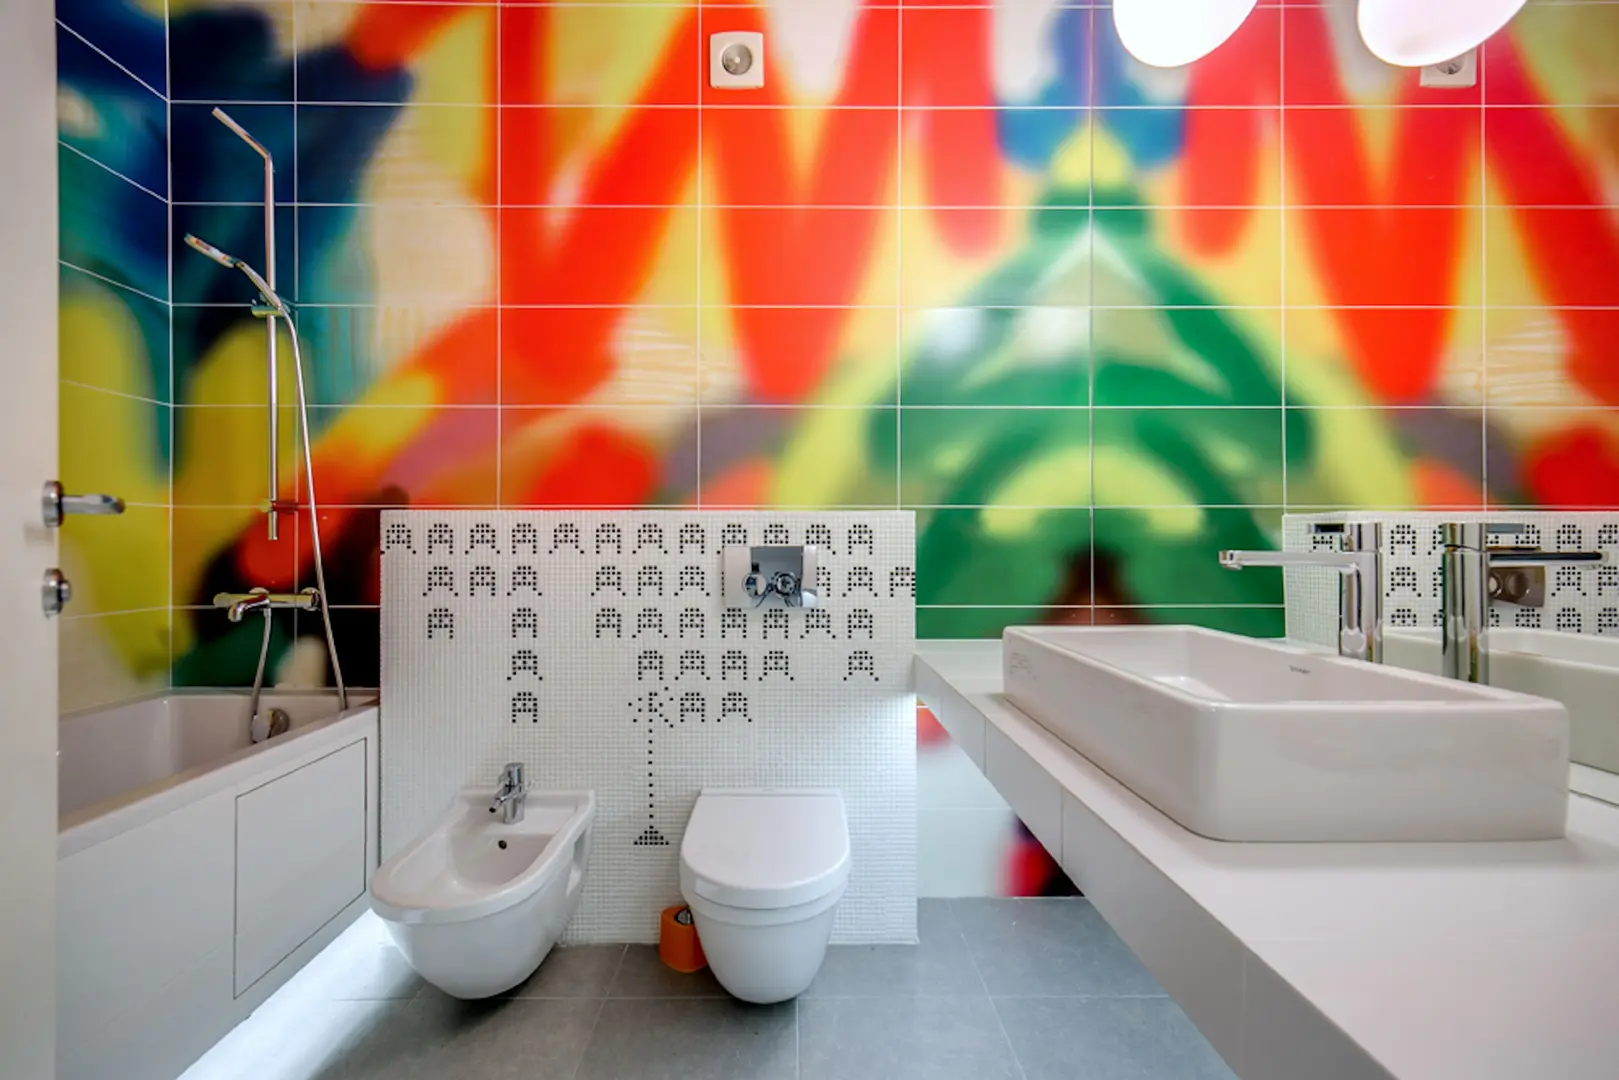
Decorative wallpaper on the upper half of the walls is another relatively simple way to add personality. It can work particularly well above panelling, tiling, or another durable lower-wall finish. A small cloakroom gives you an opportunity to use a more expressive pattern, but it is still worth relating the scale of the design to the room’s limited dimensions.
To keep the result cohesive:
- Use one light base colour across the main walls or ceiling.
- Limit stronger patterns to a defined area.
- Repeat one accent colour in towels, tiles, or small accessories.
- Avoid combining too many competing finishes.
- Choose surfaces that are appropriate for bathroom use and easy to maintain.
Mirrors can also support a brighter, more open appearance. Positioning one above the basin is practical and adds a reflective surface without taking up floor area. Keep its size and shape in proportion to the wall and the angle of the staircase.
Carpet in Bathrooms: Practicality and Alternatives
Bathroom carpet is generally viewed as a dated and impractical finish. In a compact cloakroom, the flooring is close to both the toilet and basin, so a surface that is straightforward to clean is a more sensible choice.
Carpet may feel warm underfoot, but that limited advantage is usually outweighed by its maintenance demands and unfashionable appearance. It can also make a small room look visually heavier, particularly when combined with dark walls or bulky fittings.
Instead, select a hard-wearing bathroom floor that suits the rest of the design. Tiles and other bathroom-appropriate hard finishes provide a cleaner visual foundation and can be coordinated with the wall colours. Follow the manufacturer’s care and installation guidance for whichever finish you choose.
The floor is a relatively small surface in an under-stairs cloakroom, so it can add controlled contrast. A patterned floor may suit plain walls, while a simple neutral finish can balance decorative wallpaper or statement tiles.
Build In Smart Storage for Bathroom Essentials
Even a guest cloakroom needs storage for toilet rolls, hand towels, soap, and cleaning supplies. If these items are not assigned a place during planning, they tend to end up on the basin, cistern, or floor, making the room feel smaller.
Wall-fixed holders are useful because they keep essentials accessible without adding freestanding clutter. A toilet-roll holder, hand-towel ring, soap dispenser, or small shelf can fit into otherwise unused wall space. Position each accessory where it is convenient rather than grouping everything on the only clear wall.
Enclosed storage is usually preferable for less attractive items. A shallow cupboard, compact vanity, or fitted door beneath the stair slope can hide spare supplies while maintaining a calm appearance. It also prevents the under-stairs void from becoming a collection of exposed shelves filled with mismatched products.
Look for storage opportunities in areas that cannot be used comfortably for standing. The lowest part of the slope may accommodate a cupboard, while a narrow recess beside a boxed-in cistern may work for a vertical cabinet. Bespoke joinery can follow the shape of the staircase and make better use of an awkward void than a standard freestanding unit.
Avoid compromising access to pipework. Storage placed around plumbing should include removable shelves, access panels, or doors where required. This allows the joinery to look finished without creating problems when maintenance is needed.
Creative Storage Solutions for Under-Stairs Bathrooms
Open shelving in an irregular void can look unfinished, especially when the shelves expose pipes, cleaning products, and spare rolls. If the existing under-stairs area feels unattractive, closing it off is often more effective than adding further decorative objects.
A neat box-out can conceal pipework, uneven surfaces, and unusable corners. It may also create a ledge for a small decorative item, provided the ledge does not become a cluttered storage spot. Keep the box-out as compact as practical so that it does not take away valuable usable space.
Closed cupboards are another effective option. Fitted doors can follow the slope of the stairs, turning an awkward shape into intentional joinery. Matching the cupboard fronts to the wall colour helps them recede visually, while a contrasting finish can make the storage a deliberate design feature.
Consider these approaches for difficult voids:
- Fit a low cupboard beneath the shallowest section of the staircase.
- Enclose pipes with a removable box-out or access panel.
- Use a vanity with doors instead of an open basin stand.
- Place a small shelf inside a cupboard rather than leaving toiletries exposed.
- Combine a concealed cistern enclosure with a discreet storage compartment.
- Use simple door fronts to unify several irregular sections.
If open shelving is necessary, keep it limited to a small, purposeful area for attractive or frequently used items. Most everyday bathroom supplies are easier to manage behind a door. The strongest solution usually combines enclosed storage with only one or two accessible wall-fixed accessories.
Check Whether Permissions and Building Approval Apply
Before beginning an under-stairs bathroom project, check the regulations that apply in your area. Requirements vary according to location, property type, and the work involved, so advice that applies to one home may not apply to another.
Contact the local council or relevant authority to establish whether planning permission is required. Even when planning permission is not needed, the work may still need to comply with building regulations. Plumbing, drainage, ventilation, electrical work, and structural alterations can all affect the approval process.
You may also need a building control certificate confirming that the completed work meets the applicable requirements. Establish who will arrange inspections and documentation before construction begins. Do not assume that a contractor will automatically handle every submission unless this is clearly included in the agreement.
It is sensible to confirm:
- Whether local planning restrictions affect the conversion
- Which elements require building control approval
- Whether the staircase or surrounding structure will be altered
- How ventilation, drainage, and electrical work will be assessed
- Who is responsible for applications, inspections, and the final certificate
Early checks can help the project proceed with a clear, compliant plan. Once the administrative and practical details are resolved, the space can become a convenient cloakroom that improves everyday function while keeping the household’s main bathroom private.