Walk-In Wet Room and Shower Enclosure Ideas
A well-designed wet room can turn an everyday shower into a spacious, luxurious retreat. By removing visual barriers, coordinating tiles and wall panels, and planning drainage carefully, even a compact bathroom can feel more open. The following walk in wet room and shower enclosure ideas balance appearance, accessibility, waterproofing, storage, and straightforward maintenance.
Why Choose a Wet Room?
A wet room places the shower at the centre of the bathroom design. Instead of containing water within a conventional shower tray and fully framed enclosure, the room uses waterproofed surfaces and carefully positioned screens to manage it.
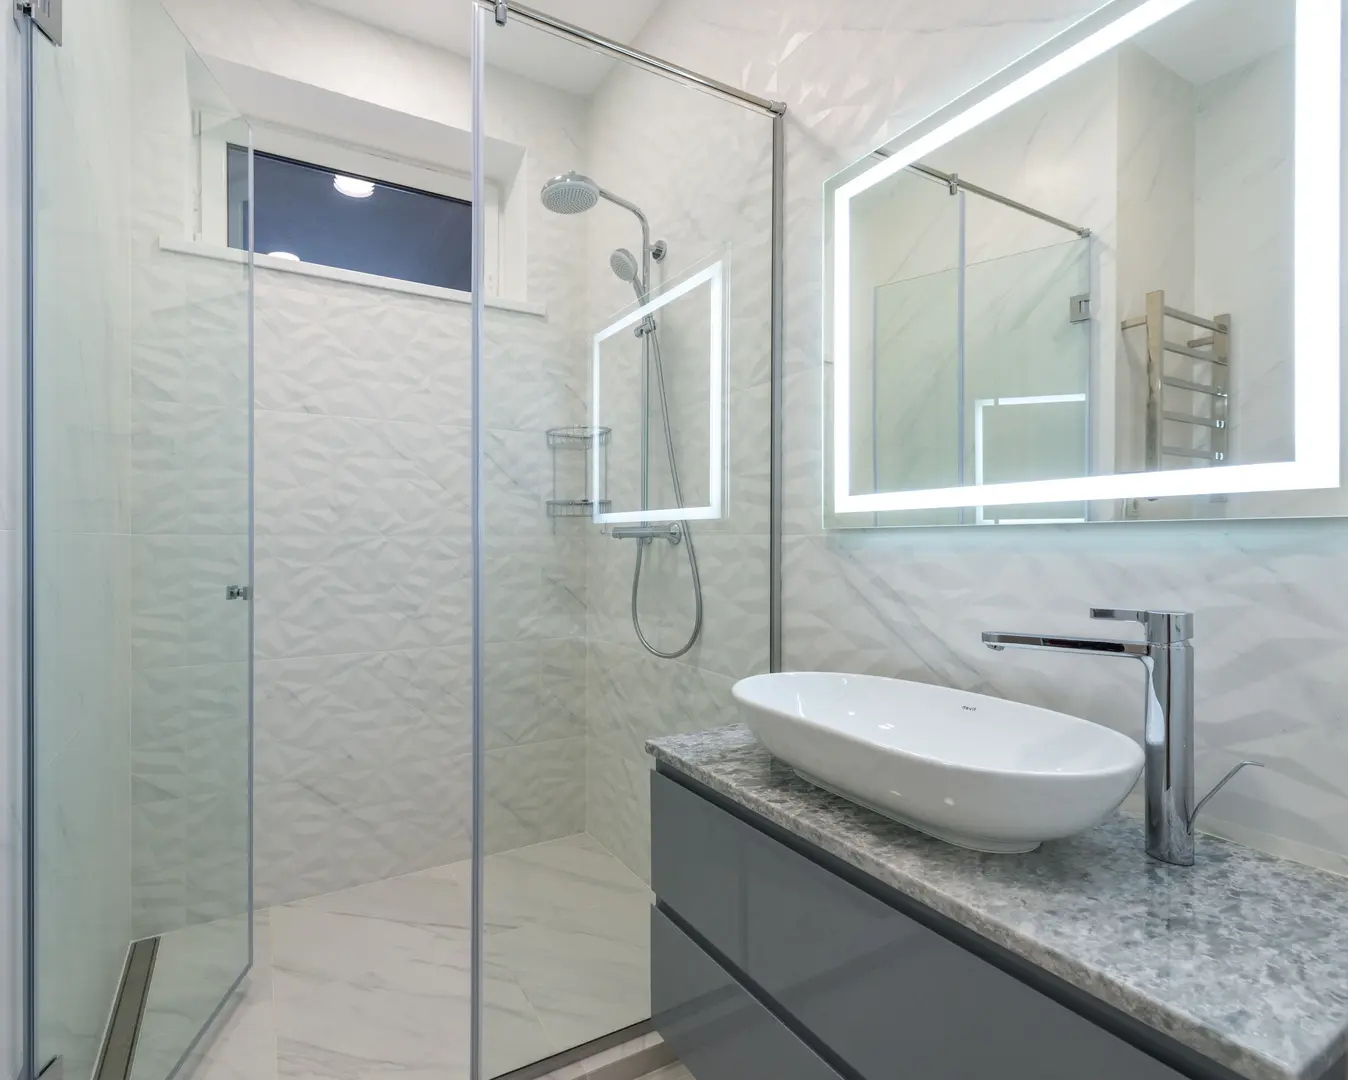
This approach provides considerable design freedom. Large-format tiles can create a calm, continuous finish, while patterned tiles can distinguish the shower area without closing it off. Wall panels offer another way to add colour, texture, or a streamlined appearance. Clear glass keeps the room visually open, whereas fluted, tinted, or partially frosted screens introduce privacy and character.
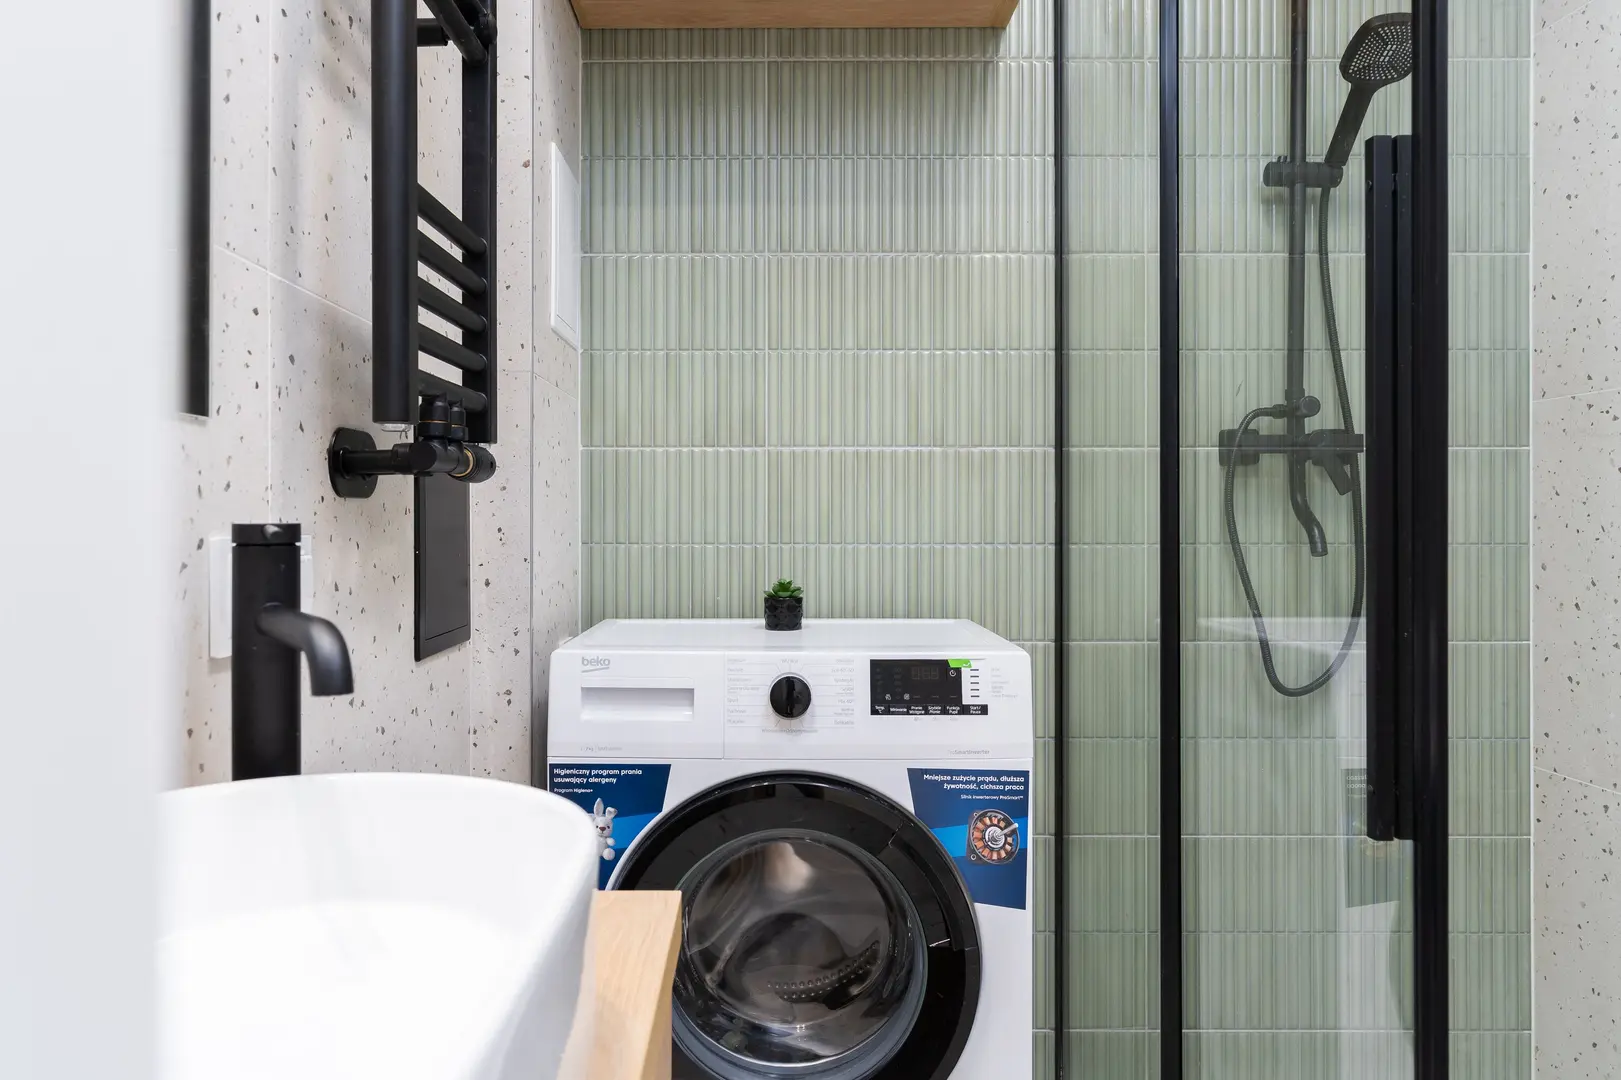
Wet rooms are particularly useful when bathroom space is limited. Removing a raised tray and bulky enclosure can make a small room appear larger and reduce obstacles around the shower. The available floor area can also be planned more efficiently because there is less need to leave room for an enclosure door.
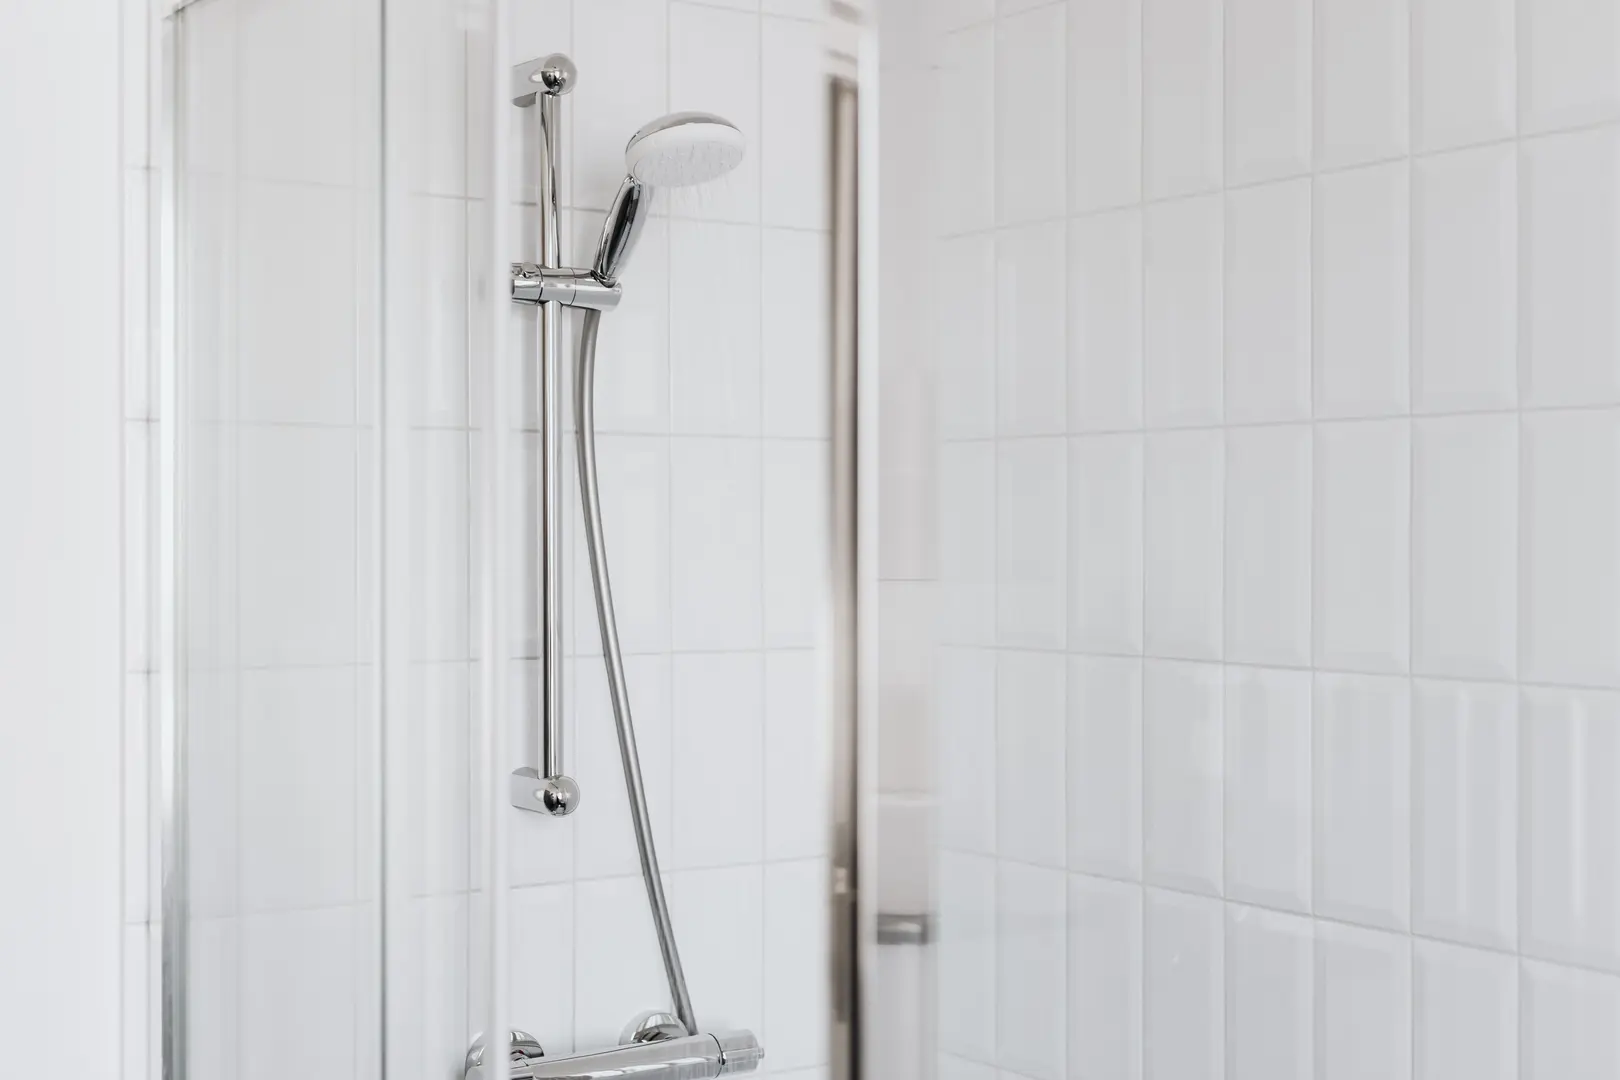
For people who mainly take showers rather than baths, a wet room directs more of the available space and budget towards the feature they use most. A generous shower head, practical hand shower, built-in storage, and attractive surface finishes can create a comfortable shower-focused retreat.
Planning for Accessible Showering
A continuous, flat surface makes movement through a wet room easier. Eliminating a raised shower tray can reduce barriers for anyone with limited mobility, although the floor must still be formed correctly to direct water towards the drain.
Accessibility should be considered from the beginning rather than added after the room is finished. Depending on the user’s needs, a wet room may incorporate:
- A securely installed shower seat
- Grab rails in practical positions
- A handheld shower attachment
- Easy-to-reach controls
- Slip-conscious flooring suitable for a wet environment
- Enough open space for comfortable movement
Foldable aids can make the bathroom more flexible. A folding shower seat, for example, can be lowered when required and moved out of the way for other users. Foldable rails may provide similar flexibility where space is limited.
Installation quality is critical. Shower seats, rails, and related hardware will be placed under load, so they must not be attached only to a weak surface finish. The underlying wall needs appropriate structural support, and all fixings should be suitable for the wall construction and wet environment. Poorly fastened seats can detach, damaging the wall and potentially causing injury. If there is any doubt about the supporting structure or waterproofing penetrations, use a qualified installer.
Making the Most of Available Space
An open wet-room layout can provide more space to turn, walk, and reach shower controls. In compact bathrooms, a single fixed screen may take up less usable room than an enclosure with hinged or sliding doors. Maintaining clear sightlines also helps the room feel less confined.
A simpler enclosure can create opportunities for additional storage. Consider recessed niches, wall-mounted cabinets, hooks, or shelving outside the main spray zone. Keeping storage off the floor preserves the open appearance and makes it easier to clean underneath. Products that need to stay dry should be positioned away from direct and deflected spray.
Openness does not mean that water control can be ignored. The shower head, screen, drainage, and floor gradient must work together. When planning the layout:
- Direct the main spray away from the doorway, toilet, and storage.
- Use a screen wide enough to interrupt normal splashing.
- Place the drain where water can reach it without crossing dry-use areas.
- Avoid putting vulnerable furniture immediately beside the screen edge.
- Account for water that may bounce from the user or tiled surfaces.
A larger screen may contain more spray, but it can also affect access and make a small room feel divided. The best design balances manoeuvring space with practical water protection.
Protecting the Room with Proper Waterproofing
Waterproofing is fundamental to a successful wet room. Tiles, grout, and attractive wall finishes are the visible layer, but the underlying waterproof system protects the building fabric from repeated exposure to water.
Correct waterproofing helps prevent moisture from reaching walls and floors, reducing conditions that can contribute to damp and mould. It can also add insulation benefits, supporting a more comfortable room. This approach works well with underfloor heating because the waterproofing, floor construction, and heating system can be planned as coordinated layers.
Ventilation is equally important. Warm, humid air should be exhausted outside rather than released into a ceiling space or another part of the home. Removing moisture helps control mildew and reduces the chance of long-term damage to surrounding materials. Some homeowners worry that outdoor venting will make the bathroom cold. A properly functioning vent arrangement, including an appropriate backdraught flap, can help limit unwanted cold air, while suitable additional heating may offset cooling when the fan is running. Any heater used in the room must be appropriate for its location and installed correctly.
The screen and enclosure edges also require careful sealing. Precisely applied silicone can stop water from passing through vulnerable joints and help protect the surrounding structure. However, an uneven bead or small gap may allow leakage. Surfaces should be properly prepared, and the enclosure manufacturer’s instructions should determine which edges are sealed. Sealing the wrong area can sometimes obstruct intended drainage paths.
Waterproofing is difficult to correct once tiles, panels, or flooring are in place. Professional design and installation are therefore sensible where the substrate, drainage, electrical heating, or wall penetrations are uncertain.
Simplifying Wet Room Cleaning
Wet rooms can be easier to maintain because they generally contain fewer frames, tracks, corners, and raised edges. With fewer recesses, there are fewer places for soap residue and dirt to collect.
Continuous floors and broad wall surfaces are straightforward to wipe down. A fixed glass screen is also simpler than a multi-part enclosure with door runners, although its edges and fittings still need regular attention. After showering, removing water from glass and nearby walls can help keep the space looking tidy.
Routine floor cleaning is uncomplicated: move loose items out of the way, clean the open surface, and mop towards the drainage area. Wall-hung storage and fixtures can make this process easier because they leave more of the floor accessible.
Easy cleaning does not eliminate the need for ventilation. Allowing surfaces to dry and running appropriate extraction remains important for controlling mildew, particularly around silicone joints, grout lines, and sheltered corners.
Is Underfloor Heating Suitable for a Wet Room?
Underfloor heating can be a practical addition to a wet room when it is selected and installed as part of the complete floor system. The waterproofing, heating components, surface finish, and drainage gradient must all be compatible.
A heated floor helps surface water dry more quickly after showering. That can reduce reliance on bath mats, which may otherwise stay damp or interrupt the room’s level appearance. It also makes a tiled floor feel more comfortable underfoot.
Heating may help address concerns about ventilation making the bathroom feel cooler. It should not replace an exhaust fan, however: heating and ventilation perform different roles. The fan removes humid air, while the heating supports comfort and drying. Installation should follow the heating and waterproofing system requirements, with electrical work completed by an appropriately qualified professional.
Can a Bath Work in a Wet Room?
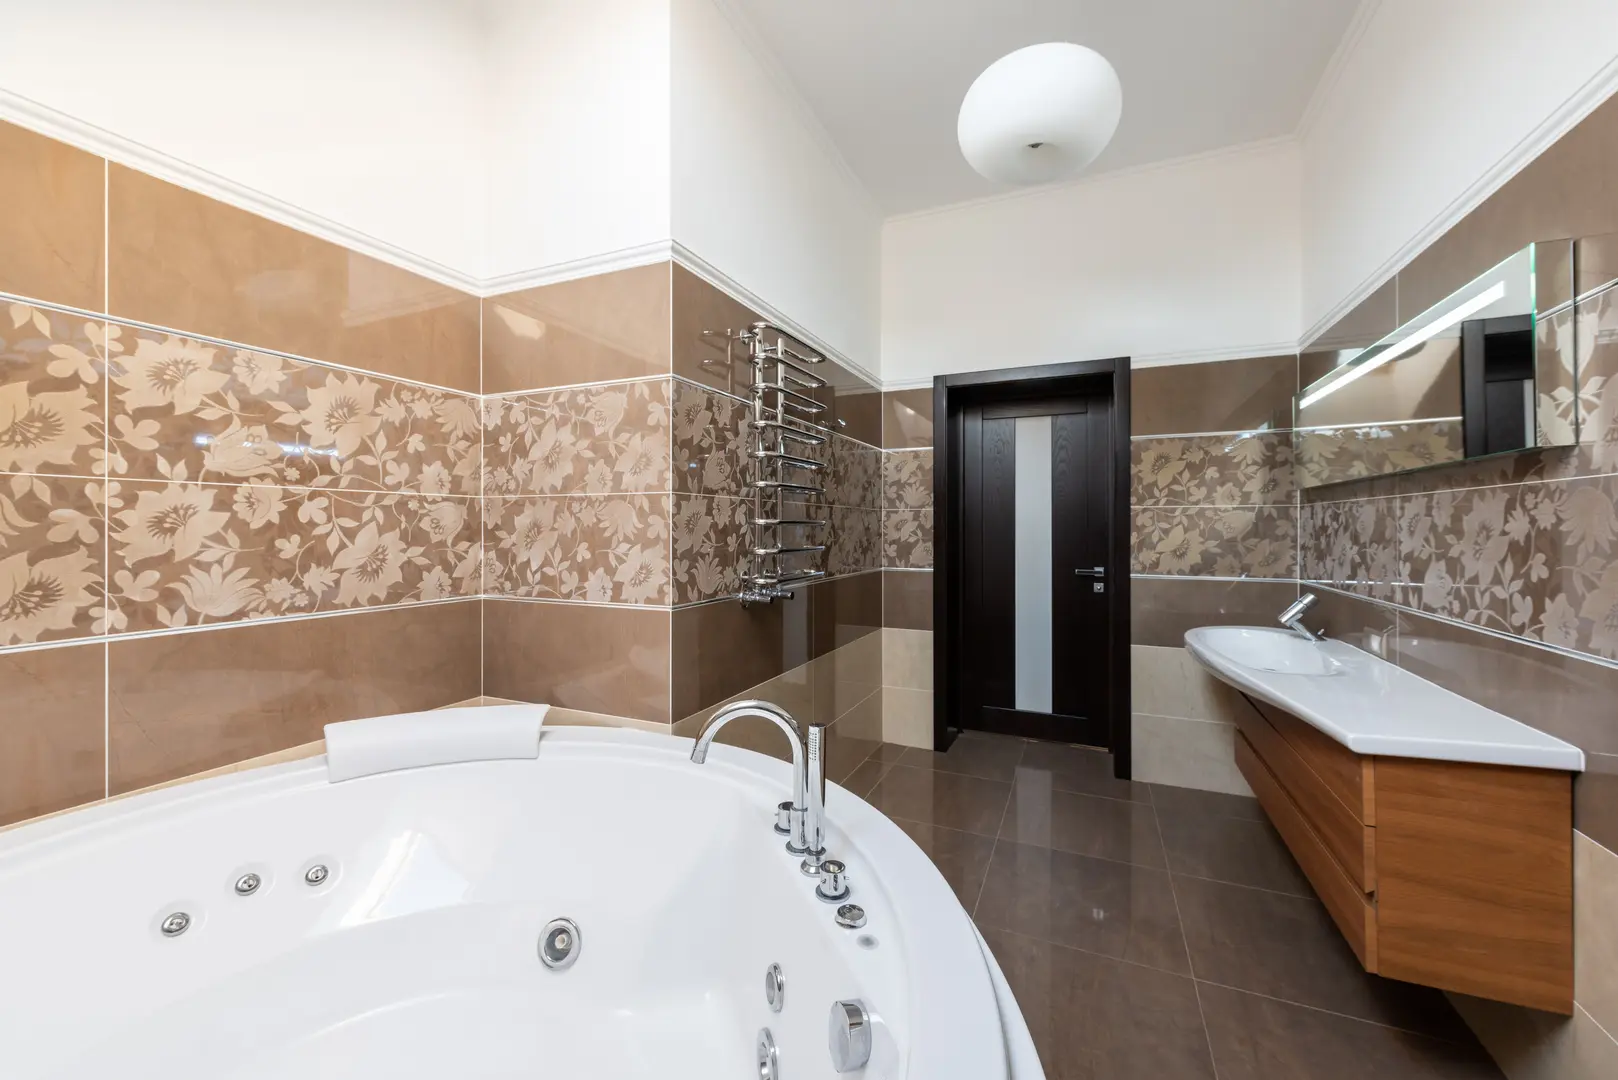
A bath can be included if the room has enough space for safe access, useful circulation, and effective splash management. The wet-room concept does not require the bath to be removed; it simply makes the waterproofed shower area a major feature.
Combining a bath with a walk-in shower makes the bathroom more versatile. One person may prefer a quick shower, while another may want to soak. A bath can also be useful in a household with young children.
The room should not feel crowded simply to accommodate both options. Consider the bath’s position in relation to the shower spray, screen, drain, and walking route. Storage and cleaning access around the bath also need to remain practical. In a very small room, prioritising a generous shower may provide a better everyday layout than forcing in an undersized or awkwardly positioned bath.
Are Wet Rooms Practical for Children?
Wet rooms can be a useful family-friendly option because the waterproofed layout is designed to cope with water across a broader area. Splashes that escape the immediate shower zone are generally easier to manage than they would be in a bathroom containing surfaces or furniture that were not planned for regular exposure.
The open floor also gives a parent or caregiver more room to assist a child. A handheld shower can add flexibility, and accessible storage keeps essential items close by.
That does not mean every part of the room should be treated as a splash zone. Towels, toilet rolls, electrical items, and moisture-sensitive furniture should remain protected. Screens, sensible shower positioning, and effective drainage still matter. As in any bathroom, children require appropriate supervision, particularly around wet floors, taps, and hot water.
Advantages of a Walk-In Shower
A walk-in shower offers many of the visual advantages of a wet room while allowing the shower zone to remain more clearly defined. It may use one or more fixed screens, a low-profile base, or a continuous tiled floor, depending on the bathroom construction.
Its main benefits include:
- An open, contemporary appearance
- Easier entry without a conventional hinged door
- More freedom to coordinate tiles, panels, glass, and fittings
- Fewer enclosure components to clean
- A layout that can be adapted for accessibility
- Better use of awkward or limited bathroom space
A walk-in shower can feel luxurious without being highly decorative. A simple glass panel, coordinated tiles, useful niche, and well-positioned lighting can create a calm retreat. Alternatively, contrasting tile patterns or distinctive wall panels can make the shower the room’s visual focus.
The practical result depends on planning. A walk-in entrance that is too exposed may allow water to reach the rest of the room, while an oversized screen can reduce access. Drainage and shower-head position should therefore be considered at the same time as the enclosure.
Maximising Creativity in the Shower
Many people find that showering gives them a brief pause from screens, conversations, and everyday demands. The repetitive sound of water and a familiar routine may provide space to think through a problem, organise ideas, or gain mental clarity.
A comfortable environment can support that experience. Calm colours, uncluttered storage, pleasant lighting, and controls that are easy to use reduce unnecessary distractions. A spacious walk-in design may also feel less confined than a small enclosed cubicle.
If ideas often occur in the shower, keep a suitable way to record them nearby after stepping out. The aim is not to turn the shower into a workspace, but to preserve the relaxed setting that may allow thoughts to develop naturally.
Choosing Screens for Wet Rooms and Walk-In Showers
The right screen helps contain spray without undermining the open appearance. Accurate sizing is essential: a screen that is too narrow may leave cabinets, towels, or other furniture exposed, while one that is too large can restrict the entrance or dominate the room.
Screens are available in many designs, including clear, frosted, fluted, framed, and minimally framed options. Fixed panels offer simplicity, while hinged return panels can provide extra splash protection and fold away when appropriate. The choice should reflect the shower position, available access, desired privacy, and overall decorating scheme.
Measure the actual installation area carefully rather than relying only on assumed wall dimensions. Floors and walls may not be perfectly level or square, especially in an older bathroom. During installation, channels, braces, and glass components must be secured exactly as directed. Incorrect measurements or poorly fixed components may result in damage, movement, or leaks. Heavy glass and uncertain wall structures are strong reasons to use an experienced installer.
For a glue-up enclosure, preparation is as important as the panels themselves. A typical planning sequence is to:
- Confirm that the wall surface is sound, clean, dry, and compatible with the enclosure system.
- Dry-position and check all panels before applying adhesive.
- Mark the panel arrangement and any required openings carefully.
- Use only the adhesive and fixing method specified by the manufacturer.
- Press and secure each component as directed, keeping joints properly aligned.
- Apply sealant to the required edges without leaving gaps.
- Allow adhesive and silicone to cure for the stated period before exposing them to water.
Homeowners renovating an older shower may need to choose between glue-up wall panels and renewing the drywall or other substrate before tiling. Panels can create a streamlined finish with fewer grout lines, but they still require a stable, suitable backing surface. New tiling offers broad design flexibility, yet it involves more joints and depends on a correctly prepared waterproof substrate. Covering a damaged or damp wall with panels does not resolve the underlying problem.
Assess the condition of the wall before choosing either route. If there are signs of deterioration, leakage, or movement, remove or repair affected materials and restore the waterproofing rather than simply concealing them. A carefully measured, firmly secured, and accurately sealed enclosure will protect nearby furnishings while preserving the open appeal of the walk-in design.