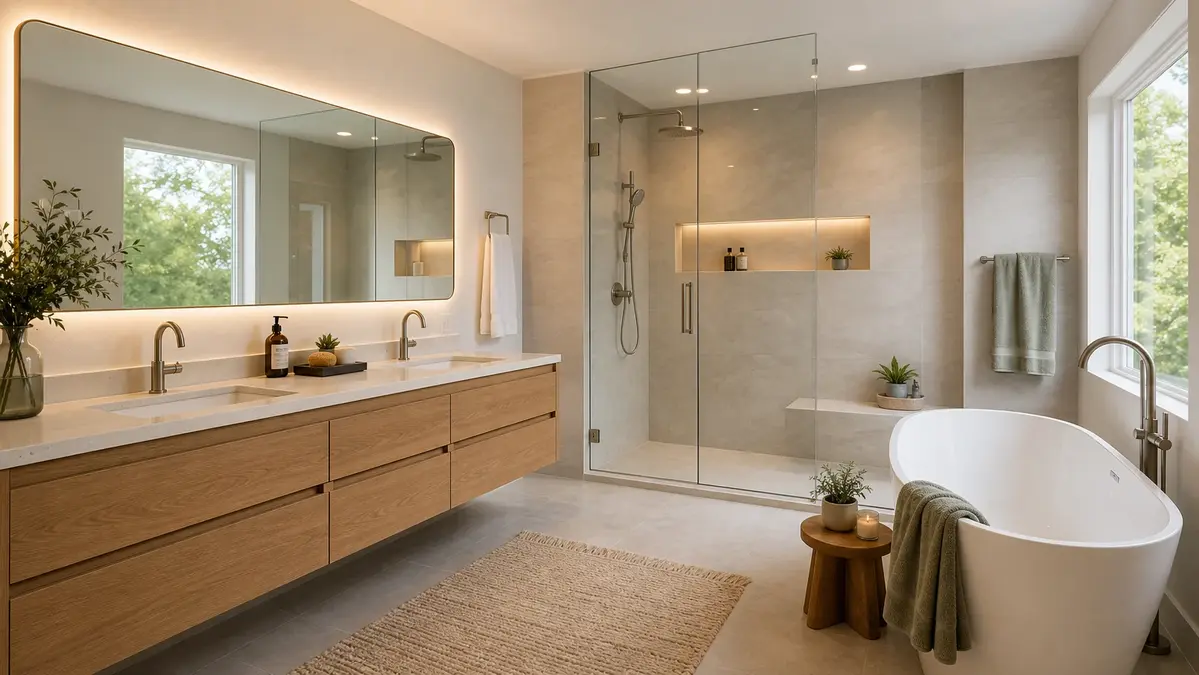
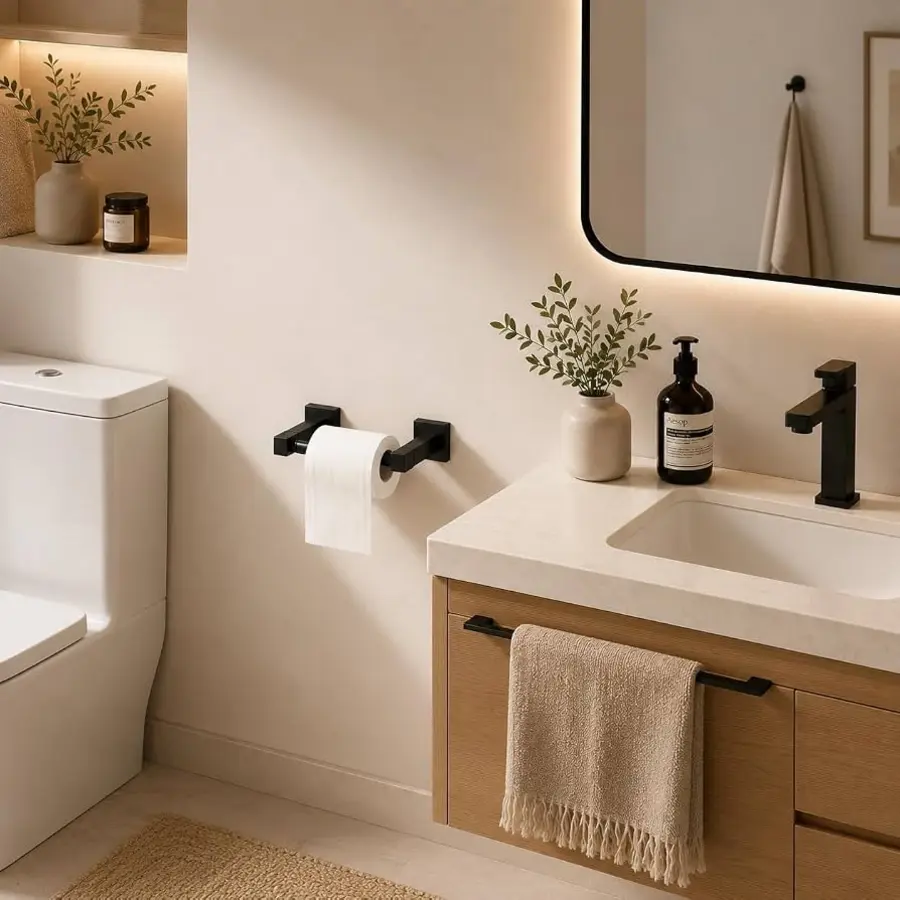
What Height Should a Bathroom Mirror Be?
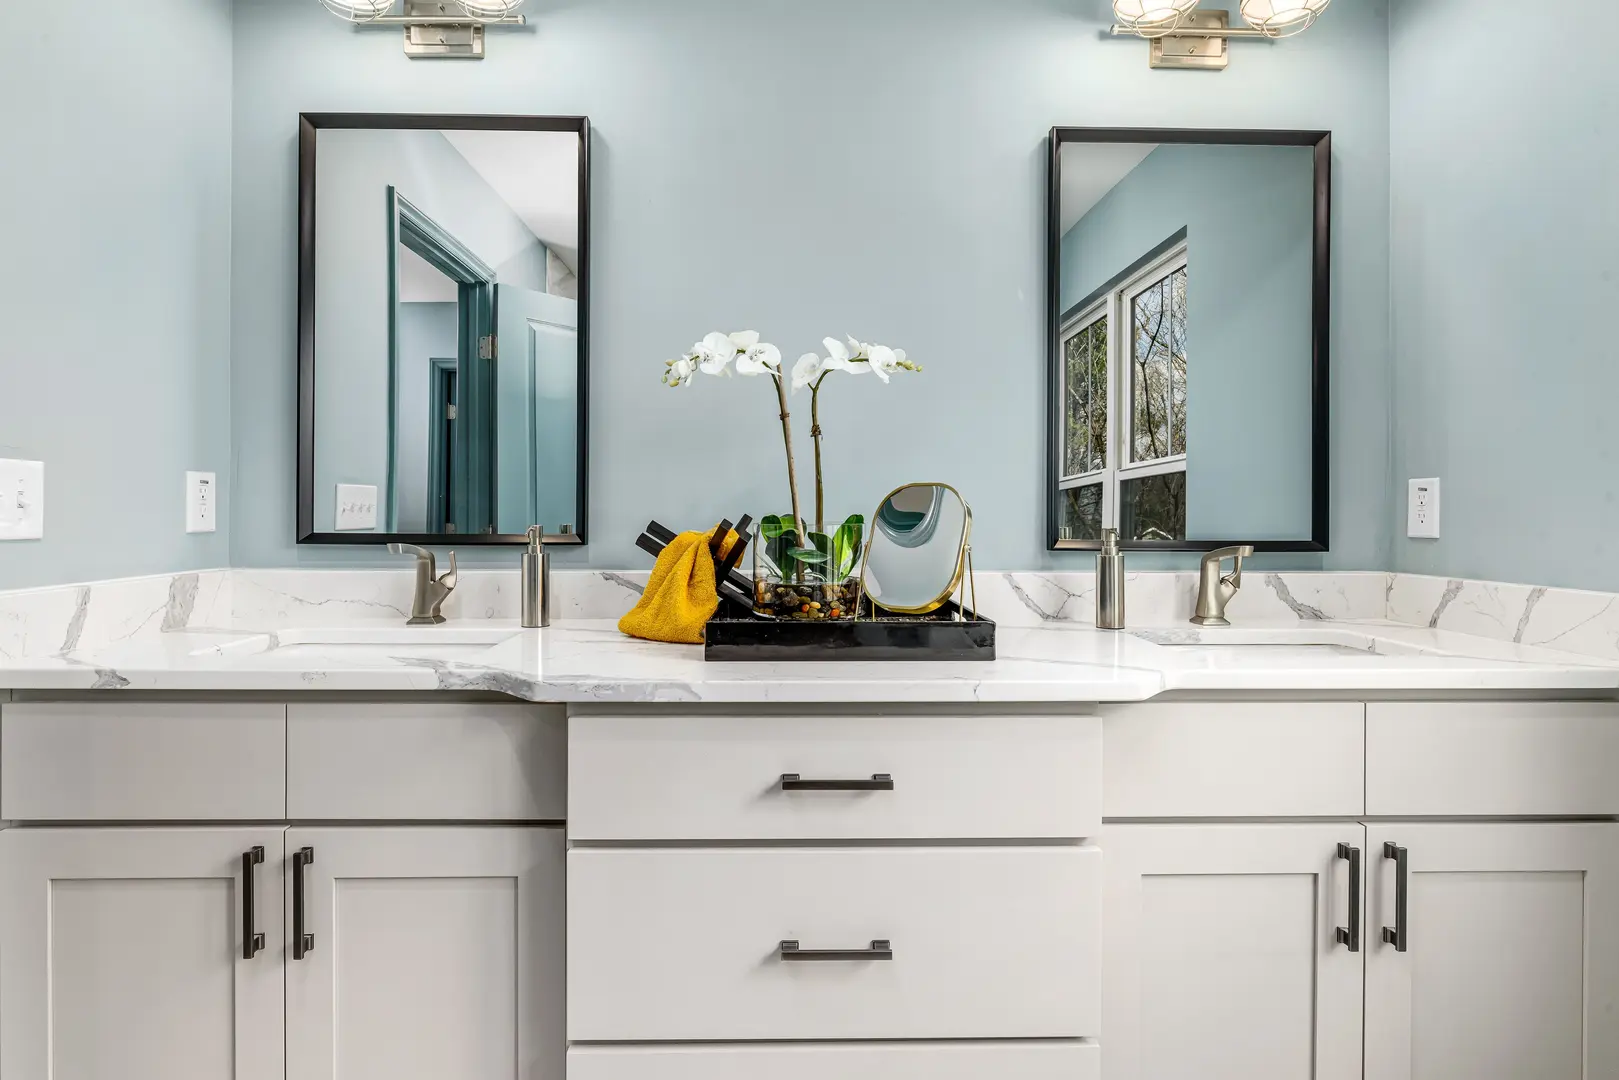
A bathroom mirror should be high enough to provide a clear, comfortable reflection while remaining visually balanced with the vanity, lighting and surrounding fittings. There is no single measurement that works in every room. The ideal position depends on the users, mirror dimensions, sink height, taps and available wall space.
If you are wondering what height should bathroom mirror be, begin with a standard centre point, then adjust it to suit the people and fixtures in your bathroom.
The Right Starting Height for a Bathroom Mirror
As a general guide, position the centre of a bathroom mirror around 57 to 65 inches from the finished floor. This range provides a useful starting point for many bathrooms, but it should not be treated as a rigid installation standard.
The right centre height depends mainly on who will use the mirror. A household of taller adults may find the upper end of the range more comfortable. A bathroom used by shorter adults or children may need a lower position. In a guest bathroom, a middle point within the range can accommodate a wider variety of users.
Before drilling into the wall, test the proposed position:
- Mark the intended centre point with removable tape.
- Mark the proposed top and bottom edges of the mirror.
- Ask the main users to stand naturally in front of the marks.
- Check that everyone can see their full face and the top of their head.
- Adjust the mirror before installing anchors or brackets.
Avoid positioning the mirror according to the floor measurement alone. Floor-to-centre guidance is helpful in an empty room, but the vanity, sink, taps, lighting and mirror size will often have a greater effect on the final placement.
The mirror should also relate to the room as a whole. A mirror that works for eye level can still look awkward if it is crowded against the ceiling, sitting too close to the basin or misaligned with the vanity.
Set the Mirror Height From the Vanity
In most bathrooms, it is more practical to set the mirror height from the vanity or sink rather than relying only on a floor measurement. The vanity forms the visual base of the arrangement, so the mirror should look connected to it without appearing cramped.
A useful starting point is to leave approximately 5 to 10 inches between the sink area and the bottom of the mirror. The exact gap depends on the basin, tap and any items placed along the back of the vanity.
Use the following process:
- Find the highest fixed point behind or beside the basin, usually the tap.
- Allow enough clearance so the tap does not visually overlap the mirror.
- Check whether accessories such as soap dispensers will make the gap feel crowded.
- Mark the mirror’s bottom edge.
- Confirm that the resulting centre and top edges are comfortable for the users.
Tall taps may require the mirror to sit higher. However, raising it solely to clear an oversized tap can make the reflection uncomfortable for shorter users. If that happens, consider a taller mirror rather than continuing to lift a small one up the wall.
The gap should also suit the scale of the room. A compact vanity with a small mirror may look better with a modest separation, while a broad vanity and large mirror can often support more open wall space. The aim is to create a clear visual relationship between the sink and mirror without sacrificing usability.
Do not assume that every vanity has a standard height. Measure the actual installation after the vanity top and basin are in place. Vessel-style basins and tall taps can significantly change the amount of usable wall space, even when the vanity cabinet itself is conventional.
Choose a Height That Suits the Mirror’s Size
Mirror dimensions affect where the mirror should sit. Two mirrors with the same centre point can look very different if one is short and wide while the other is tall and narrow.
A short mirror may need careful positioning to keep every user’s face within the reflective area. A tall mirror provides more flexibility because its upper and lower edges cover a greater range of eye levels. This can be particularly helpful in a shared bathroom.
Consider how each dimension affects placement:
| Mirror characteristic | Placement consideration |
|---|---|
| Short and wide | Centre it carefully around the main users’ eye level |
| Tall and narrow | Offers more vertical flexibility but should align clearly with the basin |
| Large statement mirror | Check ceiling, lighting and vanity clearance before installation |
| Small decorative mirror | Avoid hanging it so high that it becomes inconvenient |
| Full-height mirror | Position for an unobstructed head-to-toe reflection |
The mirror’s width should also relate to the vanity. Even though width does not directly determine mounting height, the two dimensions work together visually. A wide mirror placed too high can appear disconnected from the sink, while a small mirror surrounded by large areas of blank wall can seem lost.
Use painter’s tape or a paper template to outline the full mirror size on the wall. View it from the doorway as well as from directly in front of the vanity. This makes it easier to identify awkward proportions before mounting the mirror.
Remember to measure the reflective glass, not just the overall product dimensions. A substantial frame can reduce the usable reflective area and change where the mirror needs to be positioned.
For Shared Bathrooms, Position It for the Main Users
A shared bathroom mirror should accommodate the people who use the room most often. Instead of choosing one person’s eye level, find a practical average between the main users.
Ask each person to stand in front of the vanity in a relaxed posture. Mark their approximate eye levels with removable tape, then position the mirror so its reflective area covers the full range. The tallest user should be able to see the top of their head without crouching, while the shortest should be able to see their entire face without stretching.
This does not always mean placing the mirror’s centre exactly at the average eye level. The mirror’s height matters too. A tall mirror may cover everyone comfortably even if its centre is slightly above or below the calculated average.
For households with a significant height difference, consider:
- Choosing a taller mirror rather than a small mirror hung unusually high or low.
- Extending the mirror closer to the vanity while maintaining suitable tap clearance.
- Using a full-height mirror elsewhere in the bathroom for greater flexibility.
- Testing the reflection for every regular user before fixing the final position.
Avoid a placement that cuts off the top of a person’s head during normal use. A mirror may look centred above the vanity but still fail functionally if the reflective surface ends at forehead level for a taller user.
Children’s needs can be considered without making an adult bathroom permanently uncomfortable. A larger vertical mirror can provide a broader viewing range, while temporary assistance can be used until a child grows. The permanent installation should suit the bathroom’s long-term users.
Geometric Principles for Mirror Height
Mirror reflection follows a simple geometric rule: the point on the mirror needed to see an object lies halfway between the viewer’s eye level and that object.
To see the feet, for example, the bottom edge of the mirror must be no higher than the halfway point between the viewer’s eyes and the floor. To see the top of the head, the mirror’s top edge must reach at least halfway between eye level and the top of the head.
For a complete head-to-toe reflection in a flat mirror:
- The bottom edge should be at or below the midpoint between the eyes and feet.
- The top edge should be at or above the midpoint between the eyes and top of the head.
- The minimum reflective height is approximately half the person’s total height.
This minimum mirror height does not change simply because the person steps farther away. Distance changes how the reflection feels within the room, but it does not reduce the geometric mirror height needed for a complete image.
For example, suppose a person is 70 inches tall and their eyes are 65 inches from the floor. The mirror would need to extend from no higher than 32.5 inches above the floor to at least 67.5 inches. That creates a minimum reflective height of 35 inches—half the person’s overall height.
These principles explain why a mirror mounted only above a vanity is not necessarily suitable for a full-body view. The vanity often prevents the reflective surface from extending low enough to show the feet. If a complete reflection is important, use a separate full-height mirror with a clear sightline.
For a standard grooming mirror, exact full-body geometry is less important. Concentrate on covering the face, hair and upper body for all main users without requiring them to bend or stand on tiptoe.
Plan the Lighting Around the Mirror
Mirror height and lighting should be planned together. A perfectly positioned mirror is less useful if the face is poorly illuminated or covered by strong shadows.
If wall lights will sit above the mirror, leave enough room between the mirror’s top edge and the fitting. Confirm the light’s dimensions before choosing the mirror height rather than assuming it will fit into the remaining space. Raising the light may also affect the overall composition or bring it too close to the ceiling.
Side lighting can provide more even illumination across the face, but the fittings must align sensibly with the mirror and remain clear of nearby cabinets. Check the full width of the lights, including shades and mounting plates.
Integrated and backlit mirrors can simplify the arrangement by combining reflection and illumination in one unit. They still need to be positioned at a comfortable viewing height, and any electrical requirements should be accounted for before installation.
Hot showers can cause condensation to form on the mirror. Good bathroom ventilation is the main way to manage persistent moisture and fogging. Use the room’s ventilation properly and avoid treating an anti-fog coating as a substitute for moisture control.
Anti-fog products may provide secondary help, but their effectiveness can vary with the bathroom conditions and the mirror’s finish. Check the mirror manufacturer’s care instructions before applying any product. Some illuminated mirrors also include integrated demisting features, which may be useful in frequently used shower rooms.
Decide Between a Framed and Frameless Mirror
A frame changes both the physical size and perceived position of a bathroom mirror. A broad or dark frame creates a stronger visual boundary, making the mirror look heavier and more prominent. It may therefore need more breathing room above the vanity and around nearby fittings.
Always distinguish between the total outside dimensions and the actual reflective area. A framed mirror may fit the available wall space while providing less usable reflection than expected. If the reflective glass starts several inches inside the outer edge, adjust the position based on where users will actually see themselves.
Frameless mirrors generally offer more placement flexibility. Their edges create less visual weight, so they can sit closer to surrounding features without appearing as crowded. They can also work well where the available wall space is limited or where a clean, understated appearance is preferred.
The choice should complement the bathroom’s decor:
- Decorative frames can reinforce traditional or character-rich interiors.
- Slim frames can add definition without dominating the vanity.
- Frameless designs suit simple, open arrangements.
- The frame finish can coordinate with taps, handles or lighting, although an exact match is not essential.
Whichever design you choose, prioritise the reflective area and viewing comfort. A frame should enhance the room rather than force the mirror into an impractical height.
Secure and Align the Mirror Correctly
Once the height has been confirmed, install the mirror with fixings suitable for its weight and the wall construction. Use the mounting hardware specified for the mirror, along with appropriate wall anchors where required. A heavy mirror should not be supported by unsuitable fixings.
Before installation:
- Mark the mirror’s centre and outer edges.
- Check the position against the basin and vanity.
- Use a level to establish accurate fixing points.
- Confirm the location of concealed services before drilling.
- Fit the specified anchors, brackets or mounting system.
- Recheck the level after the mirror is secured.
Also test anything that opens nearby. Medicine cabinets, wall cupboards, shower screens and vanity doors should move through their full range without striking the mirror or its frame. This is especially important for thick framed mirrors that project farther from the wall.
Finally, view the completed arrangement from several positions. The mirror should appear aligned with the vanity, offer a comfortable reflection and leave enough space for lighting and fittings. By combining the 57-to-65-inch centre guideline with actual user heights, vanity clearance and mirror dimensions, you can choose a position that is both practical and visually balanced.