What Is Good Material for a Bathroom Floor? A Bathroom Flooring Guide
Key Factors for Selecting Bathroom Flooring
Bathrooms expose flooring to splashes, humidity, frequent cleaning, and regular foot traffic. A suitable material tolerates these conditions, complements the room’s design, and remains practical to maintain.
1. Resistance to Water and Moisture
Water resistance is a critical consideration when choosing bathroom flooring. Moisture absorption can cause swelling, staining, odors, and mold growth. Vulnerable areas include the shower, bathtub, toilet, and vanity. Porcelain, ceramic, luxury vinyl, and properly sealed natural stone handle moisture well. However, underlying waterproofing is also necessary, as tile and grout can let moisture pass through, leading to long-term damage.
2. Durability for Long-Term Use
Bathroom floors must withstand daily foot traffic, rigorous cleaning, and potential impacts from dropped objects. Porcelain and natural stone are exceptionally durable, while properly installed ceramic tiles also perform reliably. Quality installation is as vital as the material selection; substrates must be secure and even to prevent the tiles from cracking and the floor from developing weak points.
3. Slip Resistance and Bathroom Safety
Smooth flooring surfaces can become hazardous when wet. Therefore, the choice of a textured or matte surface typically provides better grip around showers and bathtubs. Smaller tiles can enhance traction due to their numerous grout joints, which is why mosaics are often favored for shower floors. Prioritizing slip resistance not only ensures safety but can also make the bathroom more accessible for all users.
4. Cleaning and Maintenance Requirements
Flooring materials vary in their ease of maintenance. Porcelain, ceramic, and luxury vinyl typically require simple cleaning routines involving regular sweeping and appropriate washing methods. Grout joints may demand more care to prevent residue accumulation. Natural stone requires specific cleaners and periodic sealing, while bamboo relies on a maintained finish. Consider your comfort with these maintenance routines before making a selection, as regular upkeep will preserve the appearance and safety of your flooring.
5. Style and Design Versatility
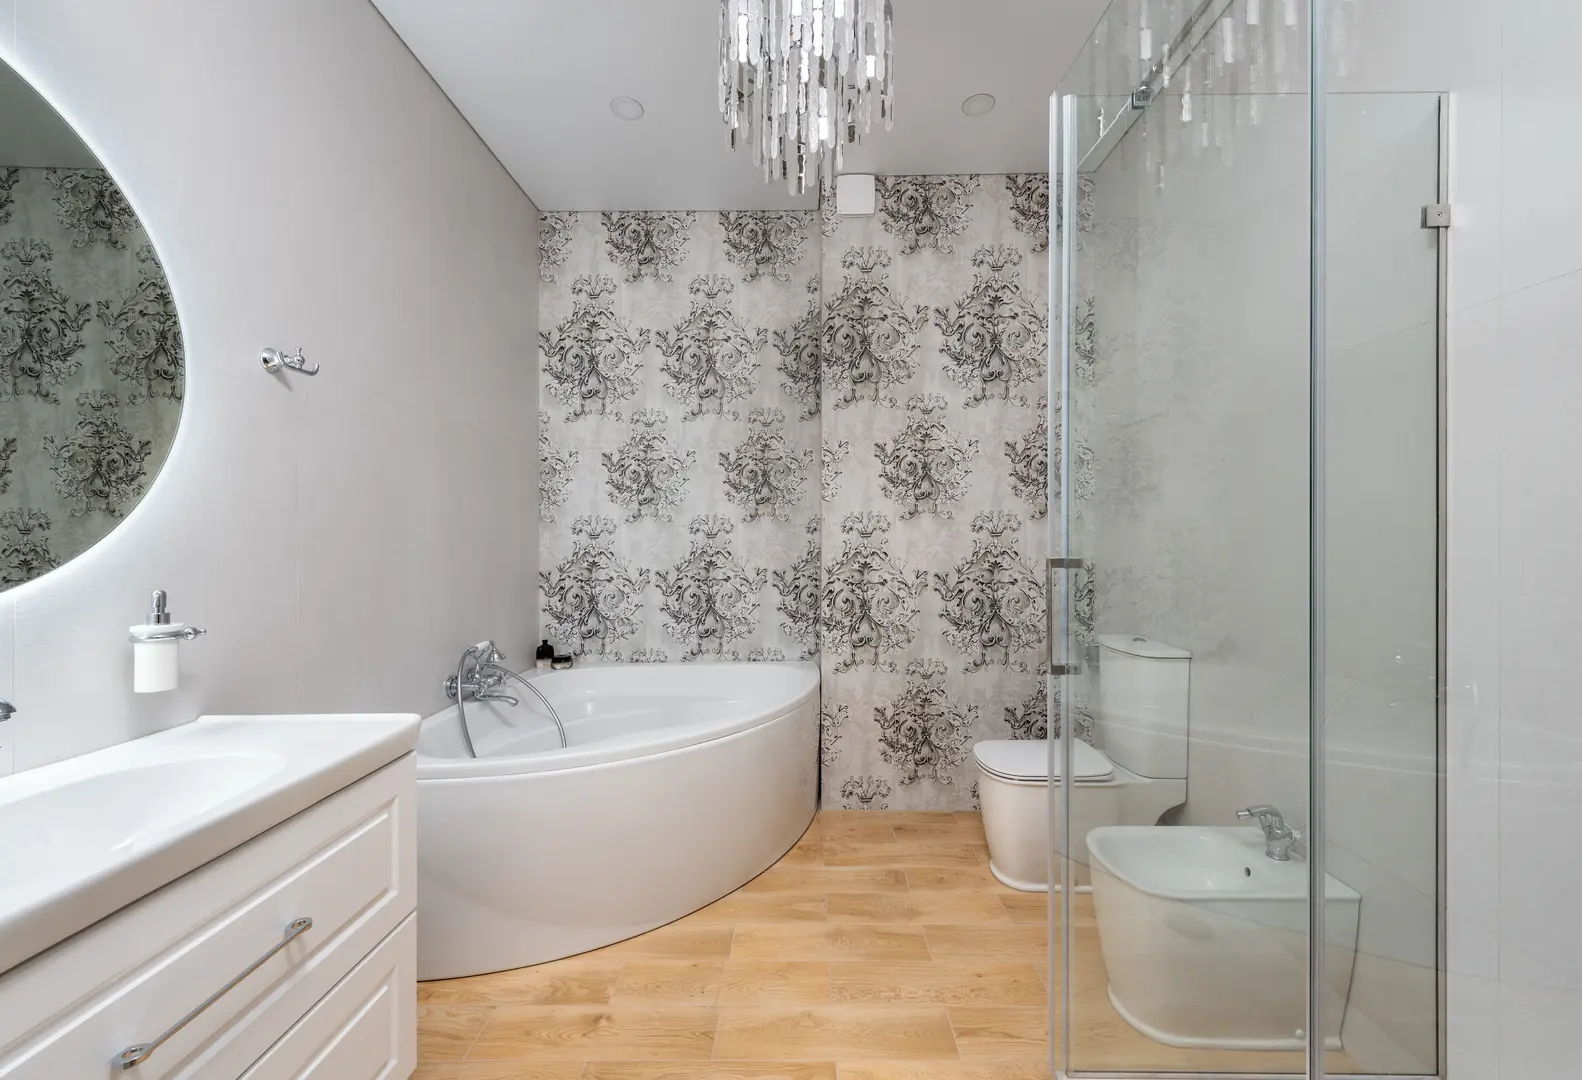
Flooring choices significantly influence a bathroom’s character and style. Light colors create an airy effect, while dark surfaces add contrast and depth. Patterns and textures serve as focal points within the room. Porcelain and ceramic offer a vast range of colors, shapes, and patterns, making them versatile choices. Luxury vinyl can mimic materials like wood or stone, providing flexibility in aesthetic choice. Natural stone offers unique variations that contribute a luxurious feel. Grout color also impacts the overall look; matching shades blend seamlessly, while contrasting colors highlight the tile layout.
6. Comparing Flooring Costs
The costs associated with bathroom flooring vary depending on the chosen material, product quality, installation method, and preparation required. Luxury vinyl is often considered a budget-friendly option, while ceramic tile typically offers economical pricing. Premium choices like porcelain and natural stone tend to be on the higher end of the cost spectrum. It is important to consider total expenses, including subfloor preparation, waterproofing, adhesives, grout, labor, and long-term maintenance. Investing in proper preparation can sometimes offer better value than allocating funds exclusively on premium materials.
Bathroom Flooring Materials to Consider
No single flooring solution suits every bathroom. Choices depend on water exposure, appearance, maintenance, installation complexity, and budget constraints.
Porcelain and Ceramic Tiles
Porcelain and ceramic tiles are popular due to their water resistance, durability, and design flexibility, available in diverse colors, textures, and patterns. Porcelain excels in high-use or damp areas, and ceramic performs well with quality installation. Key considerations include:
- Opting for textured/matte surfaces to enhance grip.
- Selecting tile sizes relative to the room and shower layout.
- Considering grout color and maintenance efforts.
- Ensuring a properly prepared and waterproofed substrate.
- Adhering to manufacturer instructions for setting and sealing procedures.
Proper installation is essential to maintain moisture management and ensure the floor’s longevity.
Luxury Vinyl Flooring
Luxury vinyl serves as an excellent option for waterproof, budget-friendly flooring, available in plank and tile styles that imitate wood or stone. The installation process can be more straightforward, yet it is imperative to ensure the surface is clean, flat, and stable. To prevent water damage, verify the product’s suitability for continuous wet areas.
Bamboo as an Eco-Friendly Flooring Choice
Bamboo offers a wood-like appearance and is eco-friendly. However, its performance hinges on effective moisture protection, requiring sealing and careful installation to prevent damage from standing water. Ensuring the product’s approval for bathroom use is important to avoid potential issues related to moisture exposure.
Natural Stone Tile
Natural stone introduces luxury and unique characteristics to flooring design, necessitating regular sealing to minimize moisture absorption and staining. Some polished stone finishes may be slippery, making textured options advisable for wet areas. Use appropriate cleaning solutions tailored to the selected stone type to maintain its aesthetic and durability.
Flooring Options to Avoid: Carpet and Solid Hardwood
Carpet is typically unsuitable for bathrooms due to its tendency to absorb moisture, dry slowly, and potentially develop odors or stains. Solid hardwood faces challenges in humid environments, such as warping and movement. As alternatives, consider luxury vinyl, wood-look porcelain, or sealed bamboo if a wood aesthetic is desired without compromising practicality.
How to Choose the Best Tile Size for a Bathroom Floor
Tile size plays a crucial role in affecting visual scale, grout coverage, traction, waste, and design complexity. Measure usable floor space rather than only considering the room’s overall dimensions. Well-fitted tiles often create better aesthetics than those selected merely based on generalized room descriptions. Tile direction also influences perception; laying rectangular tiles perpendicular to the longest wall can create the illusion of a wider room.
Benefits and Requirements of Large-Format Tiles
Large-format tiles contribute to fewer grout lines, delivering a calm appearance and reducing maintenance efforts. These tiles are well suited for minimalist designs but necessitate precise preparation and installation. Substrates need to be perfectly flat to accommodate even tile placement. Planning cuts and layouts carefully around features ensures seamless integration.
Small Tiles and Mosaic Designs
Small tiles and mosaics provide numerous grout joints, increasing traction in wet zones. They adapt well around drains, irregular shapes, and support intricate patterns and detailed design work. This option does include more grout lines, though, which might result in a busier aesthetic requiring careful planning to maintain a cohesive look.
Why Bathroom Floor Waterproofing Matters
Tiles alone do not constitute a complete waterproofing system; water can seep through grout and joints. A properly installed waterproof membrane is crucial to protect subfloors from potential water damage. Uncoupling membranes offer additional protection by absorbing substrate movement, preventing tile cracking and extending the floor’s lifespan.
DITRA Membranes for Waterproofing and Crack Prevention
DITRA acts as an uncoupling membrane providing waterproofing and vapor management, thus isolating tiles from substrate movement. This membrane reduces stress, which might result in cracks. Addressing seams and penetrations ensures comprehensive waterproofing, thereby adding to the longevity of your flooring.
DITRA-HEAT for Warm Bathroom Floors
DITRA-HEAT incorporates uncoupling features with floor heating capabilities. Heating cables are integrated into the system, delivering warmth across selected floor areas. Professional installation is advisable, especially for electrical components and detailed layouts, to ensure a safe and effective heating system.
Peel-and-Stick DITRA Membrane Options
DITRA-PS, DITRA-HEAT-PS, and DITRA-HEAT-DUO-PS offer peel-and-stick options, simplifying the installation process. A suitable and well-prepared substrate remains crucial to the application’s success. Adhering to product guidelines ensures proper, effective application.
Curbless Showers for a Sleek, Accessible Bathroom
Curbless showers remove the threshold, creating a seamless and modern floor that enhances accessibility. Such designs require meticulous planning, as water must be effectively managed without a traditional curb to ensure user safety and floor integrity.
Planning Effective Drainage in a Curbless Shower
Curbless showers necessitate a consistent slope toward the drain to prevent water escape. Both point and linear drain configurations cater to different design considerations while requiring appropriate waterproof membrane connections. Planning drainage prior to starting subfloor work ensures correct elevations and effective water management.
Installation Guidance for Bathroom Floors and Curbless Showers
Installing bathroom floors involves removing old surfaces, assessing the structure, preparing the subfloor, adding waterproofing, setting tiles, and applying grout and sealant. Curbless showers introduce added complexities with drainage and elevation concerns. Professional assistance is recommended for structural tasks or elaborate projects.
Prepare the Subfloor Before Tiling
Remove existing flooring and debris. Assess the subfloor for movement, damage, and unevenness and address any issues discovered during the evaluation.
To ensure a secure base for tile installation, complete these steps:
- Secure any loose boards to reduce movement.
- Level out any high or low areas to create an even surface.
- Thoroughly clean the area to ensure proper adhesion.
- Confirm that the subfloor is compatible with the chosen tile system.
- Account for floor height variations concerning doors, fixtures, and adjacent rooms for seamless integration.
Securing and leveling the subfloor is essential to achieving a long-lasting and effective tile installation.
Apply the Waterproofing Membrane
Follow the manufacturer’s instructions to install the waterproof membrane, ensuring that all seams and penetrations are adequately treated for a continuous protective layer. Verify compatibility with heating systems, mortar, and tile to safeguard the installation.
Install and Slope the Shower Drain
Position the shower drain strategically, ensuring that slopes guide water effectively toward it. Connecting the drain to the waterproofing system is crucial for preventing leaks. Verify the drainage system’s efficiency before proceeding with tile installation.
Lay the Bathroom Floor Tile
Carefully plan the layout to accommodate cuts and pattern alignment. Follow manufacturer instructions to maintain consistent joints and necessary slopes, achieving a seamless transition between the bathroom floor and any included curbless shower areas.
Apply Grout and Seal the Finished Floor
Apply grout to the joints using suitable products, adhering to manufacturer application guidance. Complete any required sealing for the selected materials, paying attention to perimeter joints and drain connections. Proper grouting and sealing practices enhance both the durability and aesthetic appeal of your newly installed bathroom floor.