What Types of Lights Can You Use in a Bathroom?
Bathroom lighting must do more than make the room look attractive. It needs to support grooming, showering, cleaning, and relaxation while remaining suitable for a damp environment. If you are wondering what lights can you use in a bathroom, the answer depends on three main factors: safety rating, placement, and purpose.
A successful scheme usually combines ceiling lighting with focused mirror illumination and softer decorative or accent lighting. Planning these layers during a remodel will help you avoid shadows, dark corners, and fixtures that are unsuitable for their intended location.
How Should You Select a Bathroom Light?
Start by considering how the bathroom is arranged and how each area will be used. A compact powder room may only need a ceiling fixture and mirror lights, while a larger family bathroom could benefit from downlights, wall lights, spotlights, and decorative illumination.
Use the following process when comparing fixtures:
- Identify the bathroom zone. Determine how close the proposed fitting will be to the bath, shower, basin, or another source of water.
- Check the IP rating. Select a fitting with the appropriate protection for that zone.
- Define the purpose. Decide whether the light will provide general, task, accent, or mood lighting.
- Consider the room’s surfaces. Dark walls and finishes may make a room feel less bright, while mirrors, pale tiles, and glossy materials can reflect more light.
- Plan fixture placement. Think about how doors, tall cabinets, shower screens, and wall materials may block or redirect illumination.
- Choose the style. Once the practical and safety requirements are satisfied, select a design that complements the bathroom.
It is often helpful to create a layered lighting scheme rather than relying on one bright ceiling light. General lighting makes the room easy to navigate, task lighting improves visibility at the mirror, and accent lighting highlights architectural or decorative features.
If you are remodeling, plan wiring and controls before wall and ceiling finishes are installed. This is especially important if you want dimmers, illuminated mirrors, wall-mounted fixtures, or LED strips behind bathroom features. Concealed strips can create a soft, natural-looking glow, although they may require extra installation work and expense.
Choosing the Right Color Temperature for Bathroom Lighting
Color temperature affects both visibility and atmosphere. It is measured in kelvins and describes whether white light appears warm, neutral, or cool.
Two common choices for bathrooms are:
| Color temperature | General appearance | Where it may work well |
|---|---|---|
| 3000K | Warm, soft white | Relaxing bathrooms, warm-colored finishes, and evening ambience |
| 4000K | Clearer, more neutral white | Mirrors, grooming areas, modern designs, and task-focused lighting |
A 3000K light can make the room feel comfortable and inviting. It is often appropriate when the bathroom is intended to feel like a calm retreat. However, its warmer tone may not provide the crisp appearance some people prefer when applying makeup, shaving, or checking colors.
A 4000K light tends to create a cleaner and more alert atmosphere. It can improve the perceived clarity around a mirror and may suit white, gray, or contemporary finishes. On the other hand, using only cooler-looking light may make a relaxation-focused room feel less intimate.
You do not necessarily have to choose one color temperature for every fitting. For example, neutral task lighting can be used around the mirror while warmer ambient lighting creates a softer mood elsewhere. If you mix color temperatures, do so deliberately; fittings positioned next to each other can look mismatched if their tones differ unintentionally.
Also consider how the bathroom is used at different times of day. Bright, clear lighting may be helpful during a morning routine, while lower, warmer illumination can feel more comfortable before bed. Separate switches or compatible dimmers can provide flexibility without changing the fixtures.
Understand the Safety Rules for Bathroom Lighting
Safety must come before fixture style. Bathrooms expose electrical fittings to moisture, splashes, and, in some locations, direct contact with water. A light that is suitable for a bedroom or hallway is not automatically suitable for every part of a bathroom.
The key specification to check is the fixture’s IP rating, or Ingress Protection rating. This rating indicates the level of protection the fitting provides against the entry of solid objects and water. The second digit is particularly relevant when assessing water protection.
Do not assume that terms such as “moisture-resistant” or “bathroom style” make a fitting appropriate for any location. Confirm the actual IP rating and match it to the zone where the light will be installed.
Bathroom zones are based on the expected presence of water. Locations inside or immediately around a bath or shower demand greater protection than areas farther away. The required rating applies to the fitting in its intended position, so moving the same light to another part of the room may change whether it is appropriate.
Regulations and installation requirements can vary by location. A qualified electrician can confirm whether a fixture, power supply, dimmer, and installation method meet the rules that apply to your project. This is especially important for fittings near a shower or bath and for low-voltage systems that use separate drivers or transformers.
What Are the Different Bathroom Lighting Zones?
The bathroom can be divided into four zones according to the likelihood and degree of water exposure:
- Zone 0: This is the area with the greatest direct exposure to water, such as the interior of a bath or shower enclosure where a fitting could be immersed. Lights here require an IP67 rating.
- Zone 1: This area is directly above or closely associated with the bath or shower and is likely to receive significant moisture. It also requires IP67 lighting.
- Zone 2: This is the surrounding splash area. Fittings require an IP44 rating.
- Zone 3: This covers areas farther from direct water exposure. Fixtures require at least an IP20 rating.
These ratings should be treated as minimum requirements for the zones described. You can use a fitting with greater protection than the minimum if it is suitable for the installation.
Do not determine a zone by appearance alone. Shower layouts, bath positions, screens, ceilings, and other room features can affect how an installation is classified. Before purchasing fixtures, mark their intended positions on the bathroom plan and have the zoning confirmed under the regulations applicable in your area.
How Do You Plan to Use Your Bathroom Lights?
The right fixture depends on the job it needs to perform. Divide your lighting requirements into practical categories:
- General lighting: Provides broad illumination for entering, moving around, and cleaning the bathroom.
- Task lighting: Concentrates light where you shave, apply makeup, style hair, or complete other detailed grooming.
- Accent lighting: Draws attention to tile, shelving, artwork, wall textures, or architectural details.
- Mood lighting: Creates a softer atmosphere for bathing and relaxing.
- Night lighting: Offers gentle illumination when full brightness is unnecessary.
Think through a normal day in the room. Where do you stand to use the mirror? Does your body block the ceiling light? Are there dark areas inside the shower? Does a tall cabinet cast a shadow? These practical questions are more useful than simply choosing fixtures according to the size of the room.
Placement over a shower can improve coverage when the fitting has the correct rating, but it is not the only option. A shower screen, ceiling shape, or reflective wall finish may affect the result. In some layouts, carefully positioned directional lights can provide better distribution. The final decision should account for both the room’s construction and the relevant safety zone.
Controls also influence how useful the scheme will be. Separate circuits allow you to use bright task lighting without turning on every decorative fixture. Dimmers can make ambient and wall lighting more adaptable, provided the bulbs, fittings, and control are compatible.
Using Wall Lights in the Bathroom
Wall lights can create ambient illumination while adding depth to a room that might otherwise be lit only from above. They are particularly effective around a mirror, where they can provide vanity lighting for grooming.
For balanced mirror illumination, place wall lights near eye level rather than relying on a ceiling fixture directly overhead. Light arriving from the sides can reduce the strong facial shadows caused by top-down lighting. Depending on the mirror and room layout, you could use one fitting on each side or a suitable light positioned above it.
Wall fixtures can also:
- Add a gentle glow around a bath or vanity
- Highlight decorative wall finishes
- Improve lighting in corners
- Contribute to a symmetrical bathroom design
- Provide softer evening illumination
Low-voltage wall-light options are available, but low voltage does not remove the need to consider zoning, IP protection, and correct installation. Any power supply or related component must also be located and installed appropriately.
A dimmer gives you more control over brightness. You might use full output for cleaning and grooming, then reduce it for a bath. Check that the selected fixture and light source support dimming before choosing the control.
Using Ceiling Lights in the Bathroom
Ceiling lights generally provide the bathroom’s main source of illumination. Options include flush-mounted fittings, downlights, and directional spotlights. The best choice depends on ceiling height, room size, and the level of lighting needed.
Avoid relying on a ceiling light positioned directly over the mirror. When the light is behind or above your head, it can cast shadows across your face, making grooming more difficult. Use ceiling lighting for overall brightness and add dedicated mirror lighting for detail work.
Recessed downlights can distribute light across a larger bathroom without taking up visual space. Rather than arranging them solely in a decorative grid, position them according to the room’s features and activities. Consider the vanity, walking areas, shower, bath, cabinets, and any surfaces that may block the light.
Directional ceiling spotlights offer additional control. They can be aimed toward a wall, feature tile, shelf, or darker part of the bathroom. As with every other bathroom fixture, each ceiling light must carry the correct IP rating for its zone.
Turn Bathroom Lighting Into a Design Feature
Once safety, function, and placement have been addressed, lighting can become part of the bathroom’s visual identity. Fixtures can reinforce a traditional, minimalist, industrial, or luxury design rather than serving only as practical equipment.
Possible decorative approaches include:
- Coordinating fixture finishes with taps and cabinet hardware
- Using symmetrical wall lights to frame a mirror
- Choosing a pendant as a focal point in a high-ceilinged room
- Directing spotlights toward textured tile or a feature wall
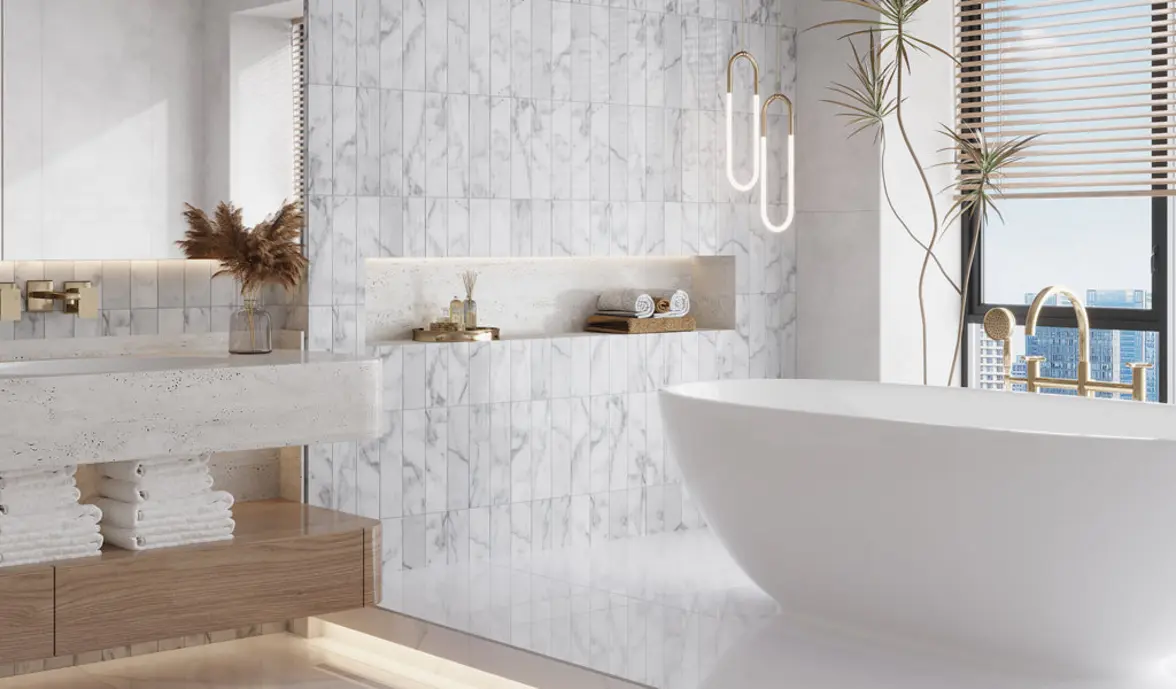
- Concealing LED strips behind a mirror, niche, or vanity for a floating glow
- Layering dimmable ambient and task lighting
Keep the number of visual statements under control. A decorative pendant, bold mirror lights, and multiple accent effects may compete with one another in a compact room. Choose a focal point, then let the remaining fixtures support it.
Hidden LED strips can add depth and simulate a gentle wash of natural light behind bathroom features. They are useful for ambience rather than as the only source of task lighting. Their location, IP suitability, power supply, and access for maintenance should all be considered during the remodel.
Are Pendant Lights Suitable for a Bathroom?
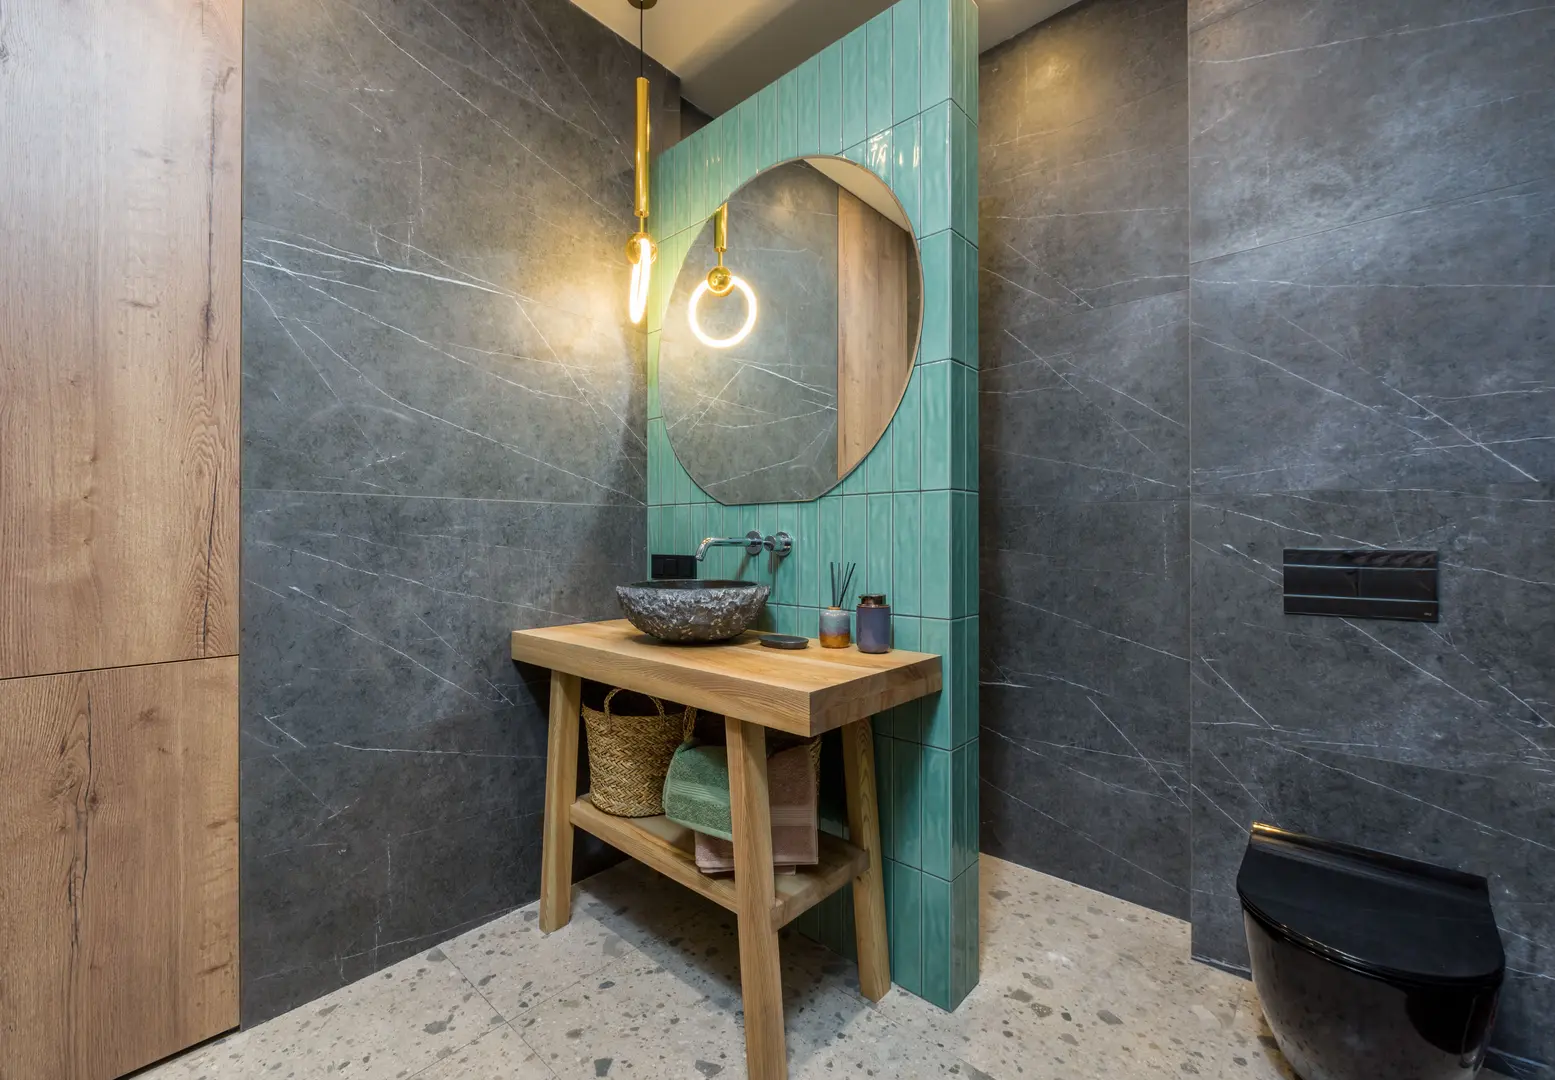
Pendant lights can be used in a bathroom when they have the correct IP rating for their location and are installed in accordance with the applicable safety requirements. They are particularly effective in bathrooms with high ceilings, where they can fill vertical space and create a more luxurious appearance.
A pendant might be used beside a vanity, above a freestanding feature, or in another approved position as a decorative focal point. However, its hanging height and proximity to water must be assessed carefully. A pendant that looks suitable on a floor plan may extend into a more demanding zone once suspended.
Do not select a pendant only because its shade material appears water-resistant. Check the rating of the complete fitting and have the intended location reviewed before installation. In a low-ceilinged or compact bathroom, a flush ceiling light may be a more practical choice.
Can Spotlights Be Used in a Bathroom?
Yes, spotlights can be used when their IP rating is appropriate for the relevant bathroom zone. They are available in both fixed and adjustable designs.
Fixed spotlights provide light in a predetermined direction. They can work well when the room layout is unlikely to change and even general coverage is the main objective.
Adjustable spotlights can be aimed at specific areas or features. They are useful for illuminating a darker corner, emphasizing tile, or directing light toward a wall for reflected brightness.
Plan the beam direction carefully. A spotlight aimed toward the mirror may produce glare, while one placed behind the person using the vanity may create shadows. Spotlights should usually complement, rather than replace, dedicated face-level mirror lighting.
Bathroom Mirror Lighting Options
Good mirror lighting makes detailed grooming easier. Clip-on mirror lights are one option for improving illumination where an existing ceiling fitting does not provide enough focused light. They can be particularly useful for applying makeup, shaving, and other tasks that require a clear view.
Depending on the remodel, other options include wall lights on both sides of the mirror, an approved fitting above it, or a mirror with integrated illumination. The goal is to light the face evenly without uncomfortable glare or heavy shadows.
When choosing a mirror light, evaluate:
- Its IP rating and intended bathroom zone
- Whether its color temperature suits grooming
- How evenly it lights the face
- Whether the fitting creates reflections or glare
- Its compatibility with the mirror and nearby surfaces
- Whether separate switching or dimming is needed
Mirror lighting should work with the rest of the room rather than carrying the entire scheme. Pair it with suitable ceiling illumination and, if desired, softer accent lights. This layered approach provides visibility when you need it and a more relaxing atmosphere when you do not.